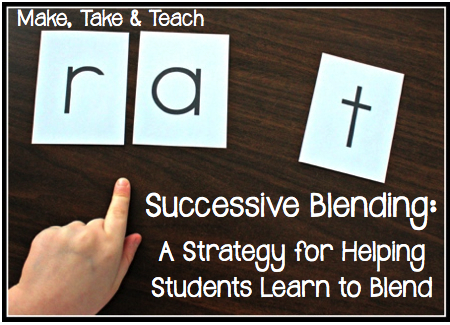
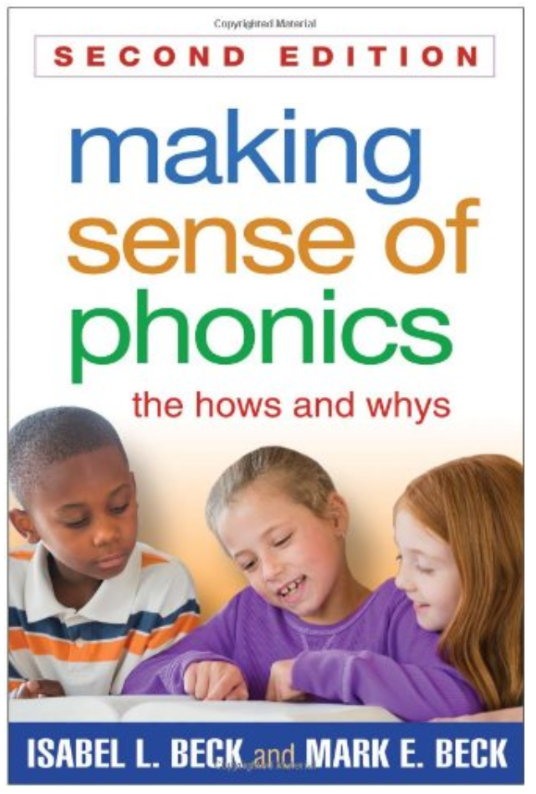
If you’ve been reading my blog for awhile you may know that I’m just a little (okay, a lot) addicted to professional books. I really love keeping up with the current research in reading and learning difficulties. One of my favorite authors is Isabel Beck. I love her book, Bringing Words to Life – it’s the go-to book on teaching vocabulary. Her most recent book, Making Sense of Phonics: The Hows and Whys is an equally valuable resource for phonics instruction. I was re-reading the book the other night and came across a strategy for blending that I thought would be helpful for many of my kindergarten and first grade teacher friends. The strategy is called successive blending.
After students have learned a few letter/sound correspondences, they should begin to blend those sounds into words. Think about for a bit. How many words can be made using the first 8 letter/sound correspondences introduced in a popular reading series (m, s, r, t, p, c, a)? Really, quite a few. Students should begin putting letters/sounds into meaningful words as soon as possible. When teaching students to decode we begin with consonant-vowel-consonant (CVC) words. A typical teaching scenario could be:
Teacher: (placing the letters “r” “a” and “g” on a blending board or pocket chart) Sally, please sound out this word
Sally: /r/ /a/ /g/ /gum/
What? How did she get “gum” from /r/ /a/ /g/? Actually, it’s pretty common for our beginning readers to correctly say each sound and then come up with a totally incorrect word. So, why is this? A big part of this has to do with short term memory. When we are asking our students to decode a CVC word we are asking them to first recall the sound correspondence for the letters and then hold those individual sounds in their memory before going back to blend the sounds together. So not only are we asking them to blend, we are asking them to remember each sound. This could be a little much for our beginning readers. Using Isabel Beck’s strategy, students do not need to hold more than 2 sounds together in their memory at one time. Below is her 8 step sequence for blending.
Place the letter cards “s” “a” and “t” separated in a pocket chart or blending board
- Point to the “s” and say /s/
- Point to the “a” and say /a/
- Physically slide the “a” over to the “s”
- Slide finger along the “sa” and say /sa/
- Point to the “t” and say /t/
- Move the “t” card next to the “sa” to make the word “sat”
- Slide finger under “sat” and say “sat” slowly
- Read the word naturally
If you’d like to give it a try, feel free to download these free letter cards.
To download the cards, just click the following link: Letter Cards
Not too difficult, right? This relatively simple sequence can make an incredible difference. Of course you’ll want to model the procedure with gradual release of responsibility. In her book, she provides more information on exactly how to do this as well as how to use the steps with consonant blends.
Making Sense of Phonics: The Hows and Whys
If you have students who are struggling with blending, be sure to try this strategy.
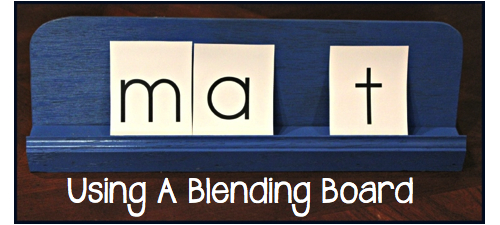
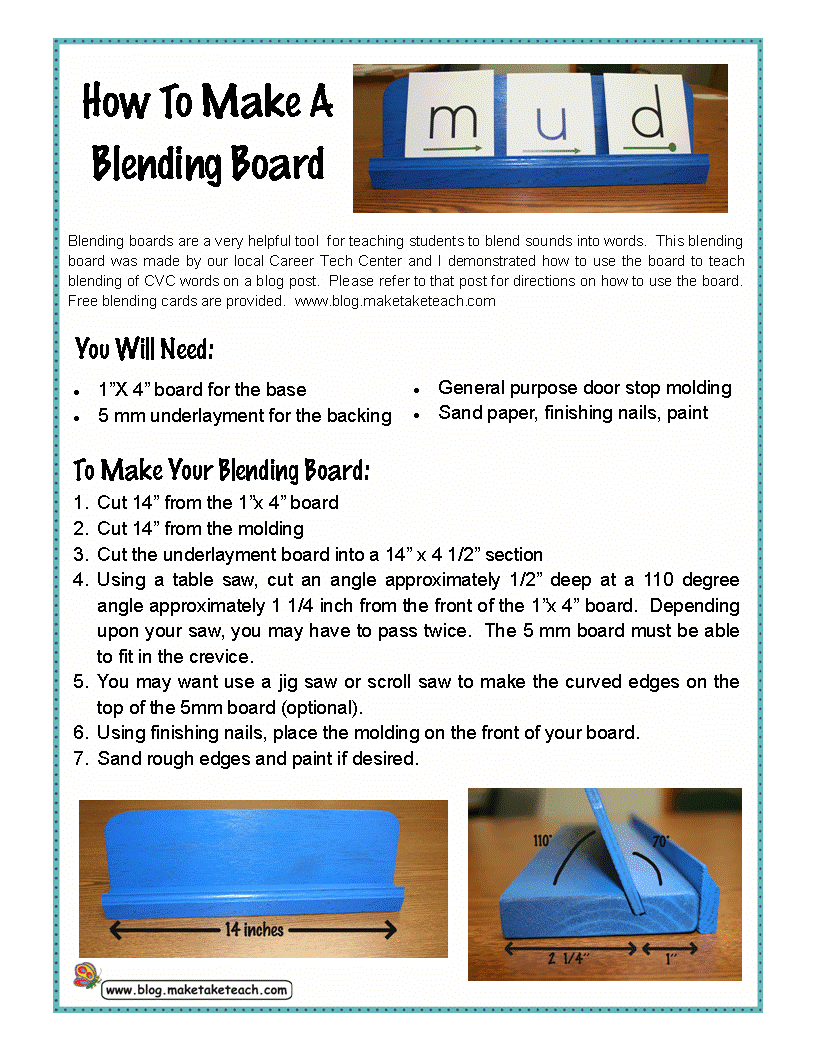
Oh, one more thing. These blending boards are great for small group instruction. We had these made in bulk for all our classroom years ago. Here’s a picture and the directions on how to make your own.
To download the directions just click the following link: Blending Board Directions



Leave a Reply