A few months ago, my good friend Keri from the Sweet Life of Teaching was preparing for a training that she was about to offer. On the table was a roll of vinyl chalkboard paper (I’ve never seen or heard of it until this time). As she was describing what it was and how she uses it in her classroom, I was literally getting goosebumps. You can purchase the paper in single sheets, but Keri loves it so much, she purchased a whole roll! Whoever invented vinyl chalkboard paper is a genius. This product is so versitle… from using it to label bins to creating activities…it is awesome! The paper can be cut into any size (just like contact paper). You, or your students, write on the paper with liquid chalk
. Once dried (pretty quick), it’ll stay on until you use a small amount of water to wipe it off. Just think… how about using it to label bins, cubbies? You can keep the label on the cubbie and when you have a student move, simply wipe the name off and it’ll be ready for any new student who make walk through your door.
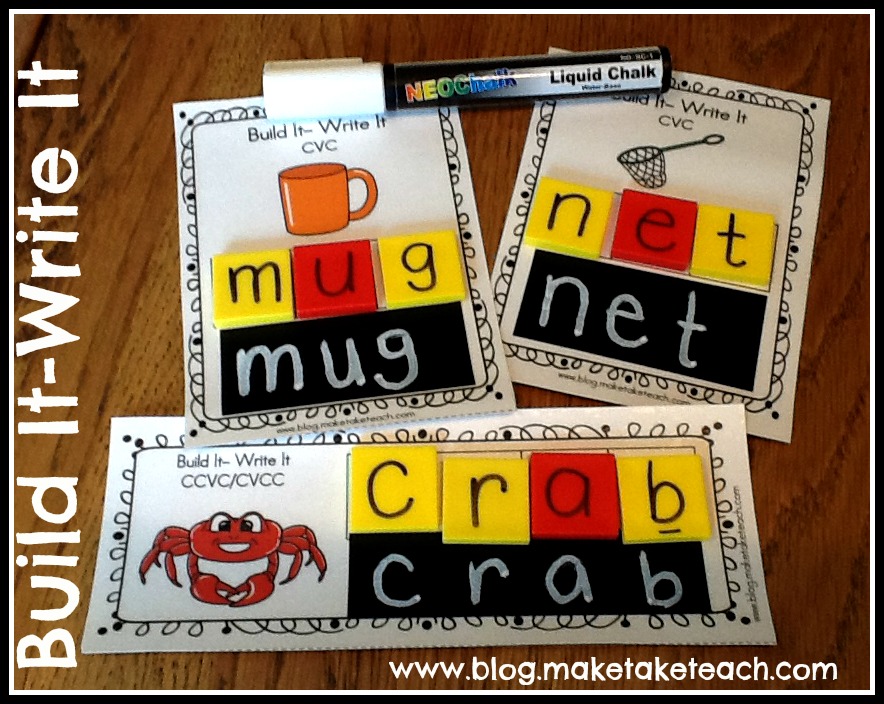
I knew eventually that an idea for using it within an activity would pop into my head. It happen last week with the “Build It-Write It” activity. To make this activity, you’ll need the following materials: printed cards, vinyl chalkboard paper, liquid chalk, fine point black Sharpie marker, and 24 square counting tiles. The cards will need to be laminated so if you do not have access to a laminator, you’ll also need clear contact paper. Here’s how to create the activity.
1. Print the pdf file on cardstock.
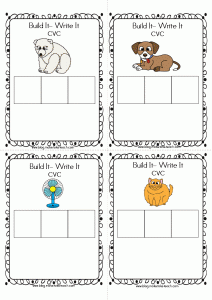
You will get 28 cards for building Consonant-Vowel-Consonant words
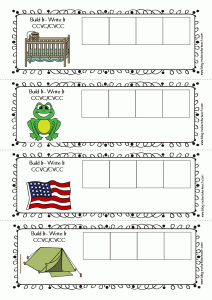
You will get 12 cards for building CCVC/CVCC words
Click HERE to download your free Build It-Write It cards
2. Laminate or cover the cards with clear contact paper and cut along the dotted lines.
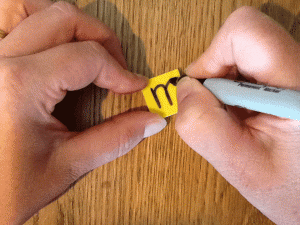
3. I tend to use red colored tiles for vowels and another color for consonants. If you choose to do the same, using your black Sharpie marker write vowels on the red counting tiles and the following consonants on the other color(s): 2- b, c, d, f, g, h, j, l, 2-m, n, p, r, s, 2-t, v, and w.
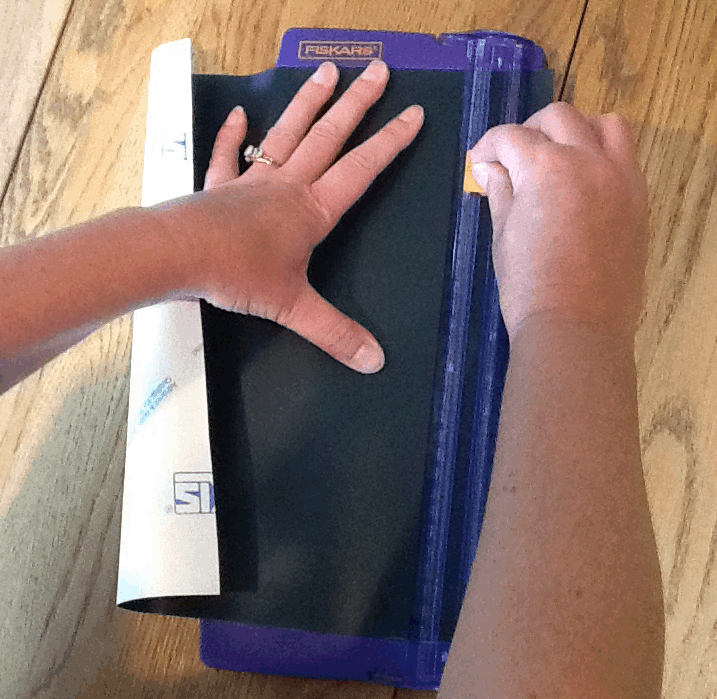
4. Now you’ll need to cut your vinyl chalkboard paper. Cut 28- 1″ x 3″ and 12- 1″ x 4″ rectangles. I am a scrapbooker so I use my scrapbooking cutting tools. You can certainly use scissors.
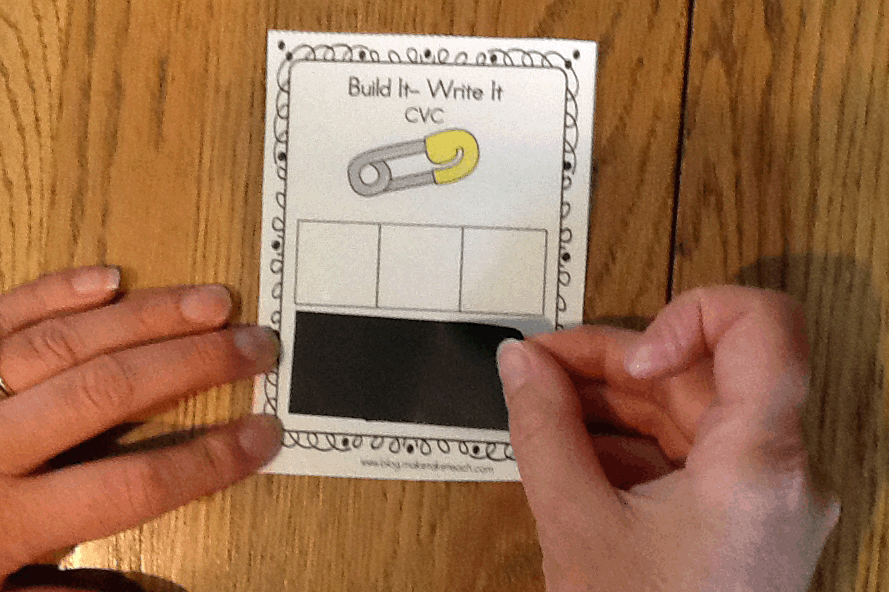
5. Simply peel the back layer from the chalkboard paper and adhere it to the cards.
For this activity, your students will first build the word using the tiles and then write the word below using the liquid chalk. Be sure to differentiate this activity by choosing how many tiles and cards are used. This activity is a great activity for use during small group instruction or as an activity in your literacy centers.
I have not yet found the vinyl chalkboard paper in stores so your best bet is to order it online. Here are the links to the products used with this activity: Vinly chalkboard paper- sheets, Vinyl chalkboard paper- roll
, liquid chalk
, and square counting tiles
.
Be sure to pay, Keri, over at the Sweet Life of Teaching a visit. She has great DIY ideas for the classroom!




Is there a particular benefit to using the chalkboard paper instead of just writing on the laminated paper with dry/wet erase pens?
I love this! Thank you so much for sharing! 🙂
Great idea . . . wowza! Thank you.
Kelley Dolling
Teacher Idea Factory
Very cute!
I love this- thanks for sharing!
Thanks for starting us off with the cards in your freebie. I love your make your own tiles idea. I have a roll of the chalkboard contact paper that I haven’t used yet…yes, I’m a hoarder. I had no idea that it was this expensive now! I picked mine up cheap sometime before my 15 year old was born!