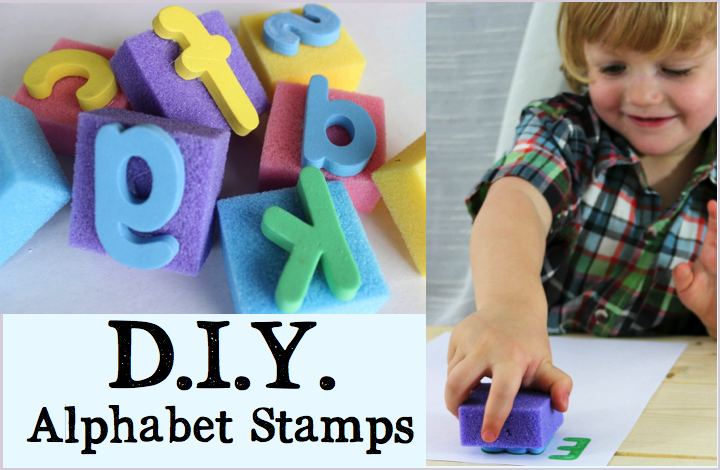
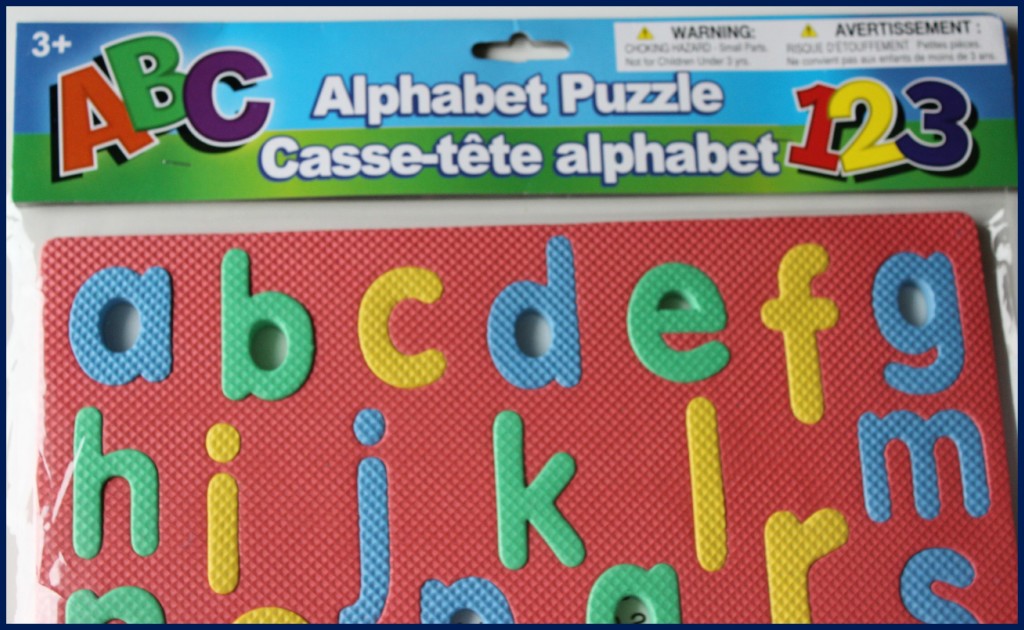
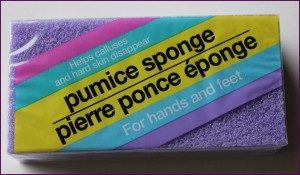
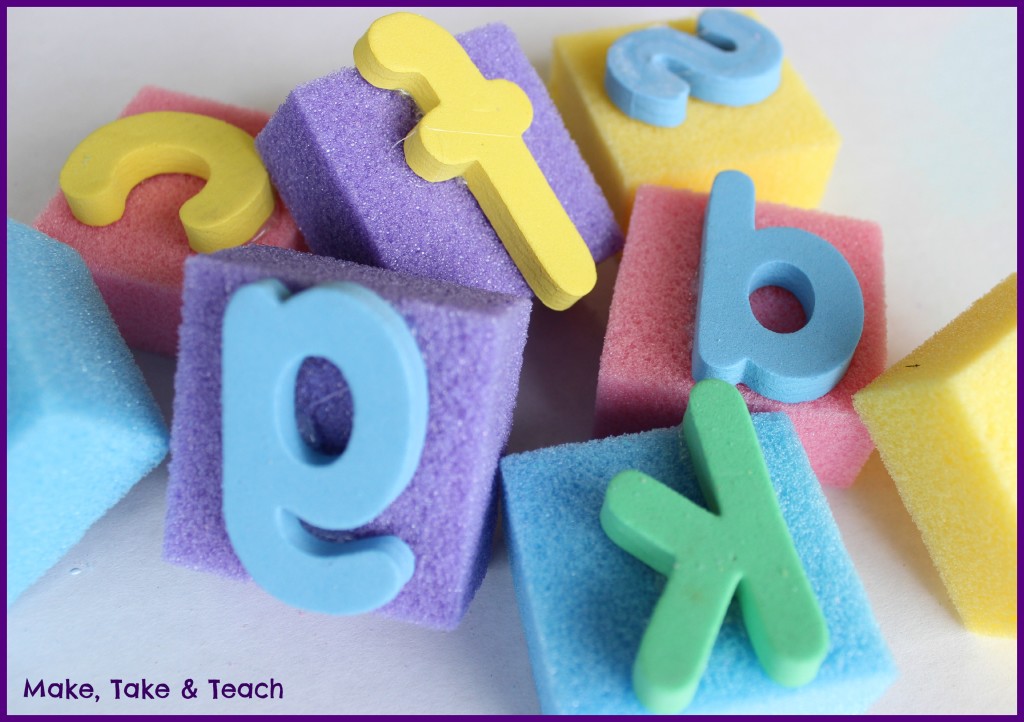
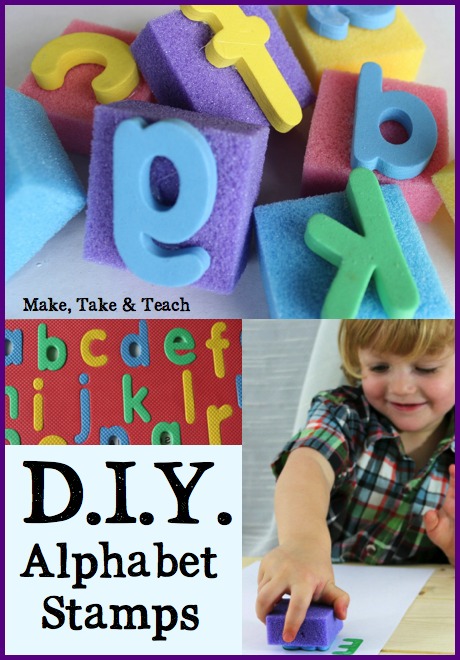
Making your own alphabet stamps is super easy and requires only a few items which you can easily find at any dollar store. I absolutely love these stamps I made with the foam puzzle and pumice blocks. They are just the perfect size for little hands.
There are several options that you can use instead of the pumice sponges. I’ve seen stamps made from wooden blocks or styrofoam blocks. I like the pumice sponges as they are a little more sturdy that just styrofoam and a little less expensive than the wooden blocks.
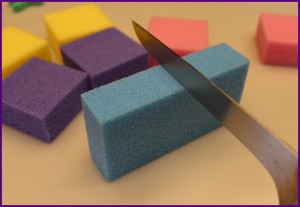
The first step is to cut the rectangles in half. If you are making stamps for all the letters, you will need 13 squares. If you are making stamps for the letters of your child’s name then you’ll need half the number of sponges as the number of letters in his/her name. It’s just up to you.
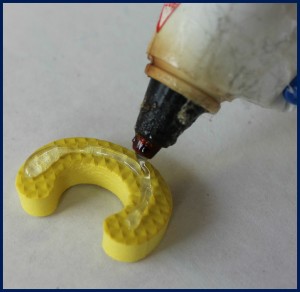
Now flip the letter over so that you are hot gluing on the side of the letter where it is typically oriented. This is so that when the letter is placed in the ink and stamped it is correctly oriented on the paper. So if you are using these foam letters you will be placing the glue on the bumpy side.
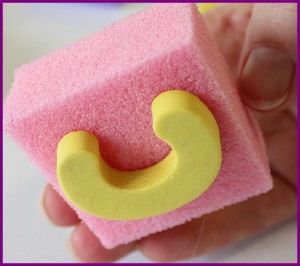
Then just place a square on top of the letter. It’s just that simple.
Now just grab an ink pad and your activity is all set. Didn’t they turn out great?
Thanks so much for stopping by the Make, Take & Teach blog and enjoy your project!


This is a simple way to make letter stamps – and much more frugal than just buying them! Great idea!
Amazing! Thank you so much for thinking and sharing this. I so love this idea of letter stamping. My daughter is 2 and a half years old and she could start stamping and have more letter recognition practice through this. I am also a kindergarten teacher in which I could use this to teach teh kids and of course not spending so much. Thanks I million. I will share this. Love it, love it.
Very clever idea. Thanks for sharing.
What a wonderful idea!!! thanks 🙂