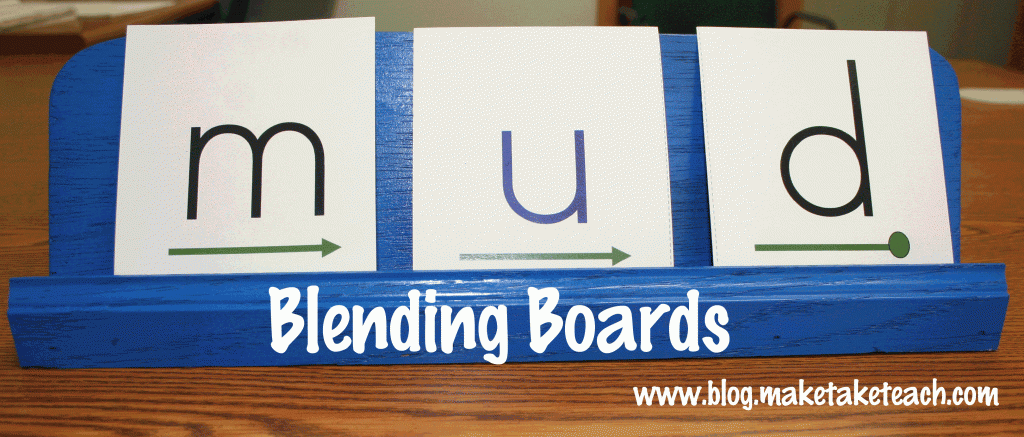
Ever since posting the video on how to use these blending cards to help students blend CVC words, I’ve been receiving emails asking for the directions on how to make the boards. The students at our Career Tech Center made blending boards for every kindergarten and first grade teacher in our schools with scrap wood they had laying around so getting specific directions was a bit difficult. Kind of reminded me of my grandmother’s directions on how to make her delicious potato pancakes (a pinch of that, a little bit of this…). So I trucked on down to see the friendly folks at the Home Depot for expert advice.
You will need: 1″x 4″ board, 5 mm underlayment for the backing, general purpose door stop molding, finishing nails
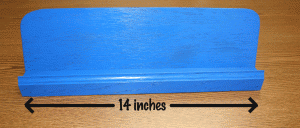
1. Cut 14″ from the 1″ x 4″ board
2. Cut 14″ from the molding
3. Cut the underlayment board into a 14″ x 4 1/2″ section
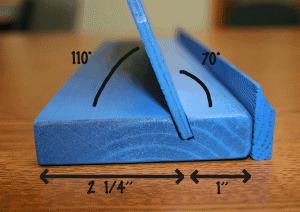
4. Using a table saw, cut an angle approximately 1/2″ deep at a 110 degree angle approximately 1″ from the front of the board. Depending upon your saw, you may need to pass twice. The 5 mm board must be able to fit in the crevice.
5. You may want to use a jig saw or a scroll saw to curve the top edge of the 5 mm board.
6. Using the finishing nails, fix the molding to the front of your board.
7. Sand rough edges and paint if desired.
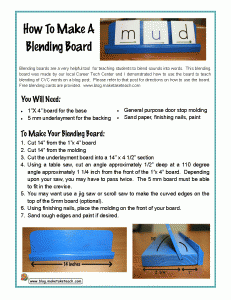
Click the following link to download a printable pdf of the directions Blending Board Directions
Click HERE for the link to the past post where you can download FREE blending cards


Leave a Reply