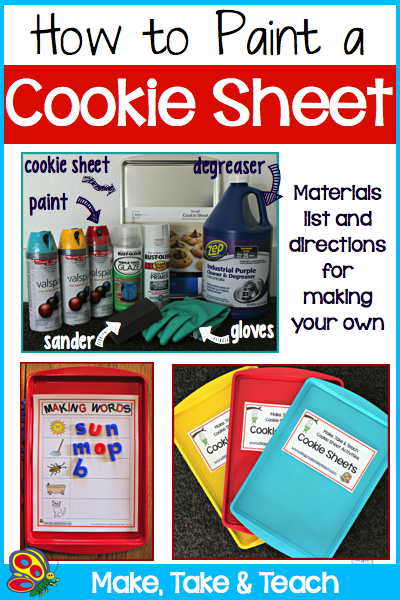
I have to admit it– I’ve been obsessed with painted cookie sheets for awhile now. You see, I have this “thing” for color coding. A few years ago I created a series of phonics-based activities that are intended to be used on cookie sheets. The regular grayish cookie sheets- well… they just didn’t match my borders 🙁 . Since that time I’ve been fiddling around with different primers, paint colors, paint types and gloss to get just the “right look” and functionality. I think I have it now. So, if you are interested in making your painted cookie sheets this is what you’ll need:
Materials
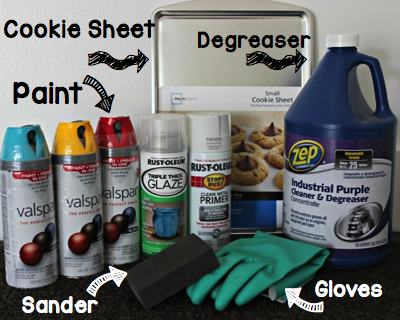
1. Cookie Sheet- There’s a trick with finding just the right cookie sheet. You will want to purchase a cookie sheet with the least amount of teflon possible. The good news is is that these are always the cheapest cookie sheets. I purchase my cookie sheets at either Walmart or the Dollar Tree. I use 9 X 13 cookie sheets for my activities so the Small Cookie Sheet by MainStay (Walmart brand) is perfect.
2. Sander- You will need to buff your cookie sheet so you will need to either use sand paper or a block sander.
3. Degreaser- We experimented with several degreasers and found Zep (purchased at the Home Depot) to be the best. This degreaser is a strong and water soluble.
4. Rubber or plastic gloves
5. Primer- I like to use the Rust-Oleum Metal Primer
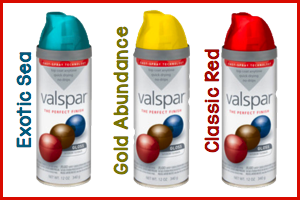
6. Paint- In terms of spray paint, I love the bright colors of Valspar. I purchase the paint at Lowes. Any paint color will do, but here are my favorites:
7. Glaze- I use the Triple Thick Glaze which I purchase at the Home Depot. The glaze puts a nice coating on the paint and prevents chipping and scratching.
8. Optional, but a good idea- face mask.
Directions
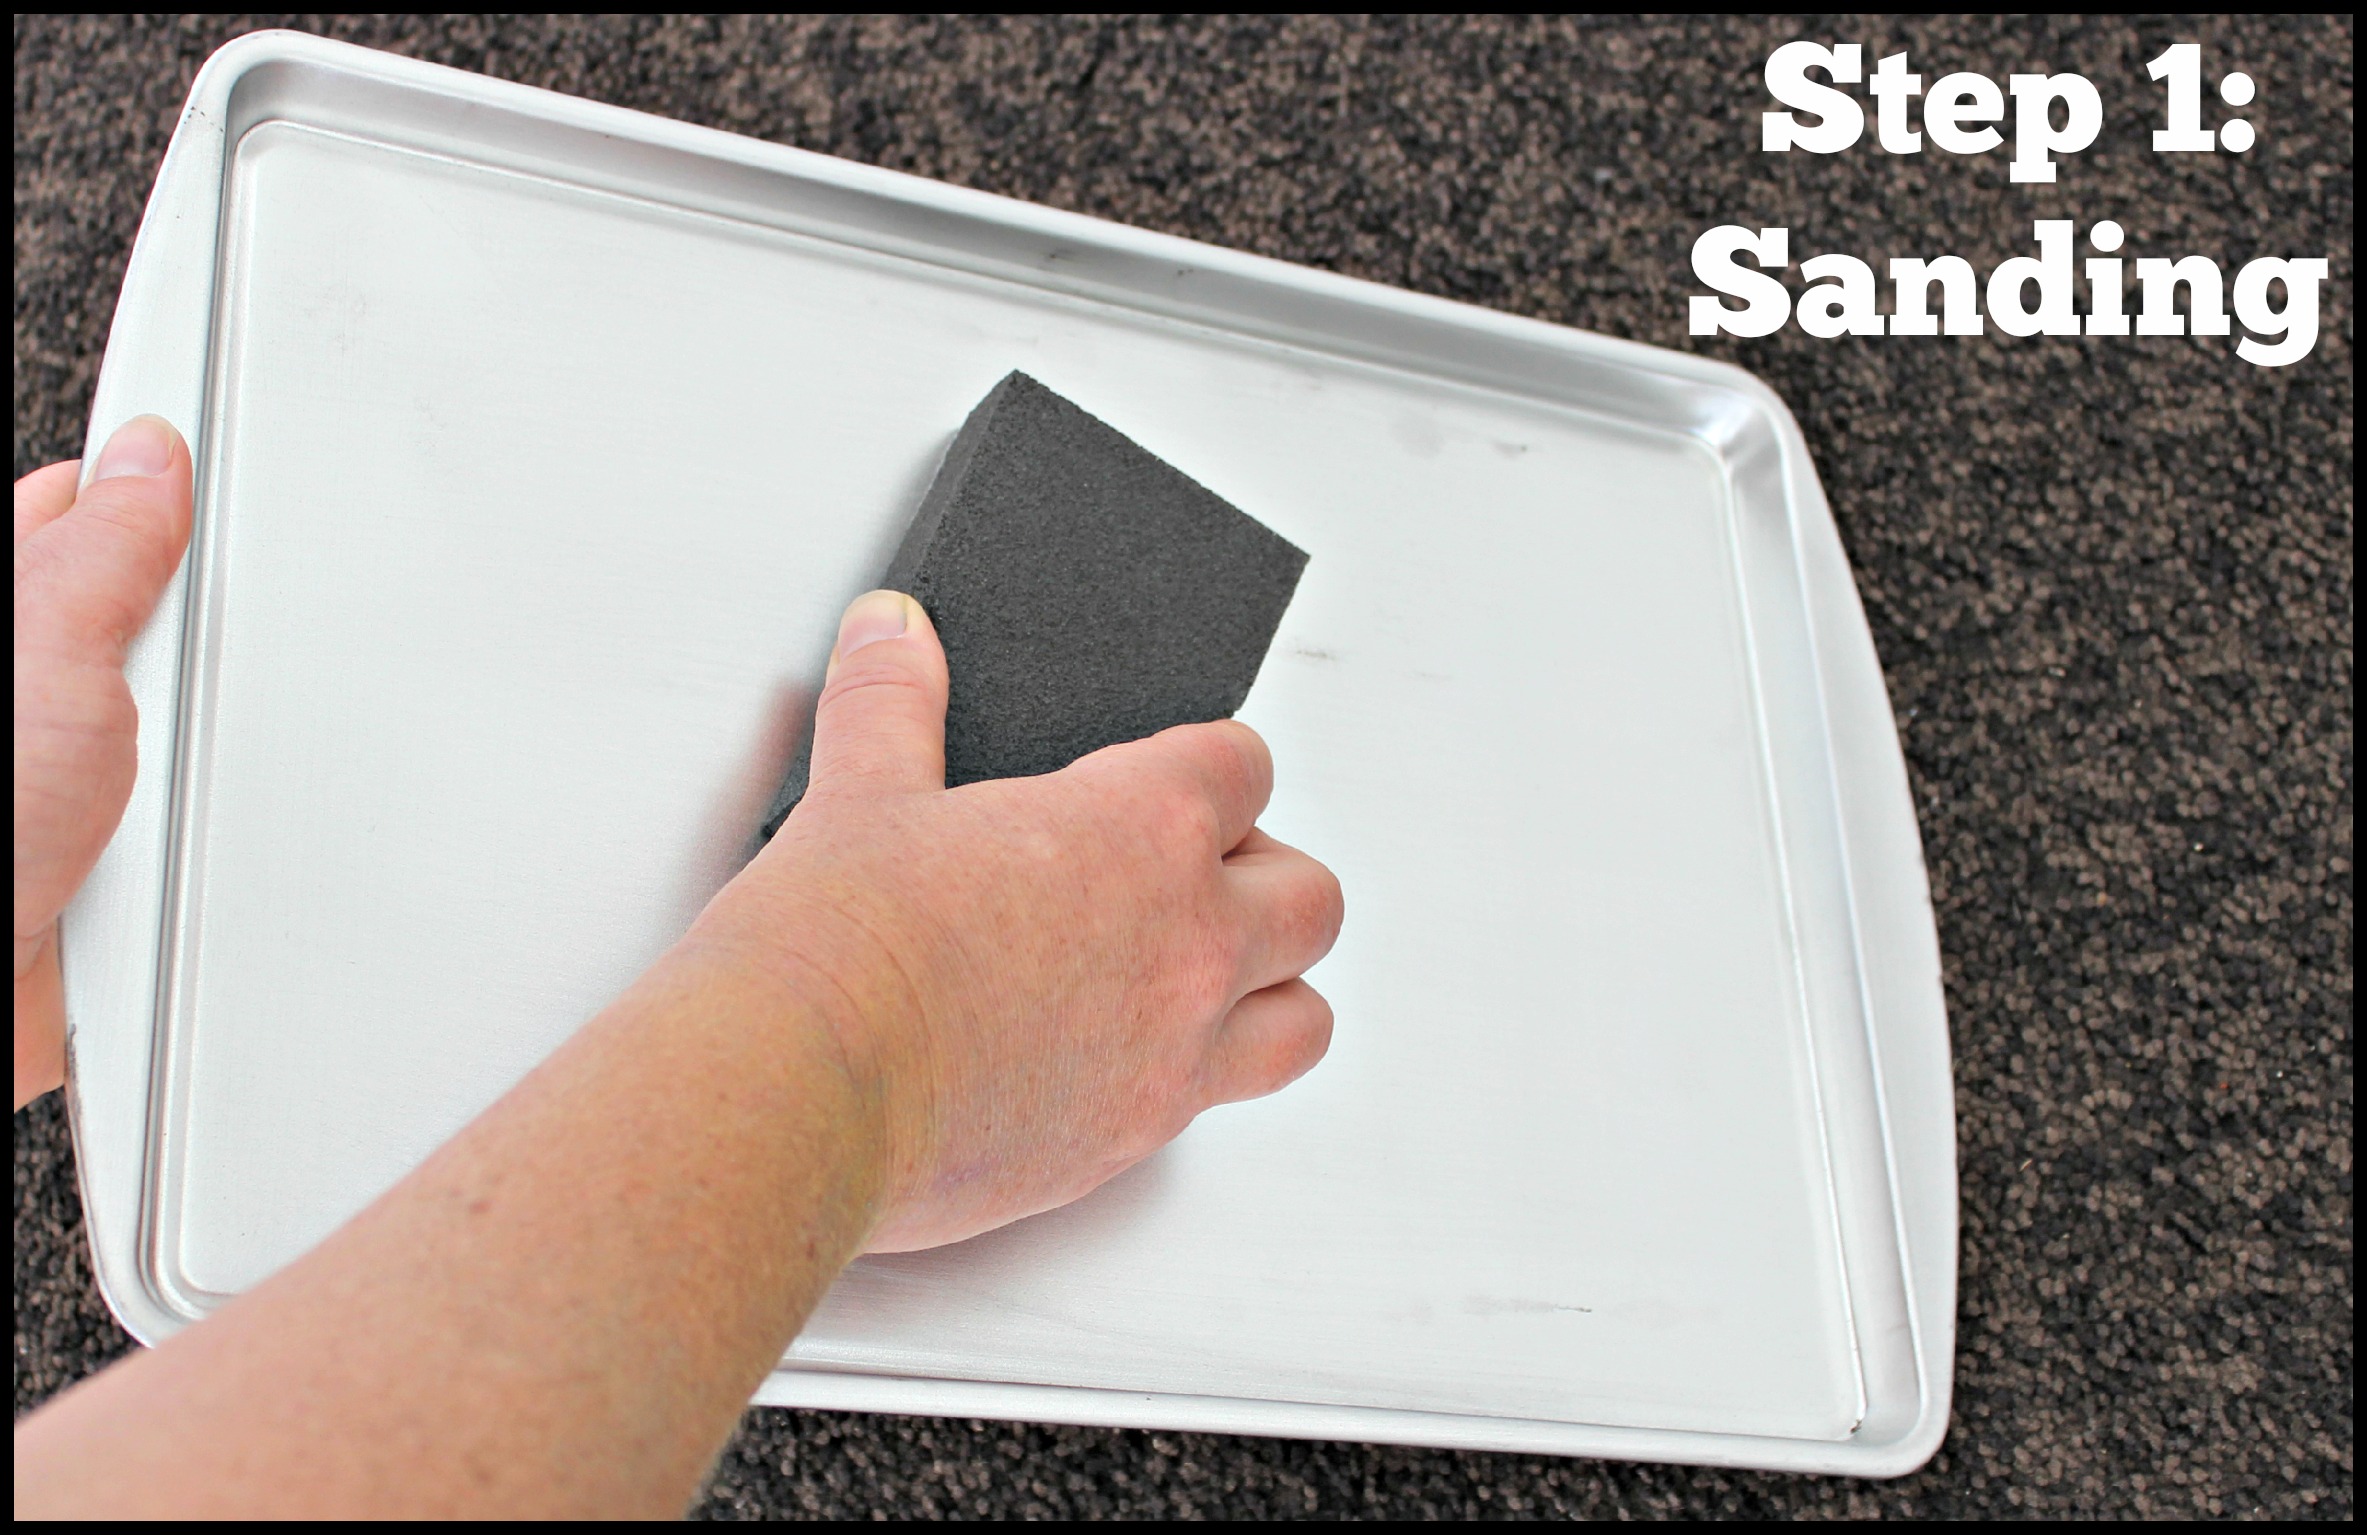
Step 1: Sand your cookie sheet. I use a fine sander sanding block. When sanding, be sure to sand the side borders and the upper lids of the cookie sheet. Note: I only sand and paint the top.
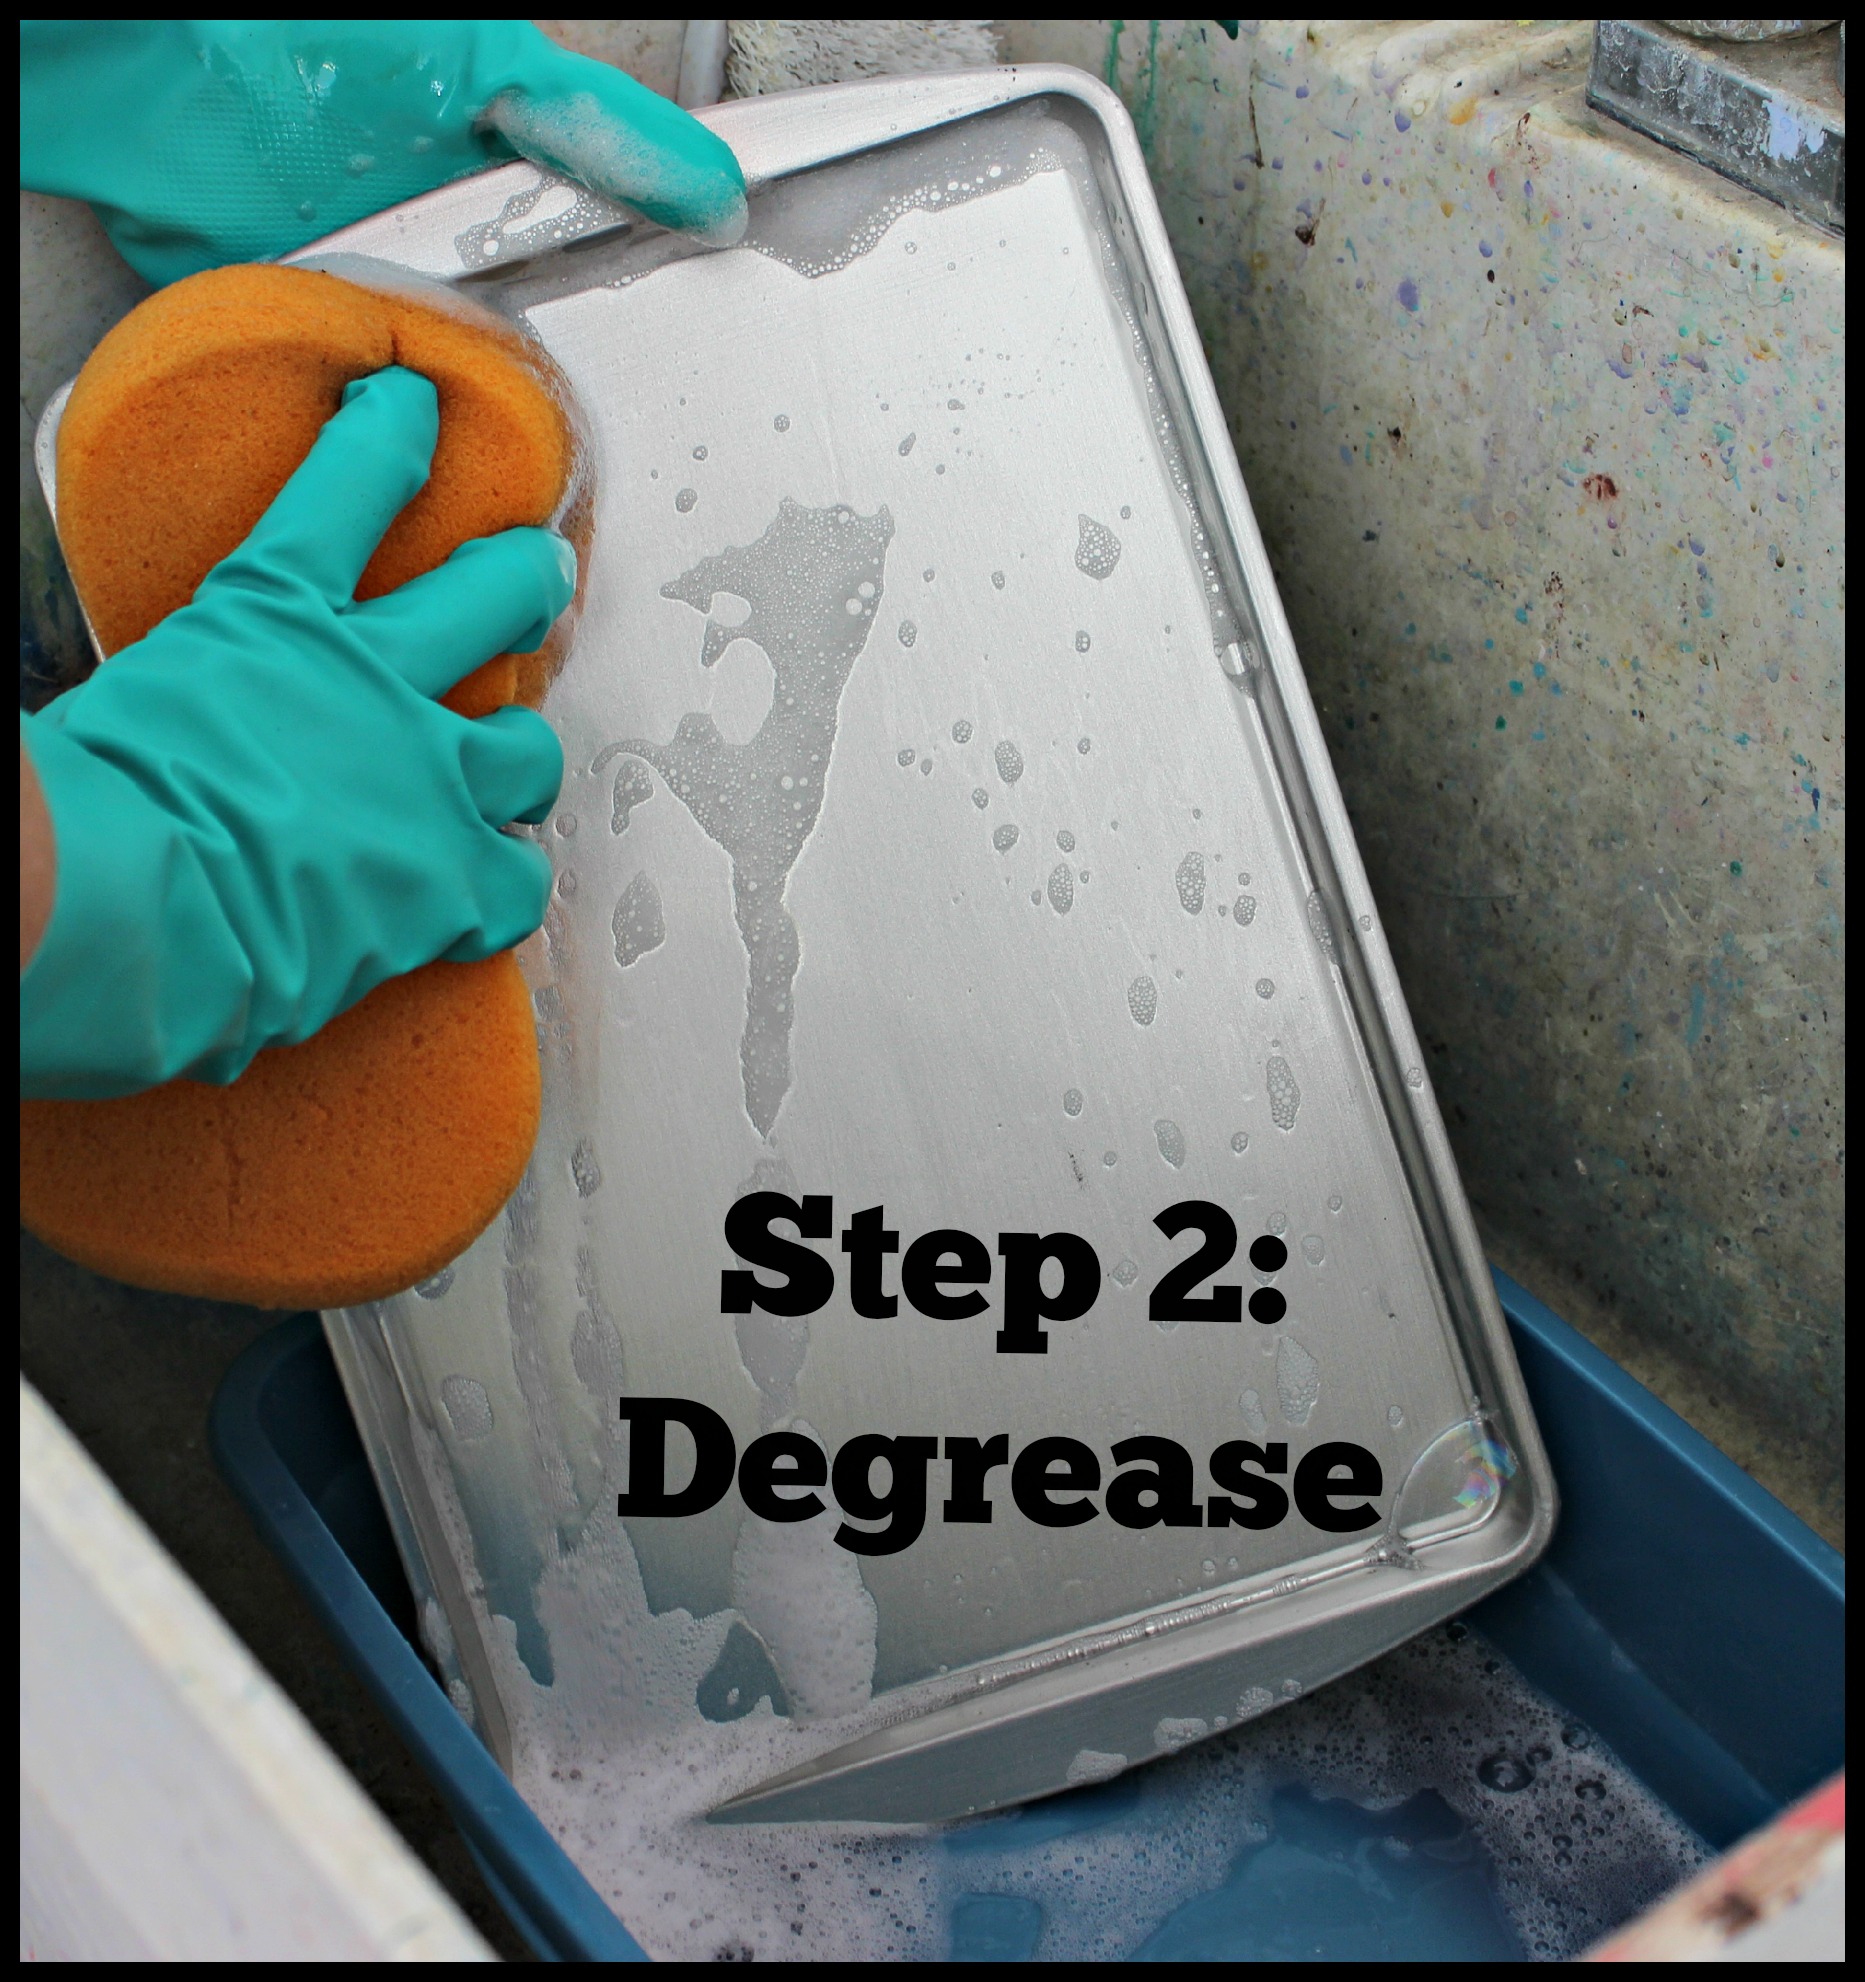
Step 2: Degrease. Wash the cookie sheet with a degreaser. This step is to ensure that all the non-stick material is removed from the cookie sheet. Be sure to read the directions on the container carefully. The degreaser I purchased is water soluble. There are extra clean-up and safety tips that you need to be aware of when using this type of liquid.
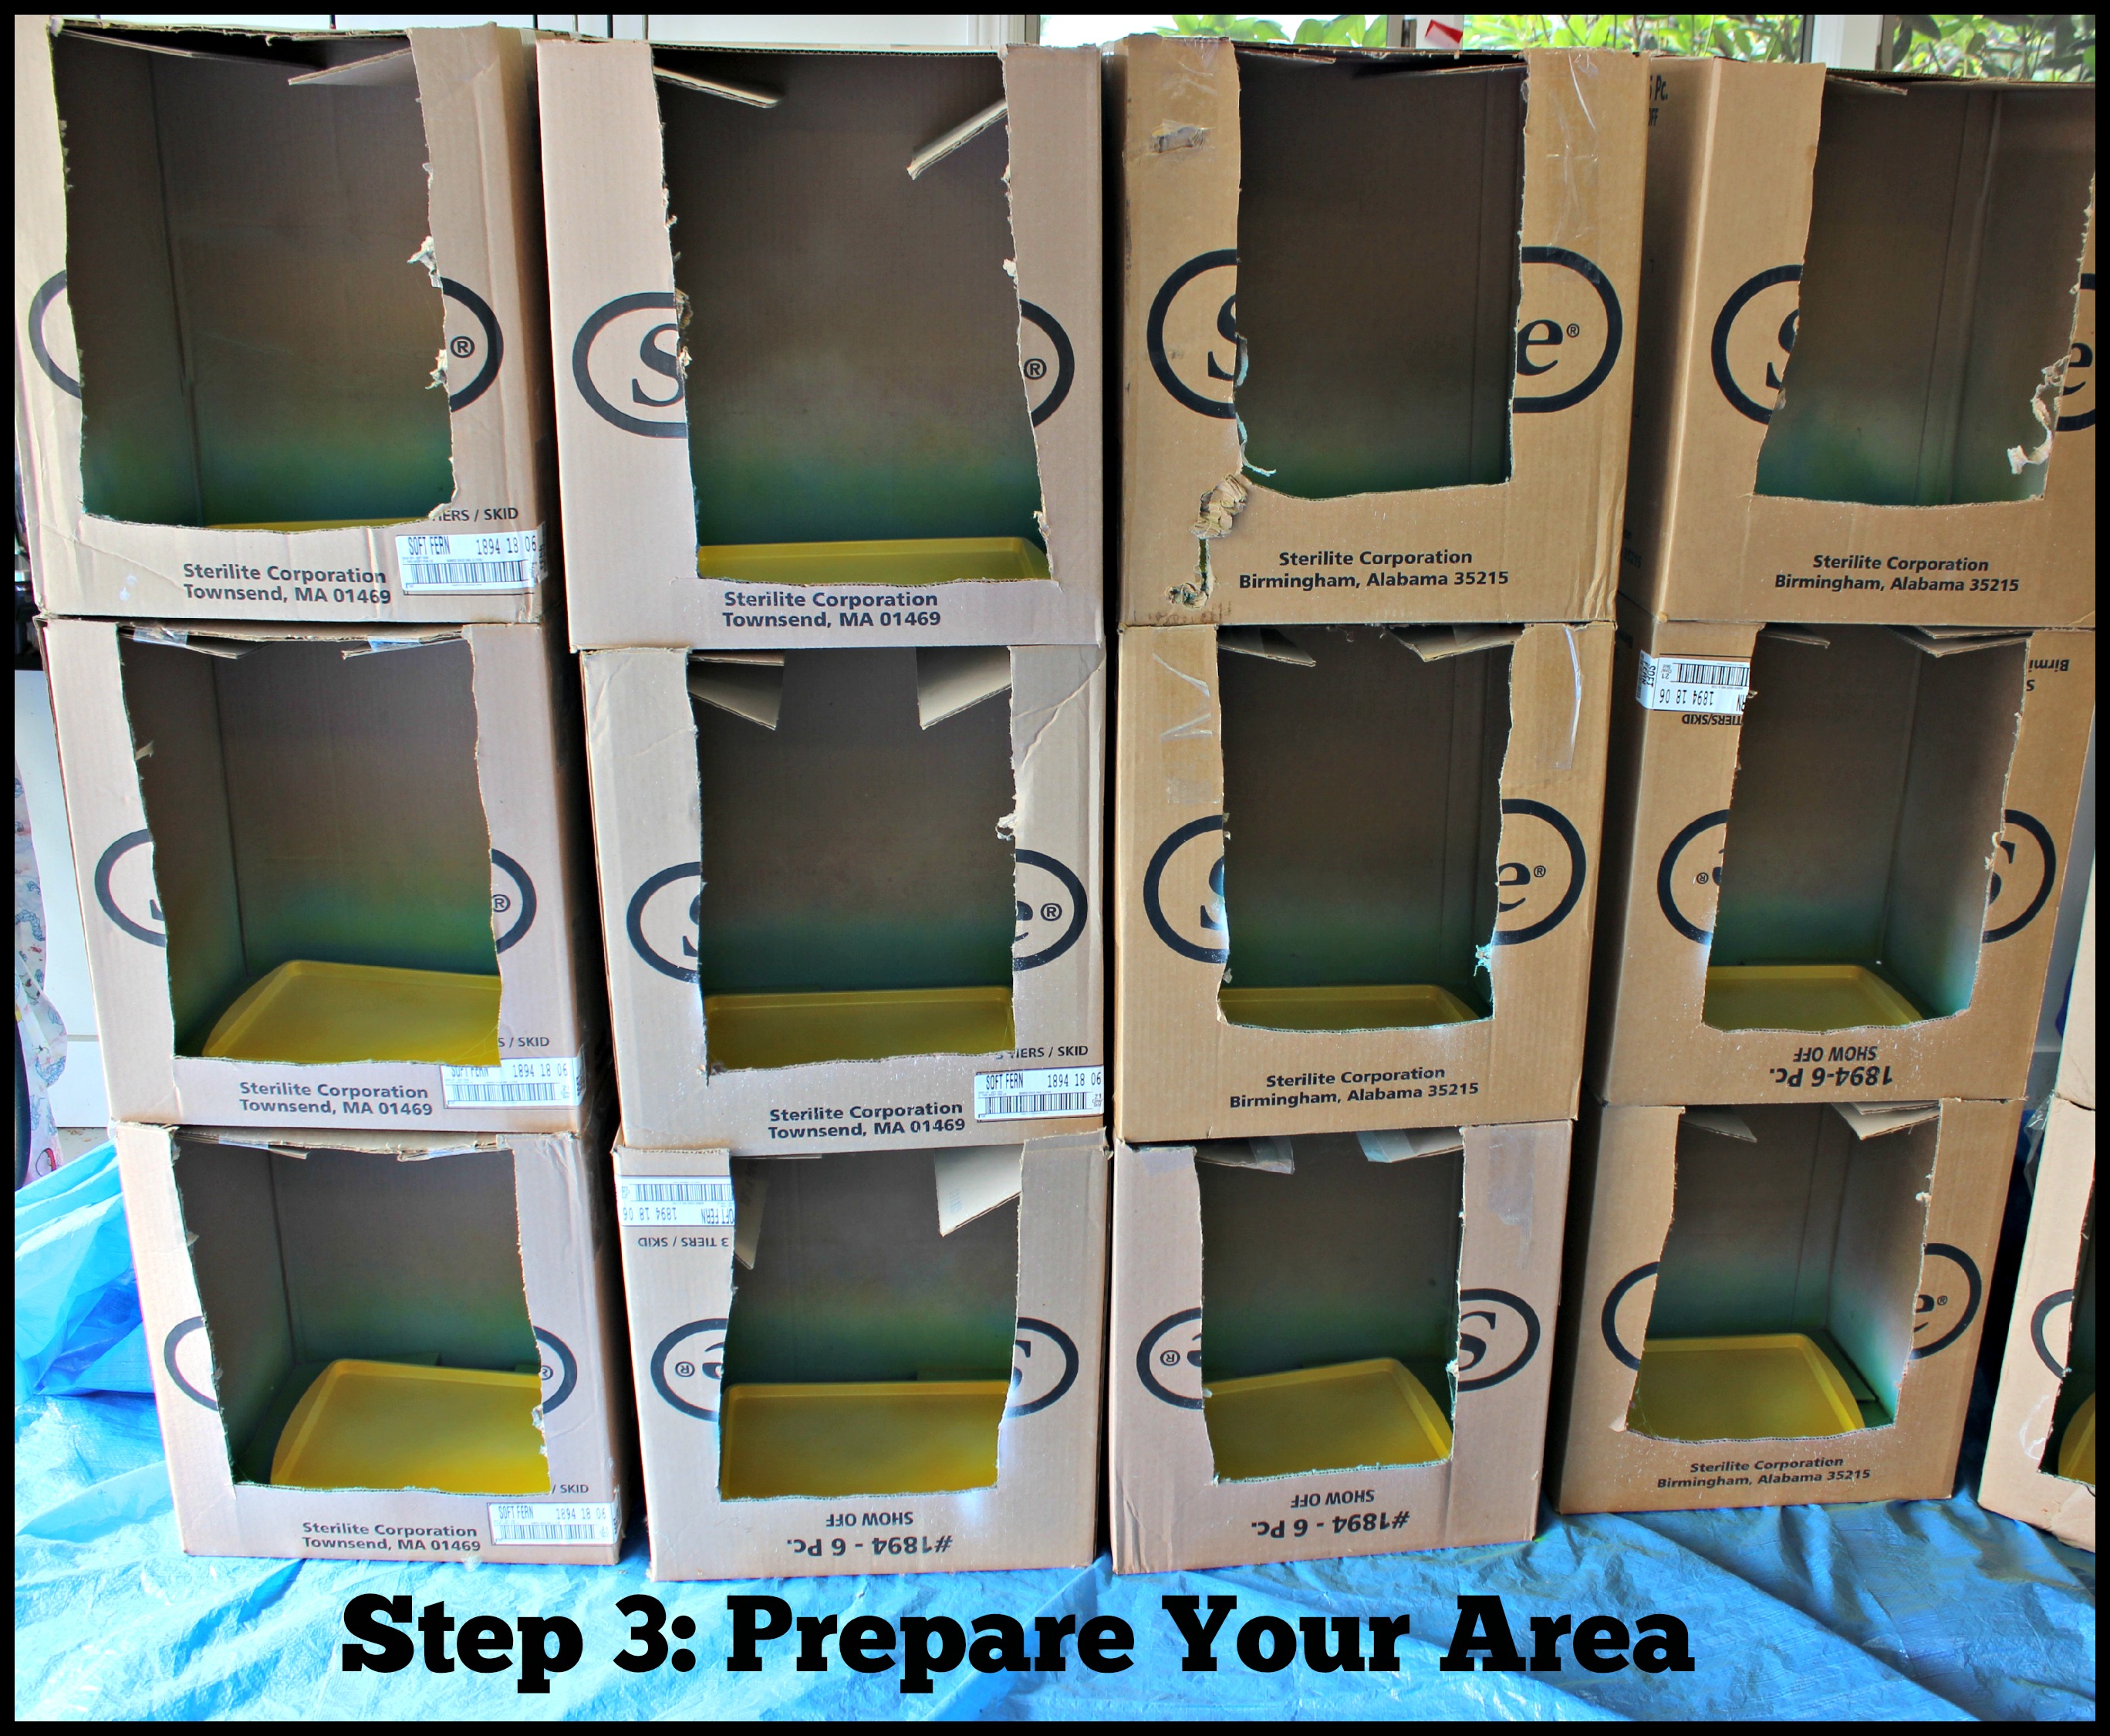
3. Prepare your area. I cut out old boxes and placed my cookie sheets in the boxes for painting. I planned to paint multiple cookie sheets so I set up several boxes; however, if you are only painting one cookie sheet you may not need the box. Simply place the cookie sheet on newspaper.
4. Paint with a primer. Now it’s time to get painting! You will need to first paint the cookie sheet with a primer. I know– some paints say that the primer is included and this would be an unnecessary step, but I haven’t had much luck by simply using only the color. The white base of the primer also limits the number of coats needed with the colored paint.
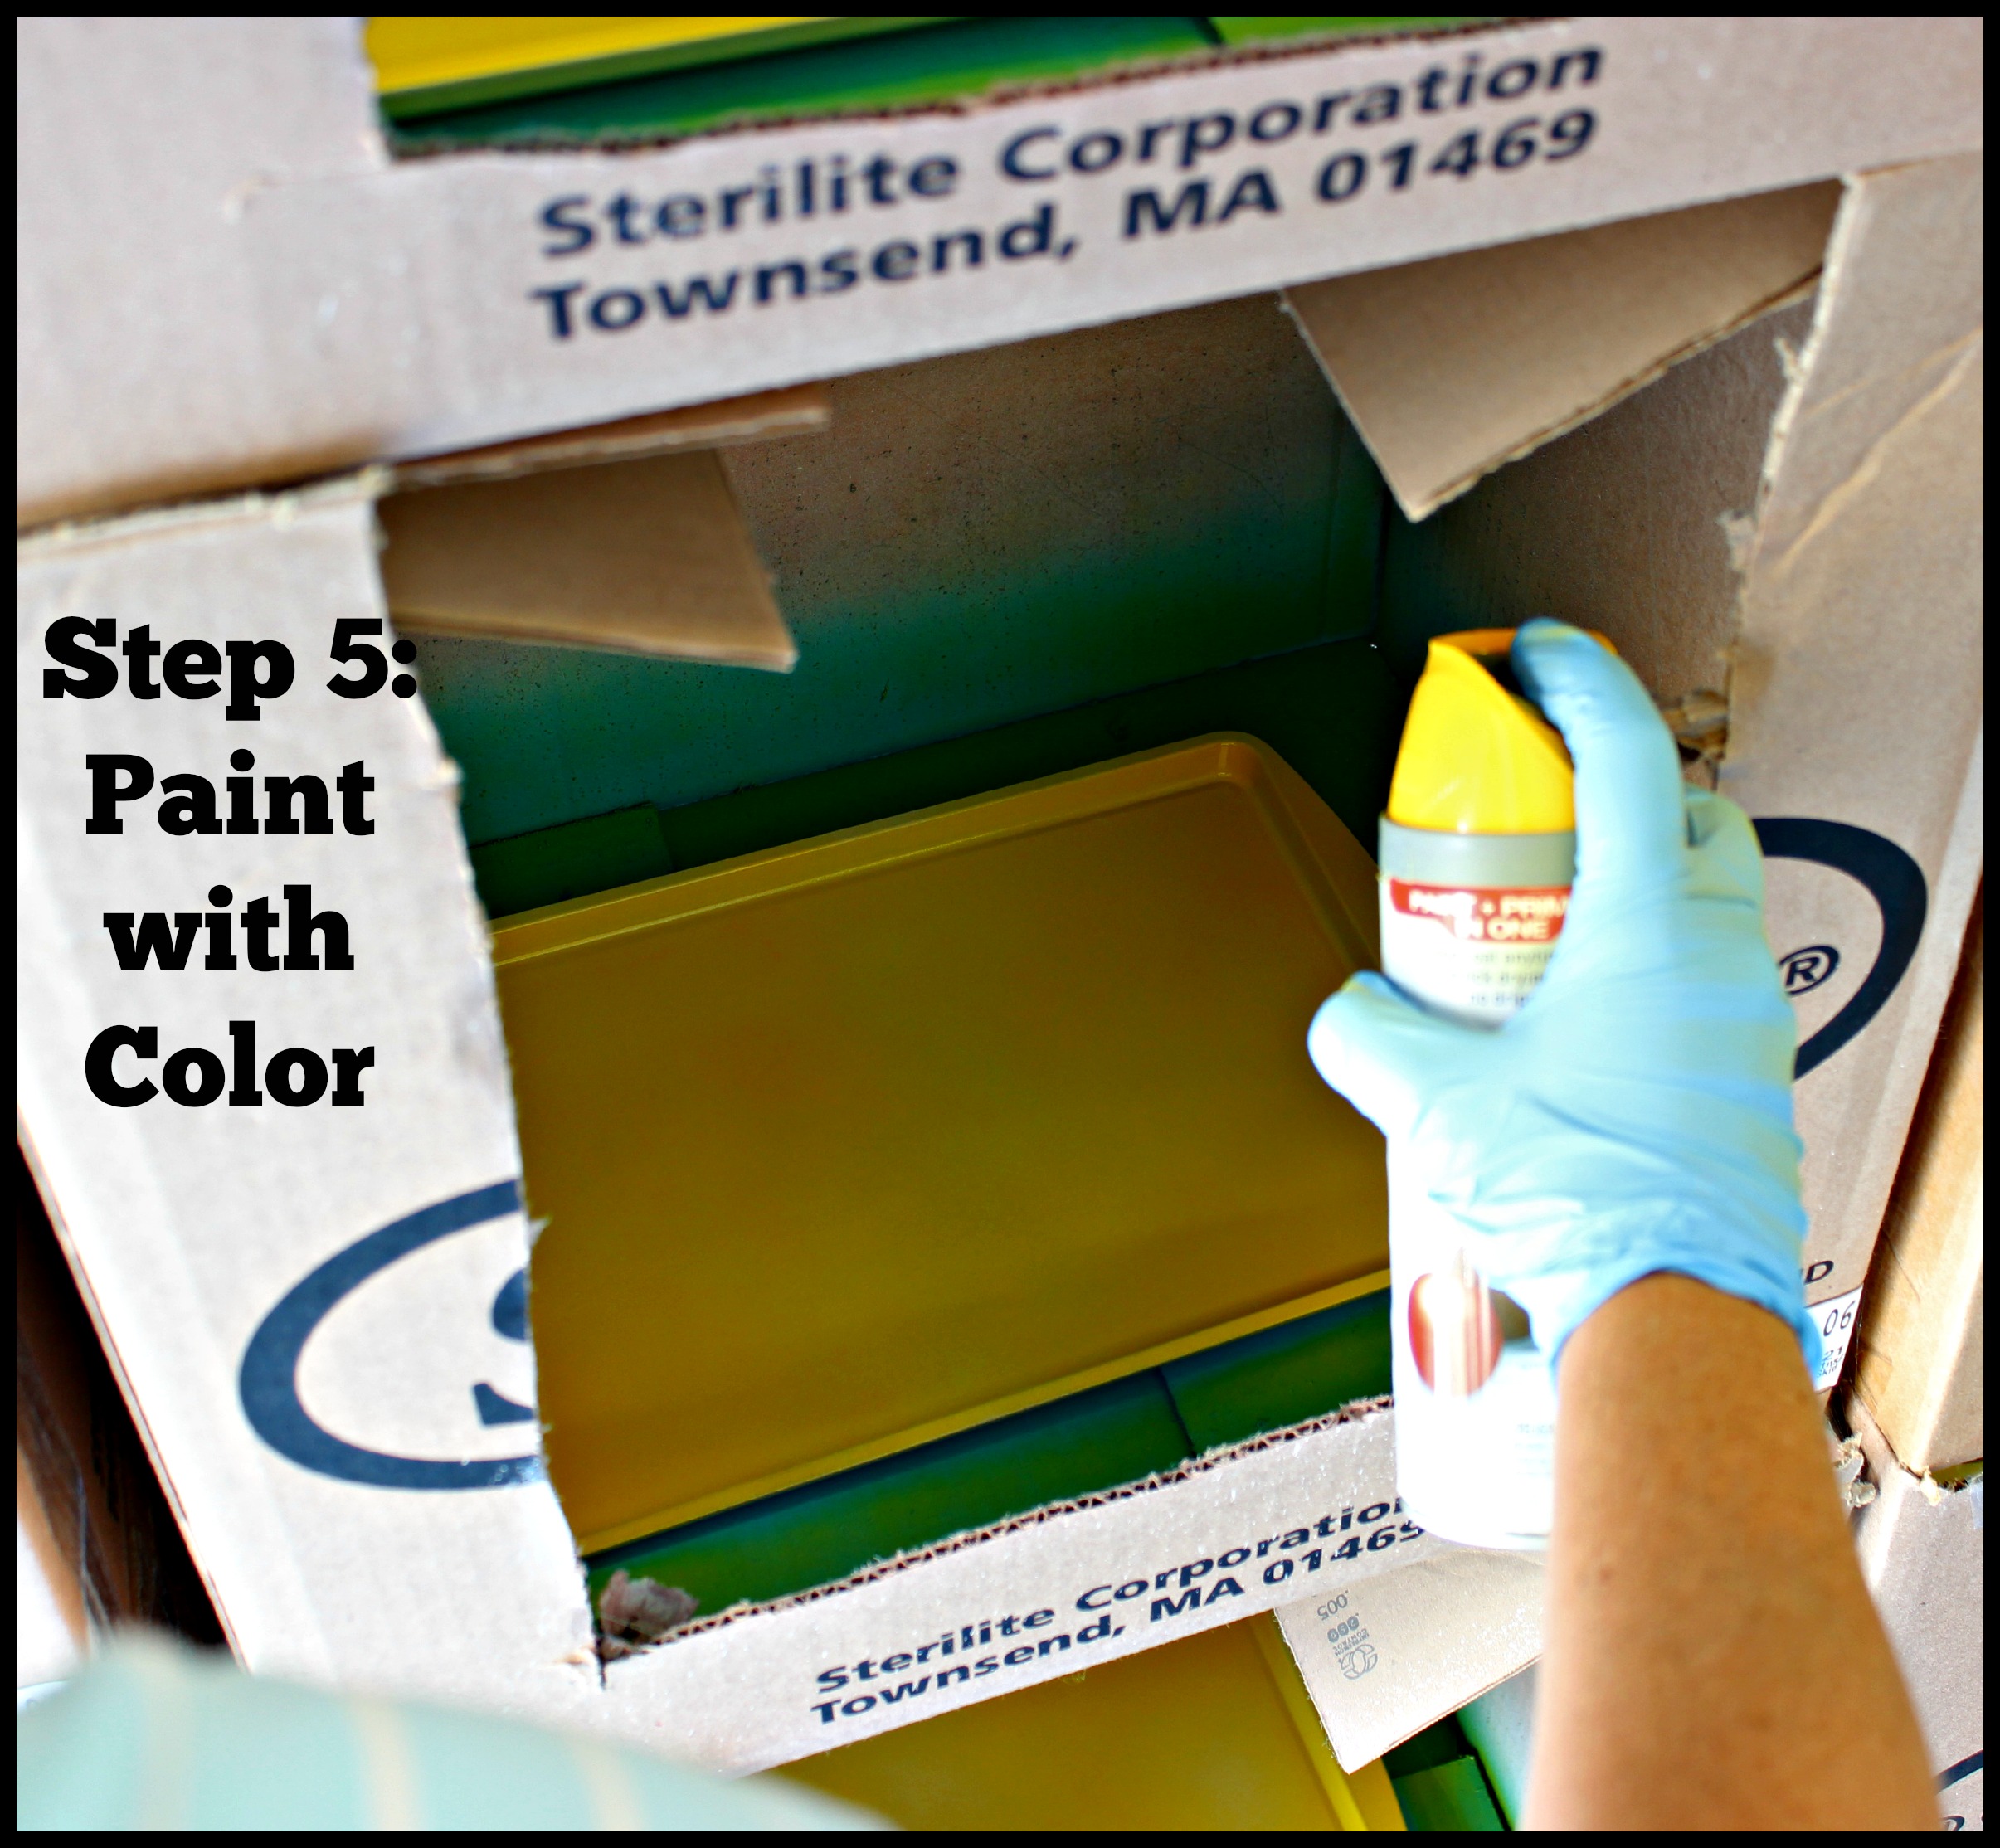
5. Paint with color. Now the fun begins! Choose your favorite color and spray away. You will need to spray on several coats of paint to fully cover the cookie sheet. I found that you can paint approximately 12 cookie sheets with one can of paint. Just a helpful hint: Choose a darker color paint so that you don’t need to use as many coats.
6. Top Coat. Once the cookie sheet is totally dry, spray the glaze over the paint. This step just provides one extra assurance that your paint won’t chip or scratch.
7. Wait. This is the hard part. The paint just needs to settle in. I typically wait 2 weeks before using the cookie sheets.
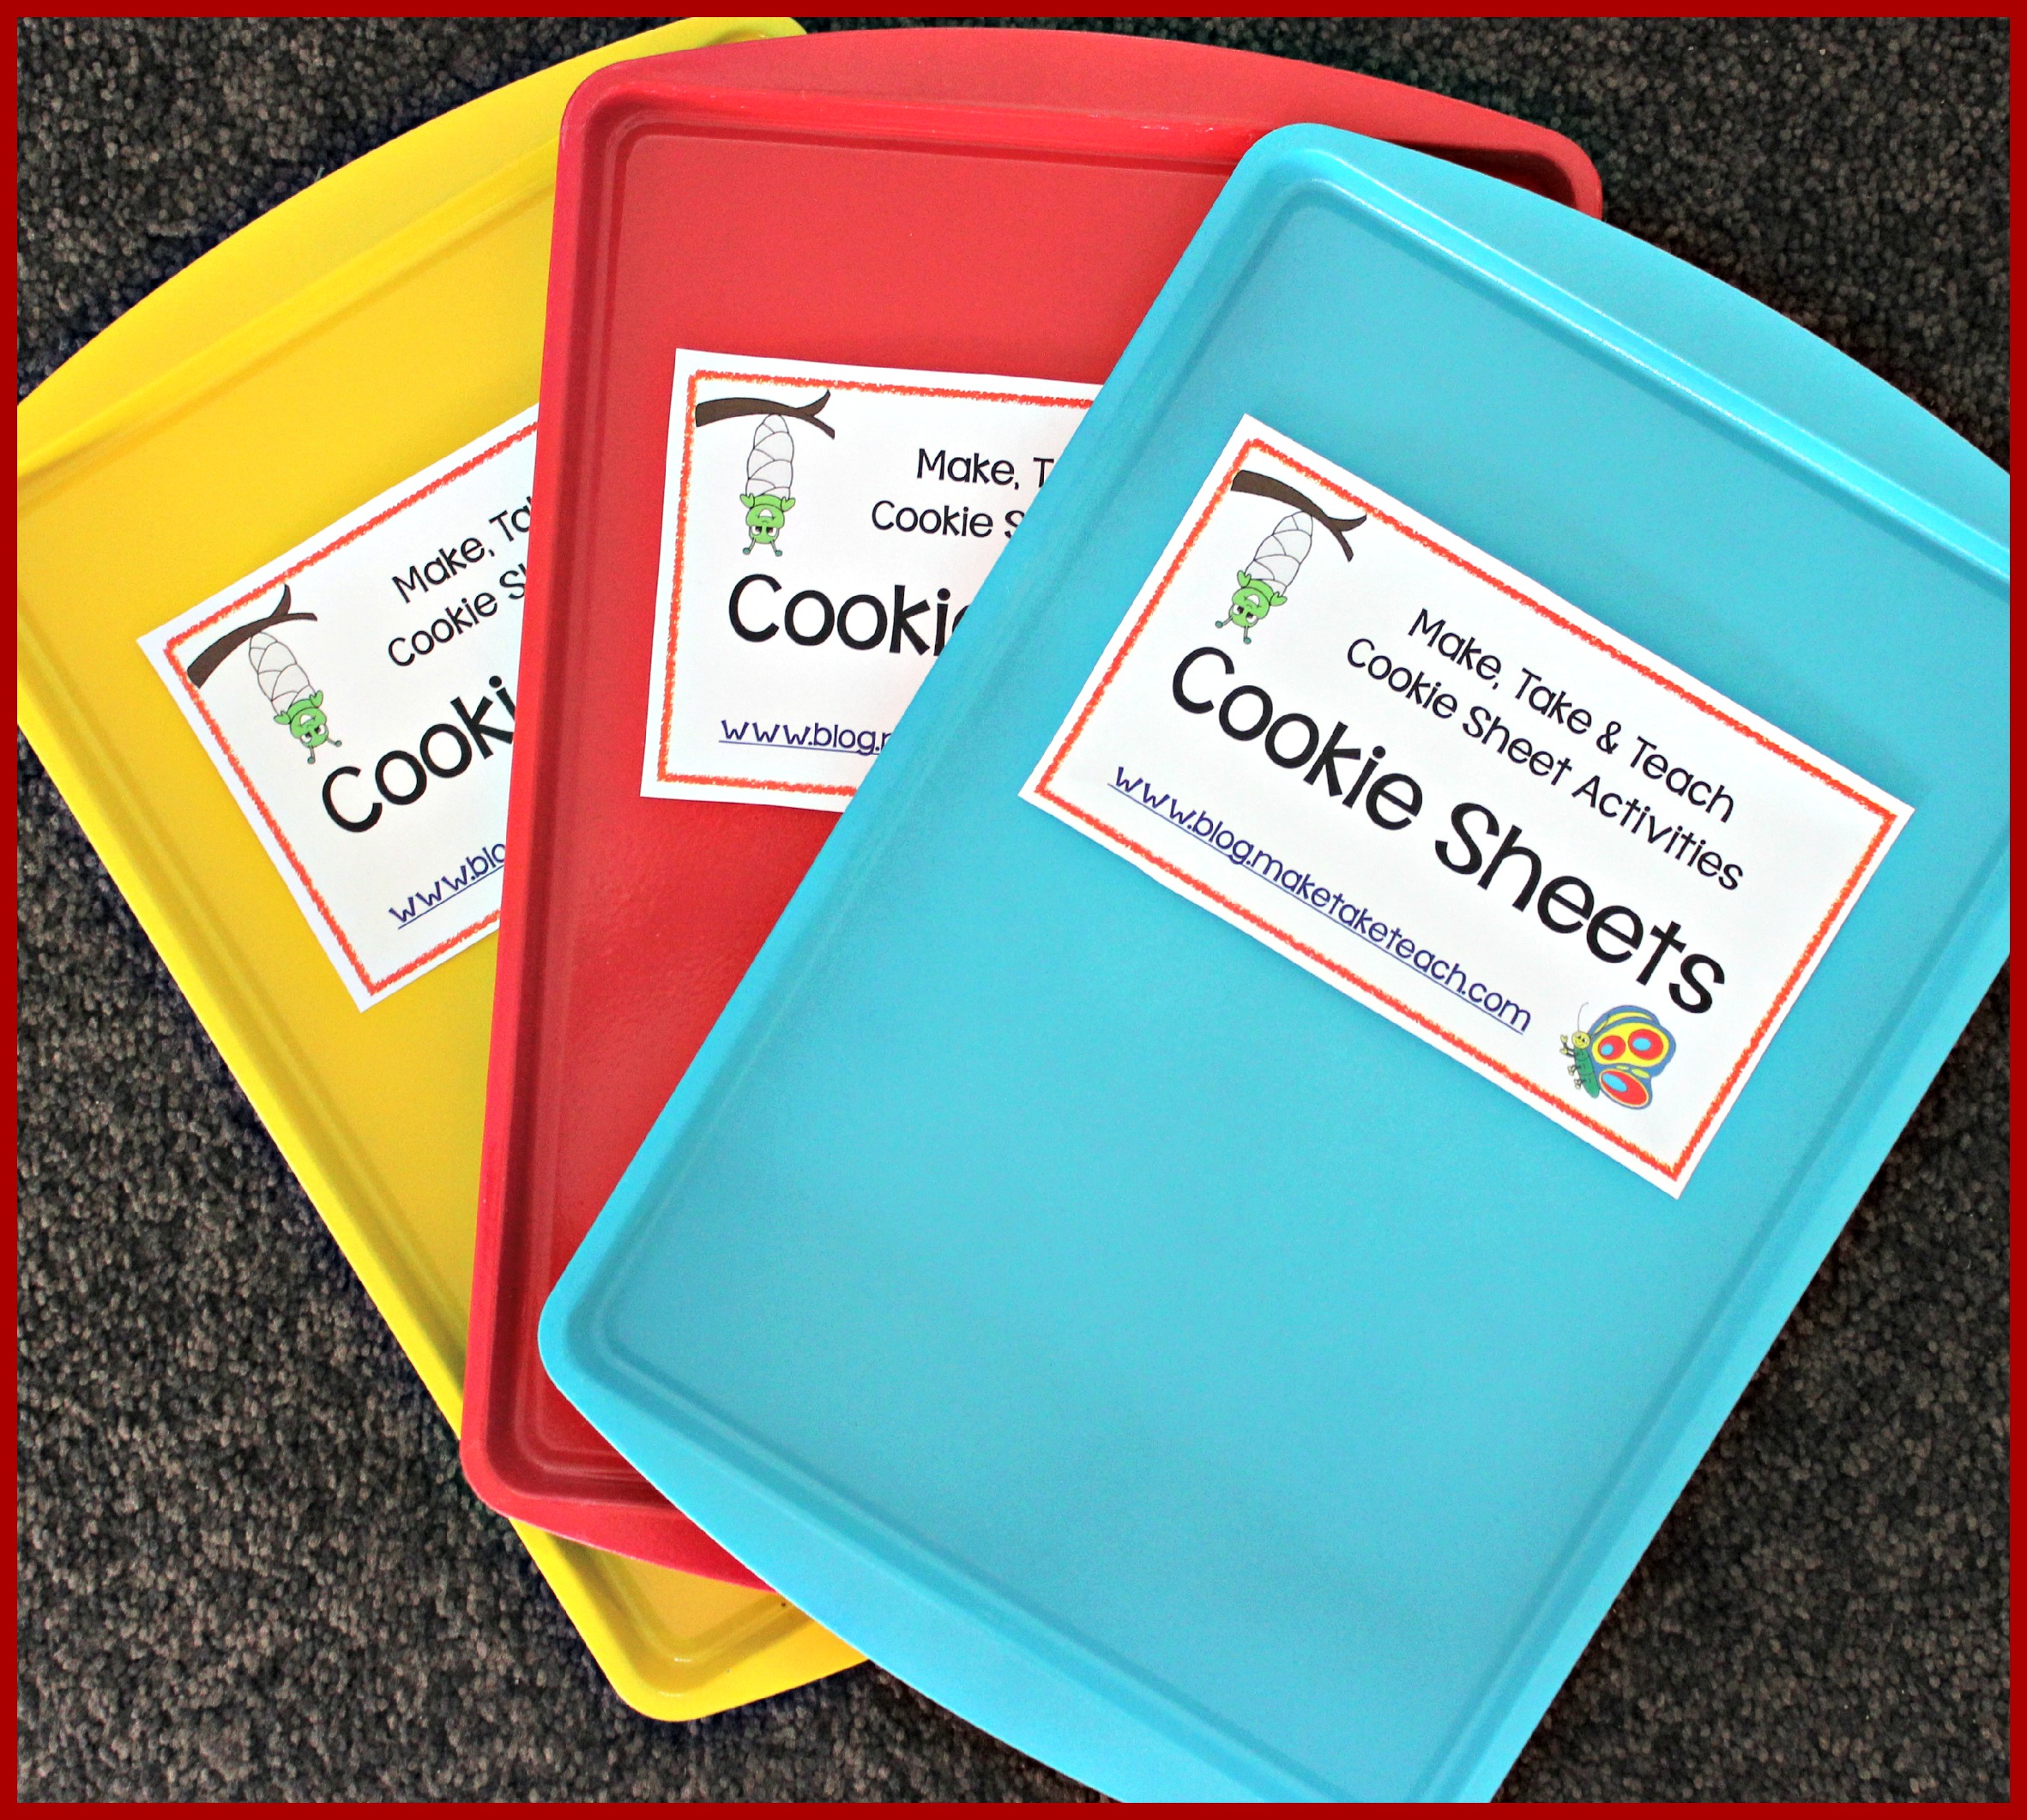
Well, that’s it. It’s pretty simple, but a bit time consuming. If you are not sure you want to take on such a project and still want the colored cookie sheets, I have a few available on the Make, Take & Teach website. My garage has turned into somewhat of a painted cookie sheet production area and eventually my husband will want his side of garage back. Of course, these painted cookie sheets were made for use with students and for educational and arts/crafts purposes. They are not intended for baking (my little disclaimer).
Just click HERE if you’d like to order the cookie sheets.
The Make, Take & Teach Cookie Sheet Activities are hands-on activities designed for teaching and practicing early literacy and math skills. The Pre K- K bundle contains activities for teaching alphabetic order, rhyme, CVC words, beginning sounds, short vowels, number order and basic number concepts. These activities are great for use within independent literacy centers or for small group instruction.
The Cookie Sheet Activities Pre-K/ Kindergarten Bundle is available in my online Teachers Pay Teacher store.
The Cookie Sheet Activities First Grade Bundle contains activities for learning and practicing sight words, blends and digraphs and word families. This bundle is also available in my TpT store.





Is there a way to paint the cookie sheets without using spray paint?
Hi Cathy- I’m not sure. The people at the Home Depot or Lowe’s are very helpful. There may be an different paint that you could use.
Hello, I was wondering if the cookie sheets are still magnetic after all the sanding and degreasing. Thanks!
Yes, they are still magnetic 🙂
Great idea. Thank you for sharing. Do I still need the degreaser and sanding steps if it is an new aluminum tray with no teflon? i bought them at Dollar Tree.
I purchase mine at the Dollar Tree too and there’s a bit of teflon on the sheet. You probably could get away with just sanding. You could try one with the primer, paint and then for sure use the glaze.
Thank you for this post! I tried to paint some cookie sheets last year, but the paint just ended up chipping off. I didn’t use a degreaser and I had a primer/paint in one, so that may have been the problem. I’m going to try again now that I know the right way to do it!
Hi Kristy- for sure the primer is important. For sure use the glaze too 🙂
I have some old cookie sheets that I no longer use for baking. Will these work and are there any adjustments to the steps that you would recommend?
Hi Cynthia- old cookie sheet should work. I would use the same directions. The important part is to be sure to remove the coating on the cookie sheet– and with a good primer it should all be good 🙂