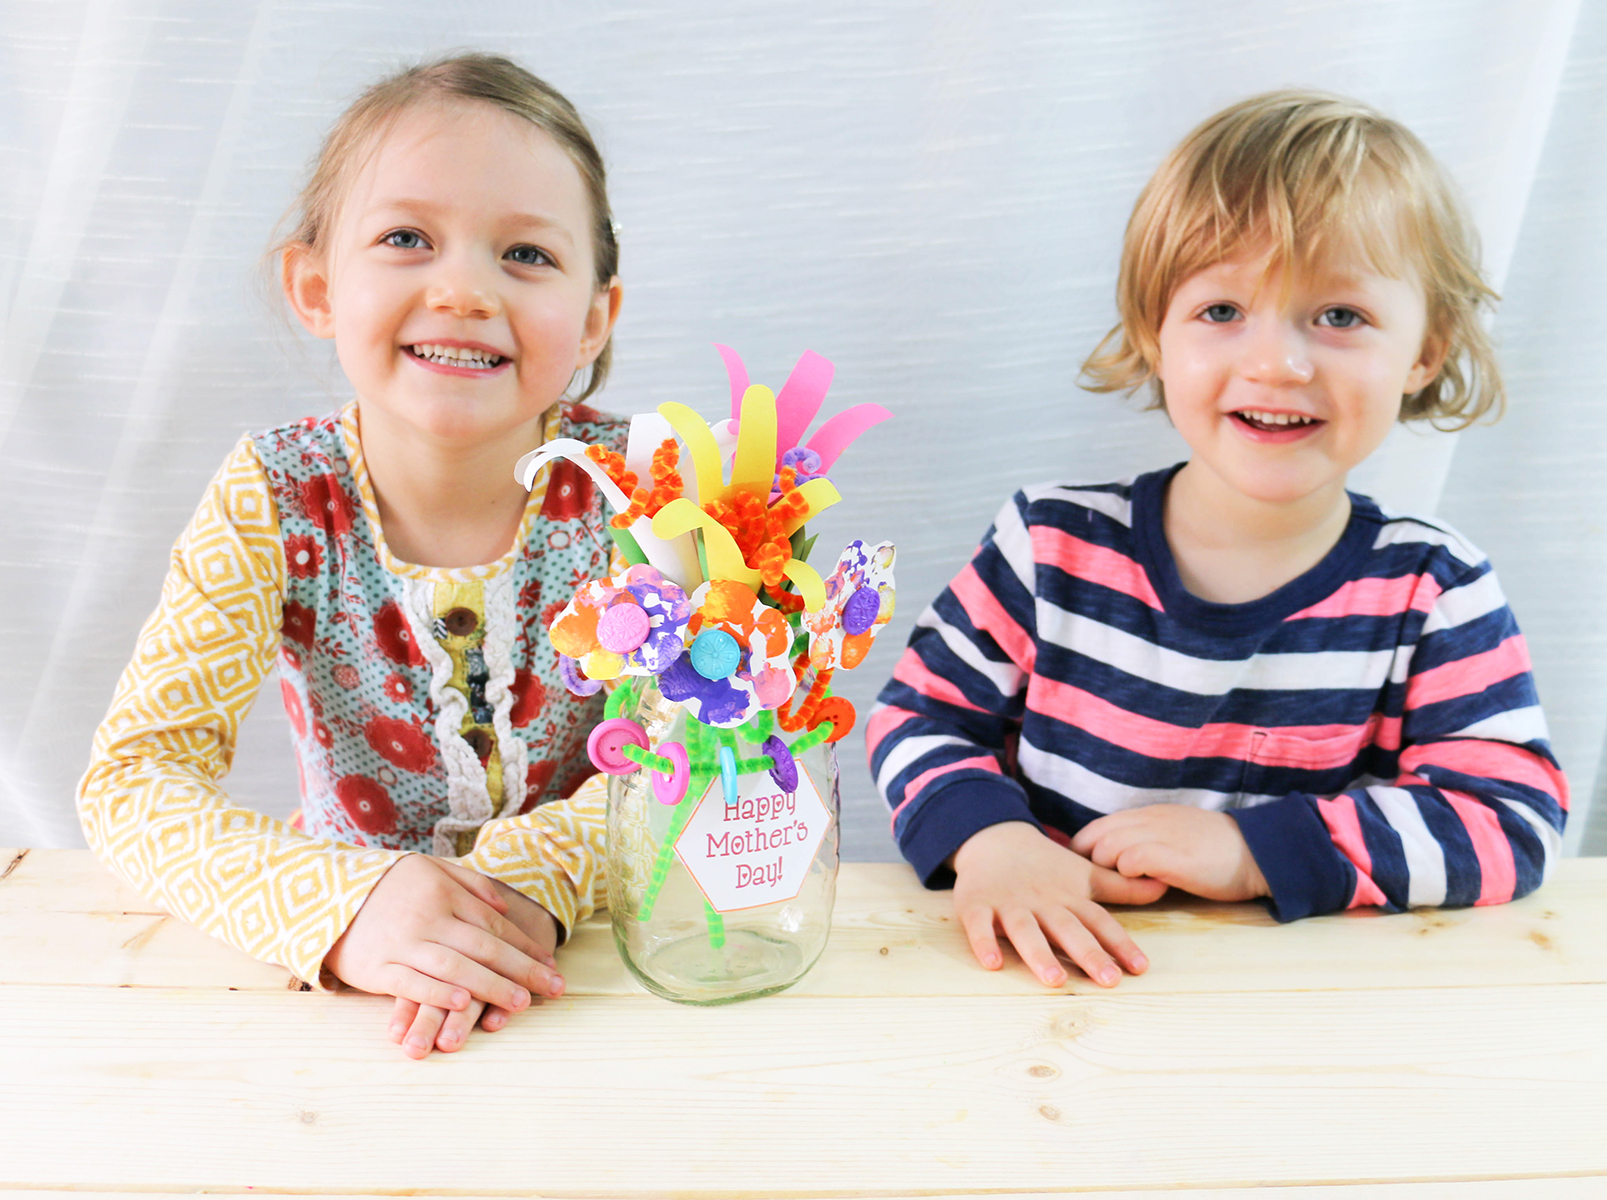
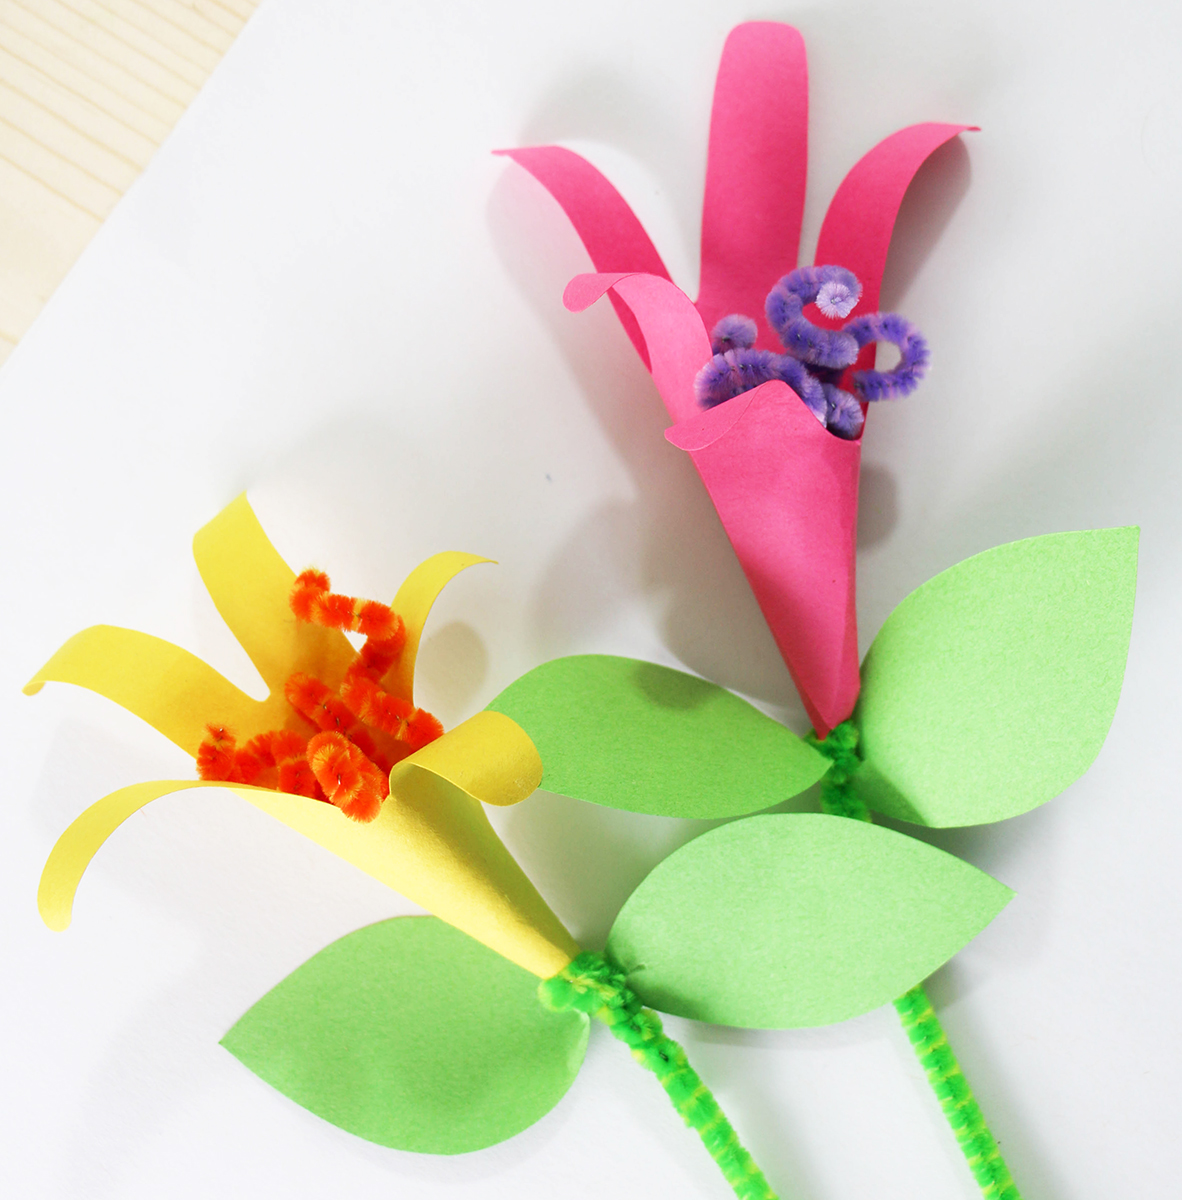
 Below you will find instructions to make 2 easy flowers to arrange a
cute Mother’s Day Bouquet.
We chose to reuse an empty honey jar for our vase.
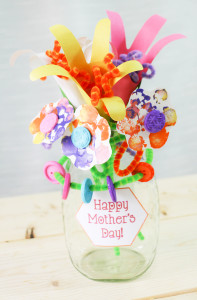
1. The Hand Lily
For the Hand Lily Flower you will need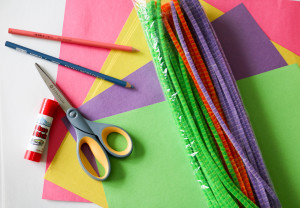
- construction paper
- chenille sticks
- pencil
- glue stick
- scissors
Start by tracing the child’s hand on the construction paper.

Cut the hands out and use the pencil to curl all the fingers.
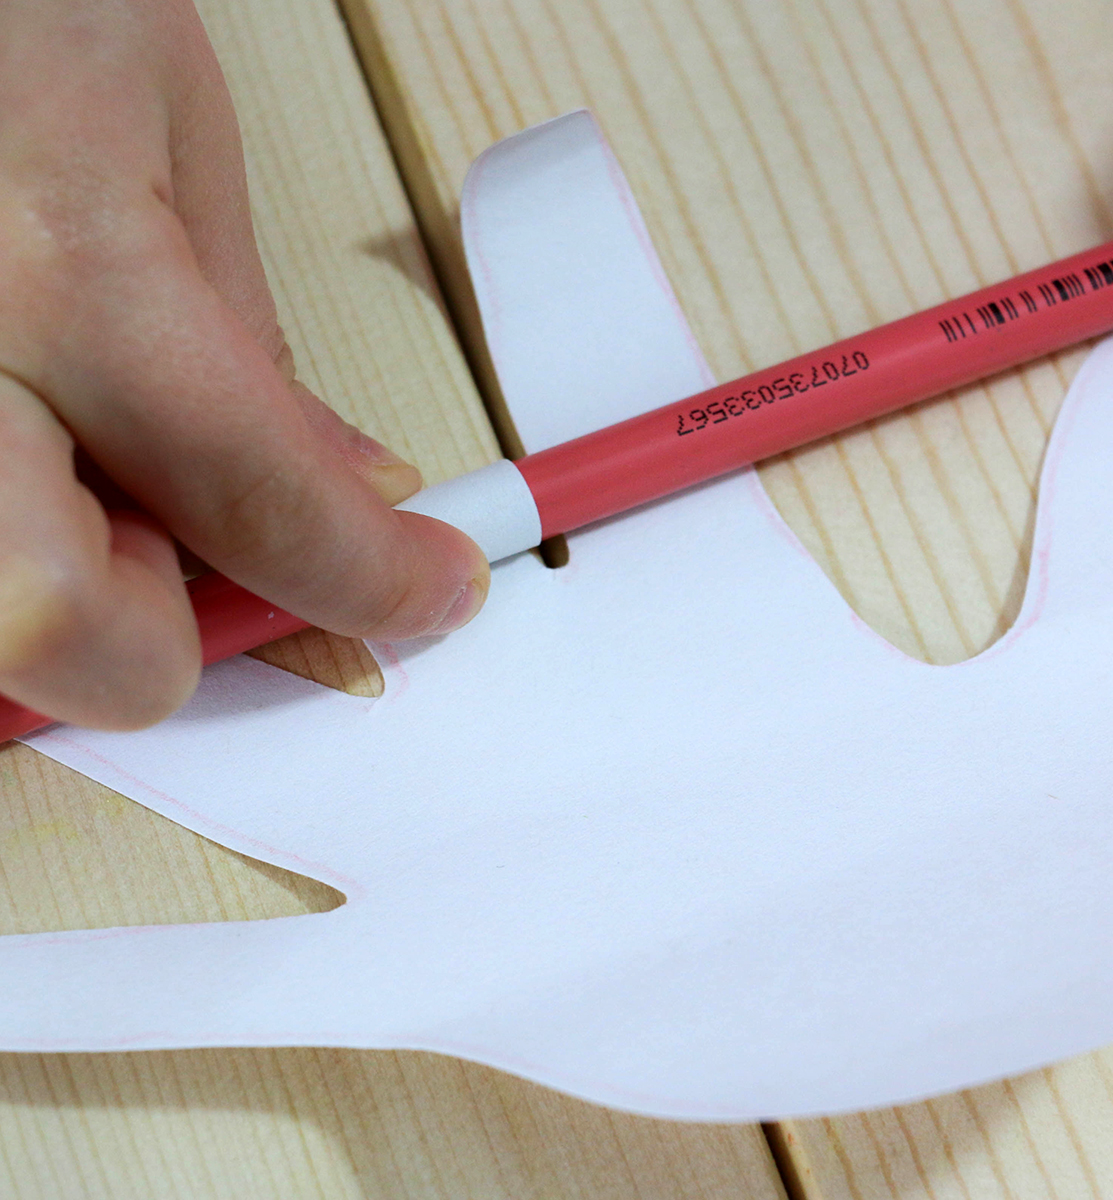
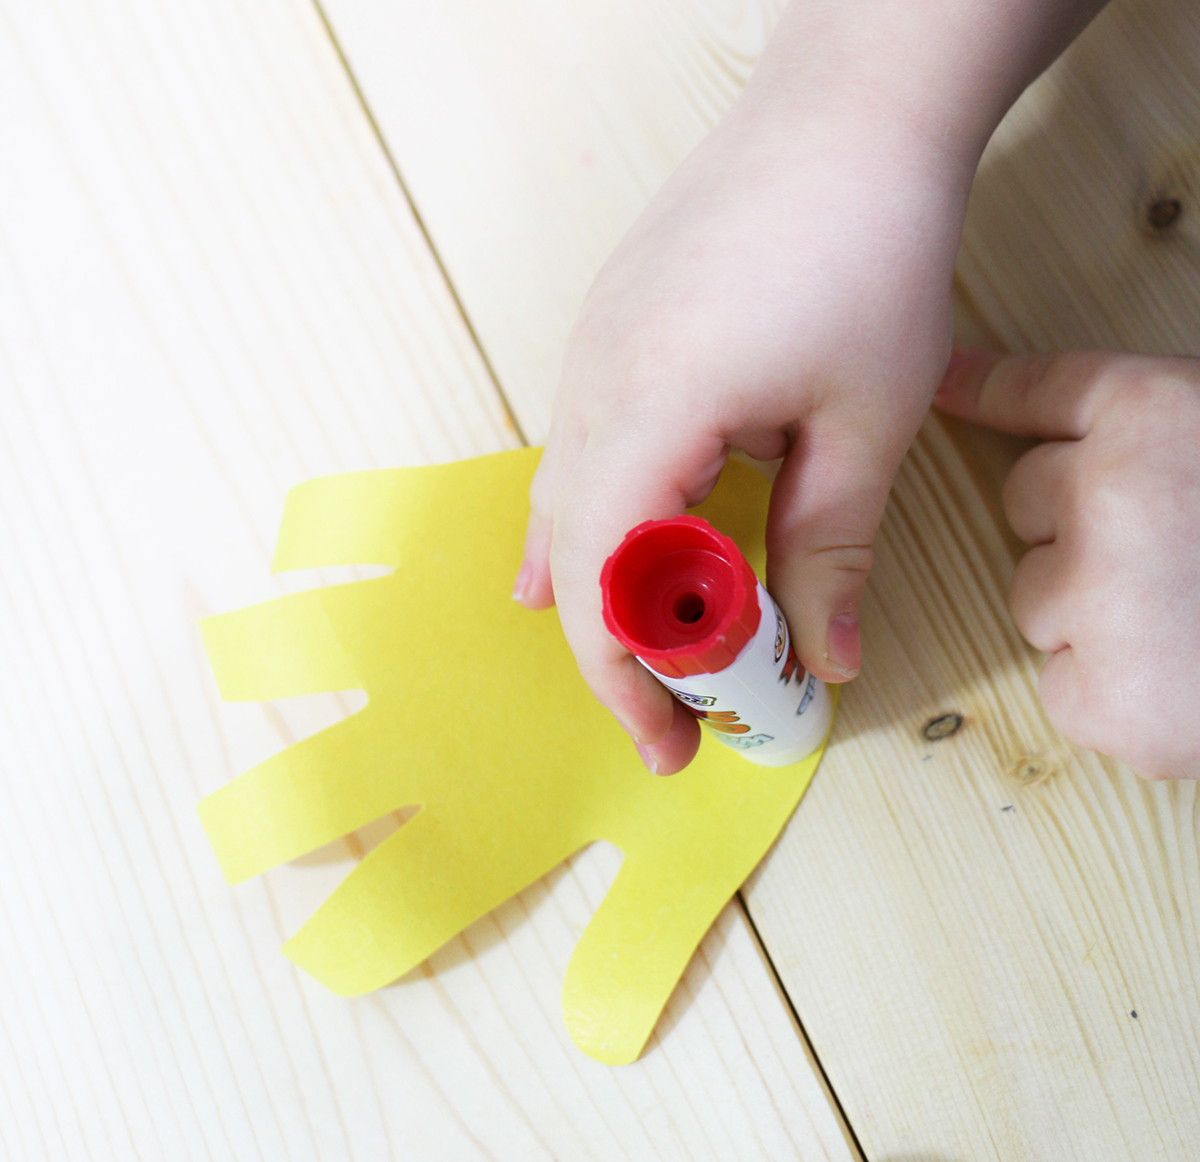
With the curls facing the table, apply glue to one side of the palm.
Form a funnel shape as you stick the glued palm area to the back of the opposite side.
Allow funneled hand to dry while assembling the chenille sticks.
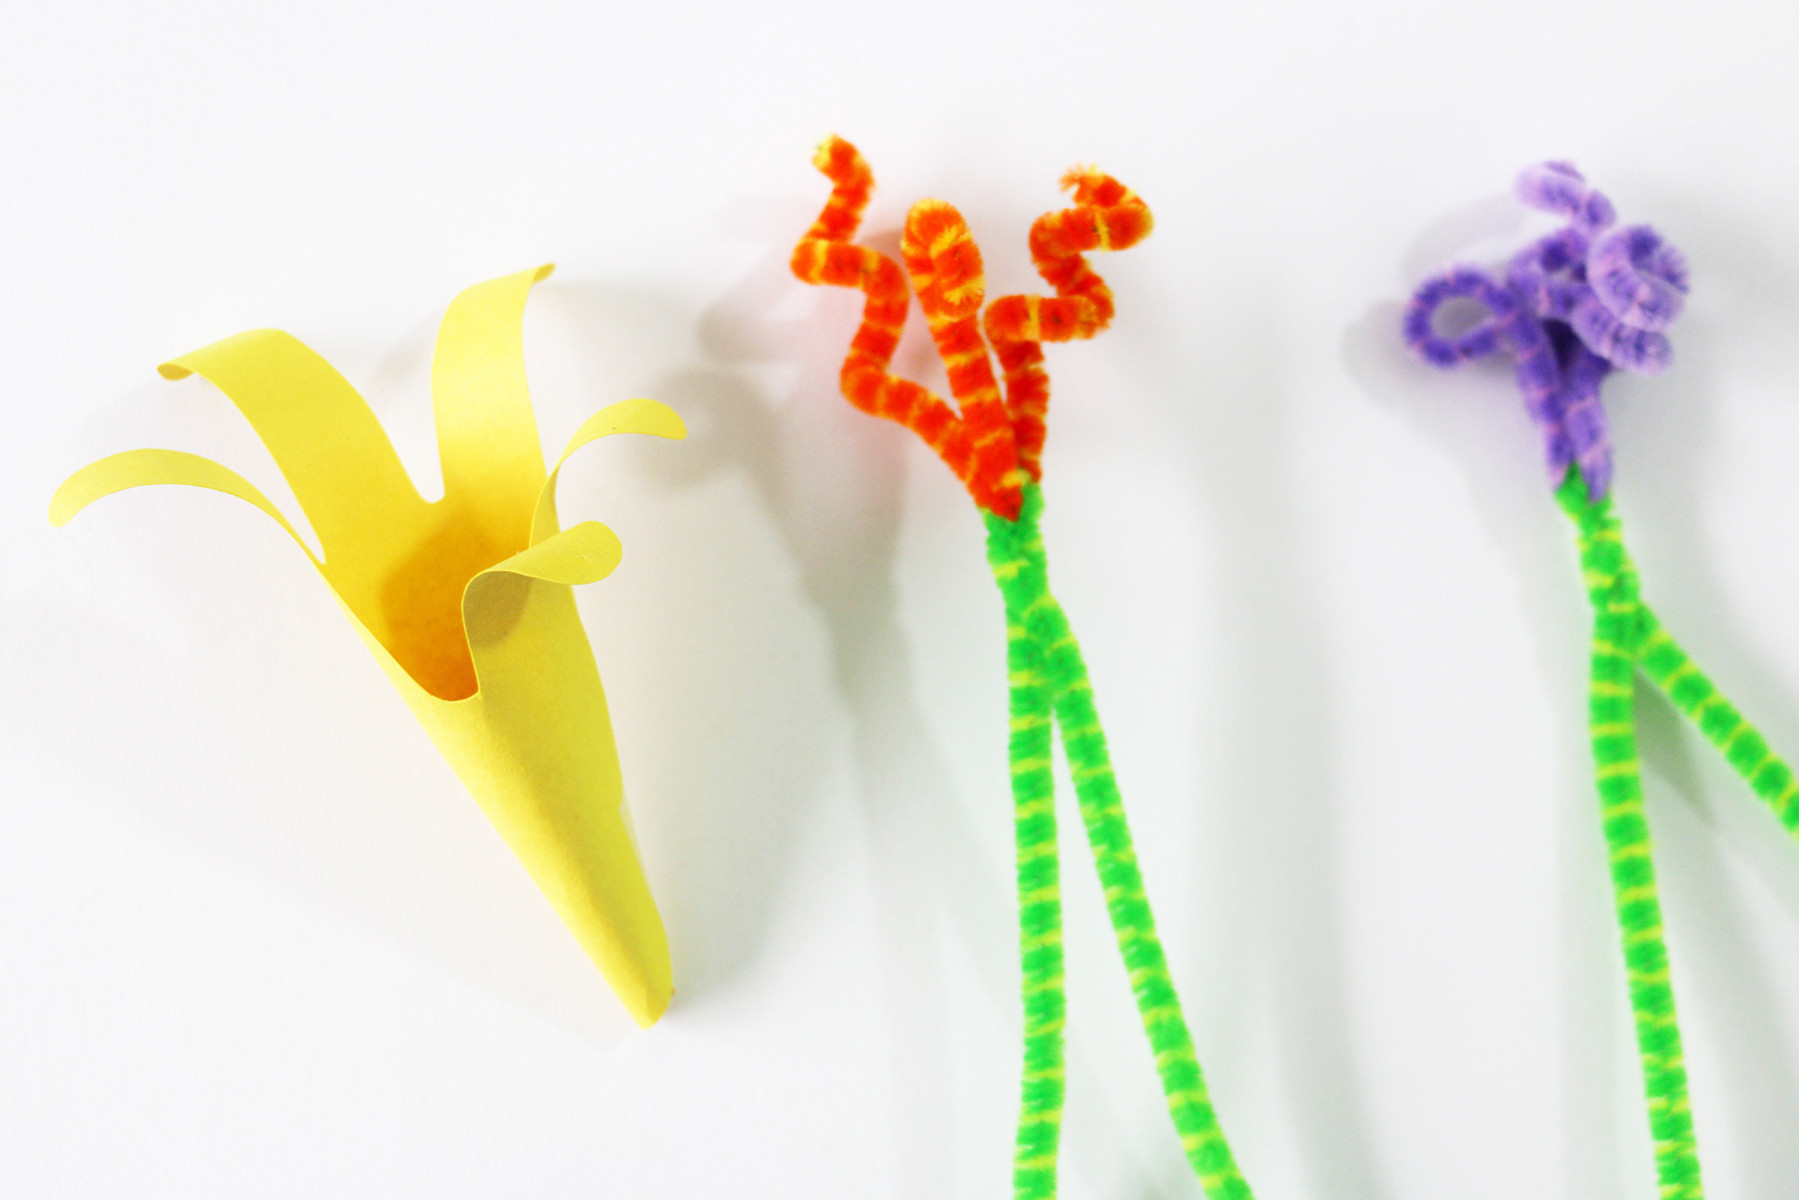
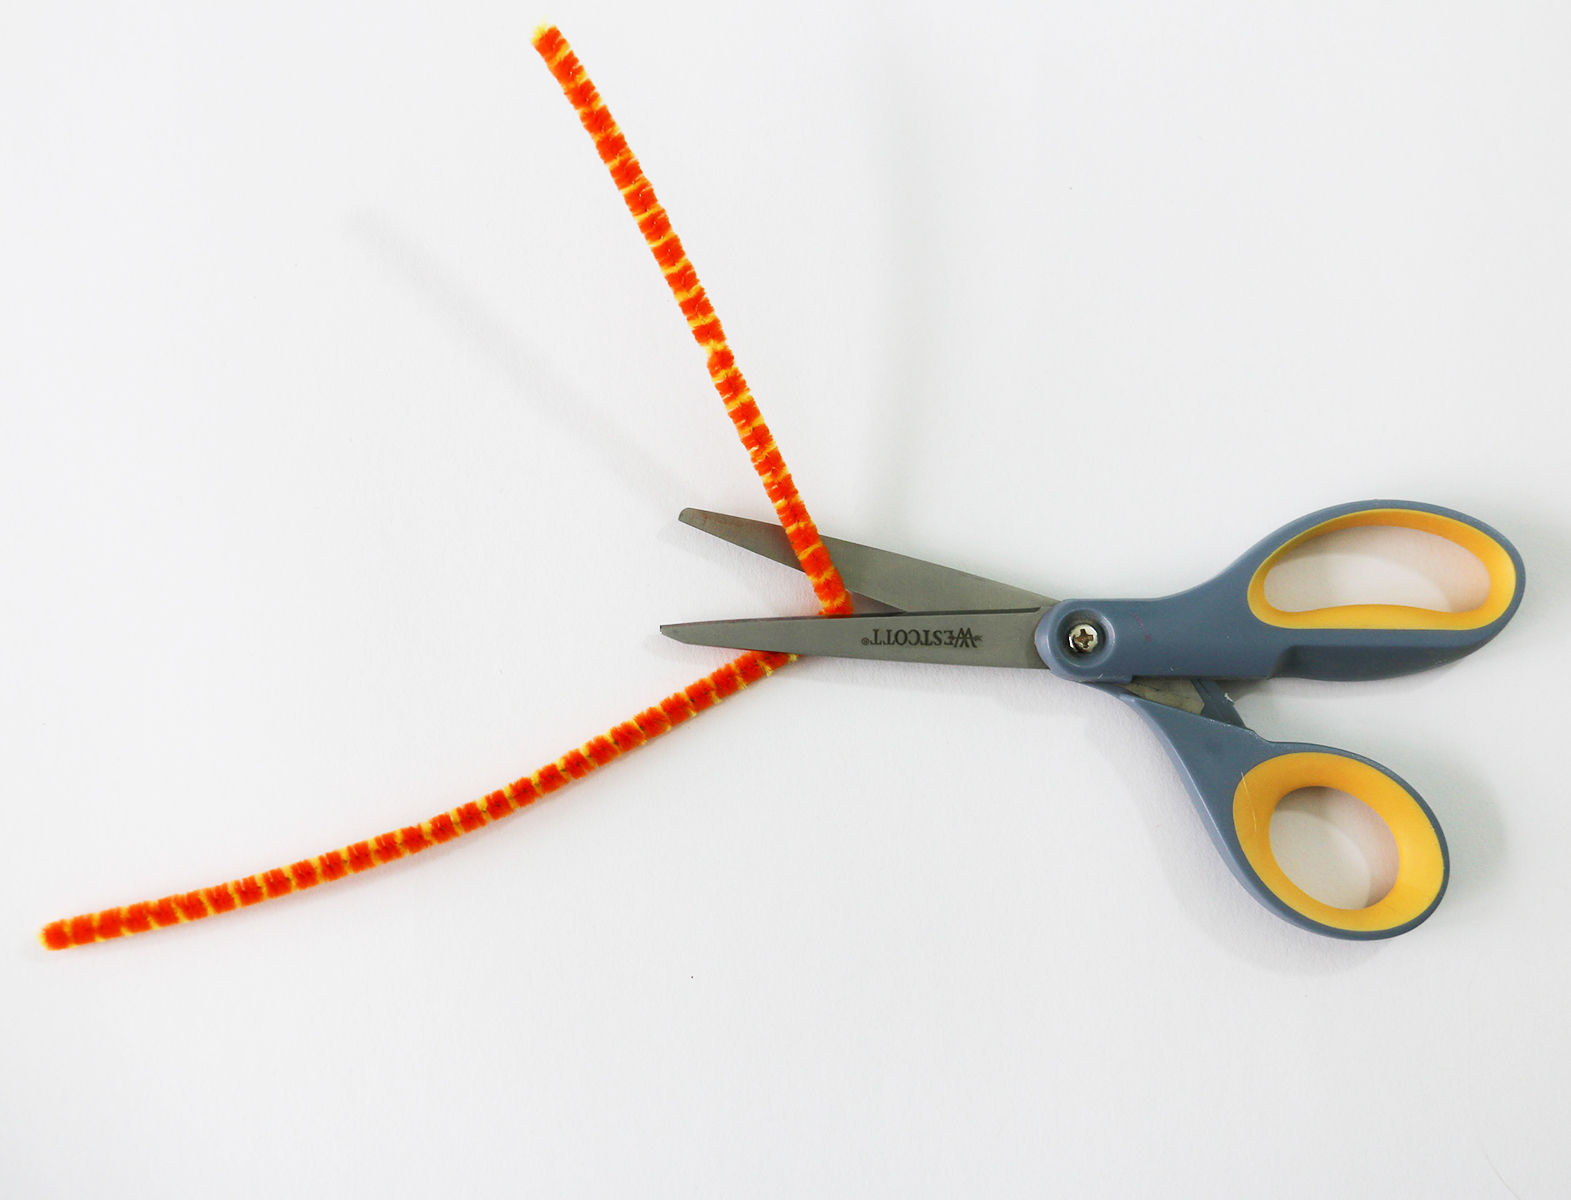
Start by cutting a chenille stick into 2 sections. One section should be slightly larger than the other.
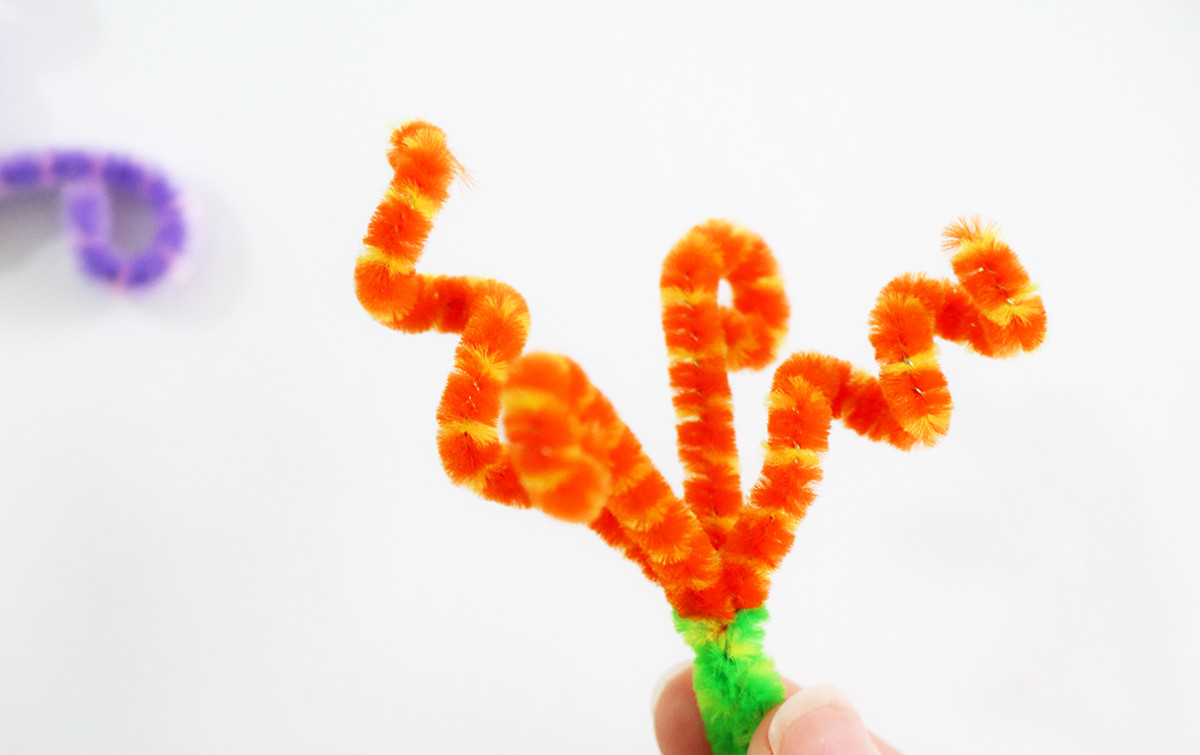
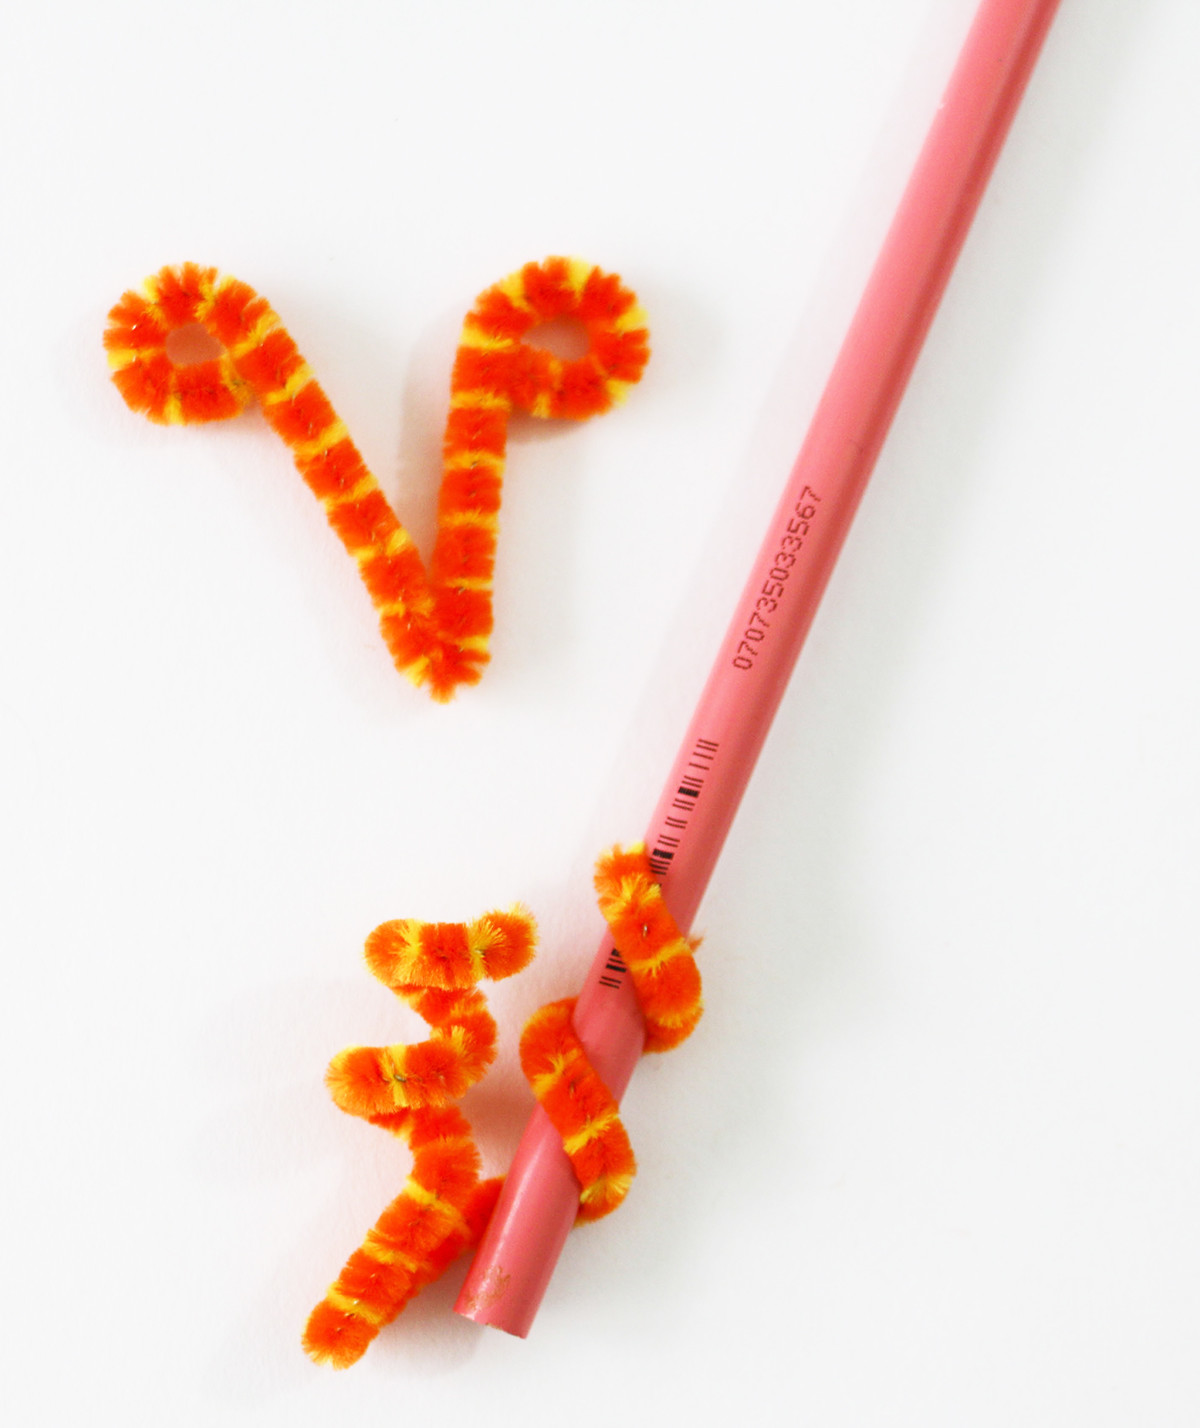
Fold the small section in half and curl each side down, forming a fancy ‘v’.
Next fold the long section in half and curl each side around a pencil.
Place the two curled sections together, so the centers meet and form an ‘x’. Pick a stem color and fold the top 1/3 down, use this to thread though the center of the ‘x’.
Twist the green stem 1x to lock these components together.
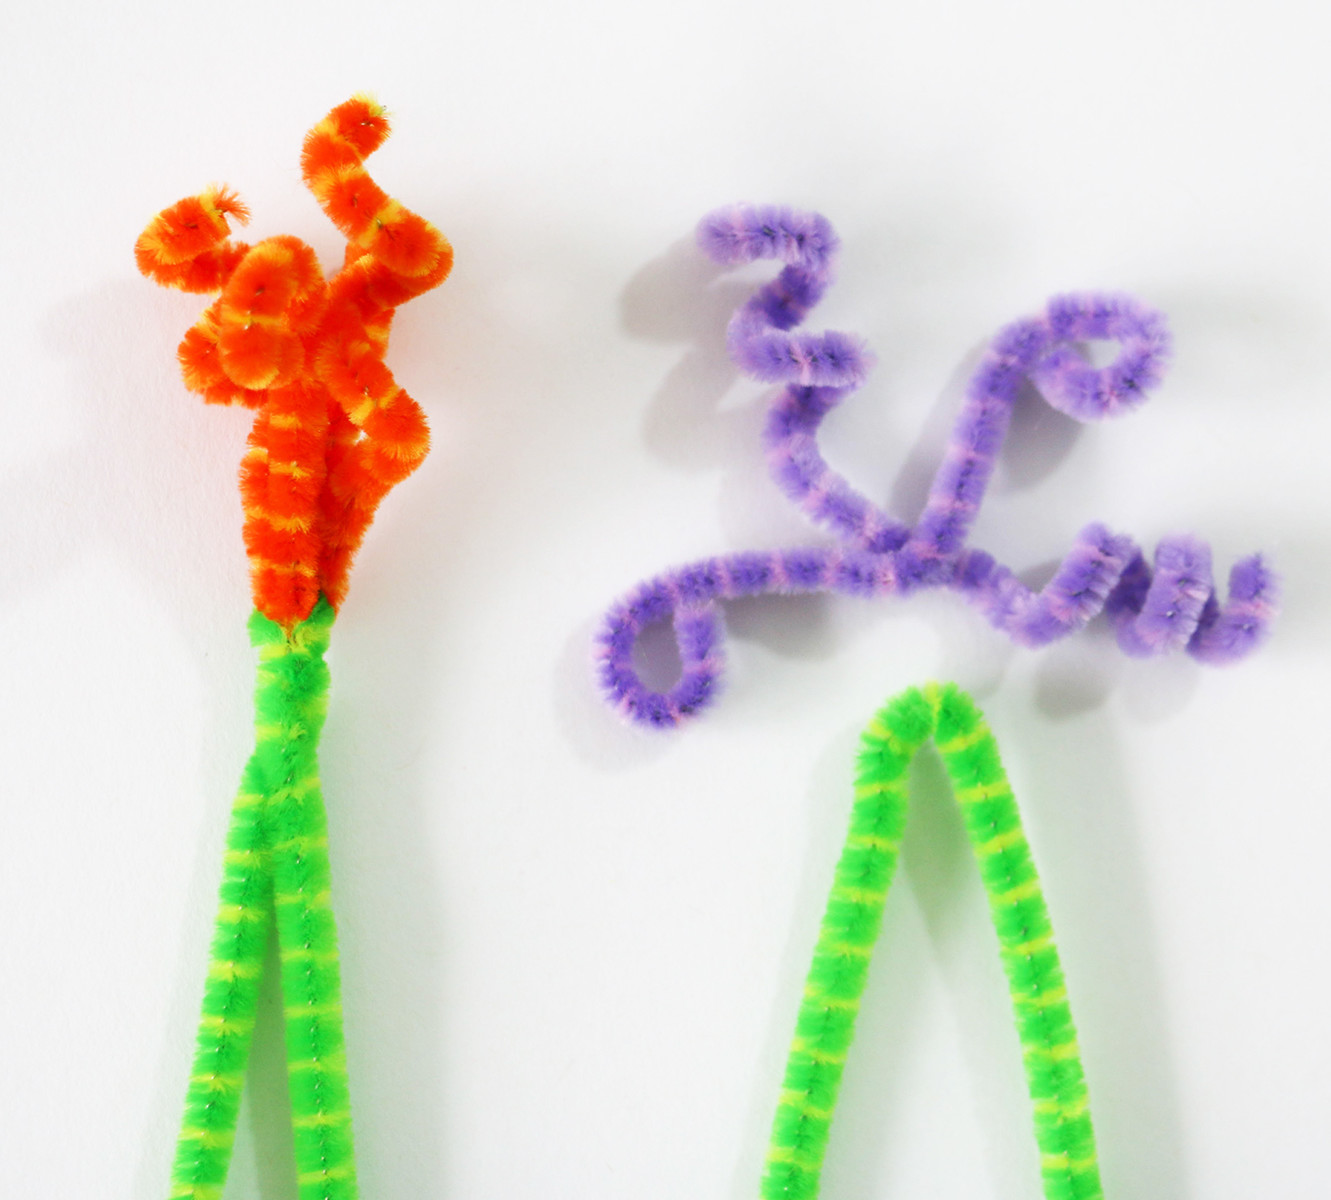
Thread the bottom stem pieces through the dry hand funnel.
Take the shorter stem tail and wrap it neatly 1x around the bottom of the lily.
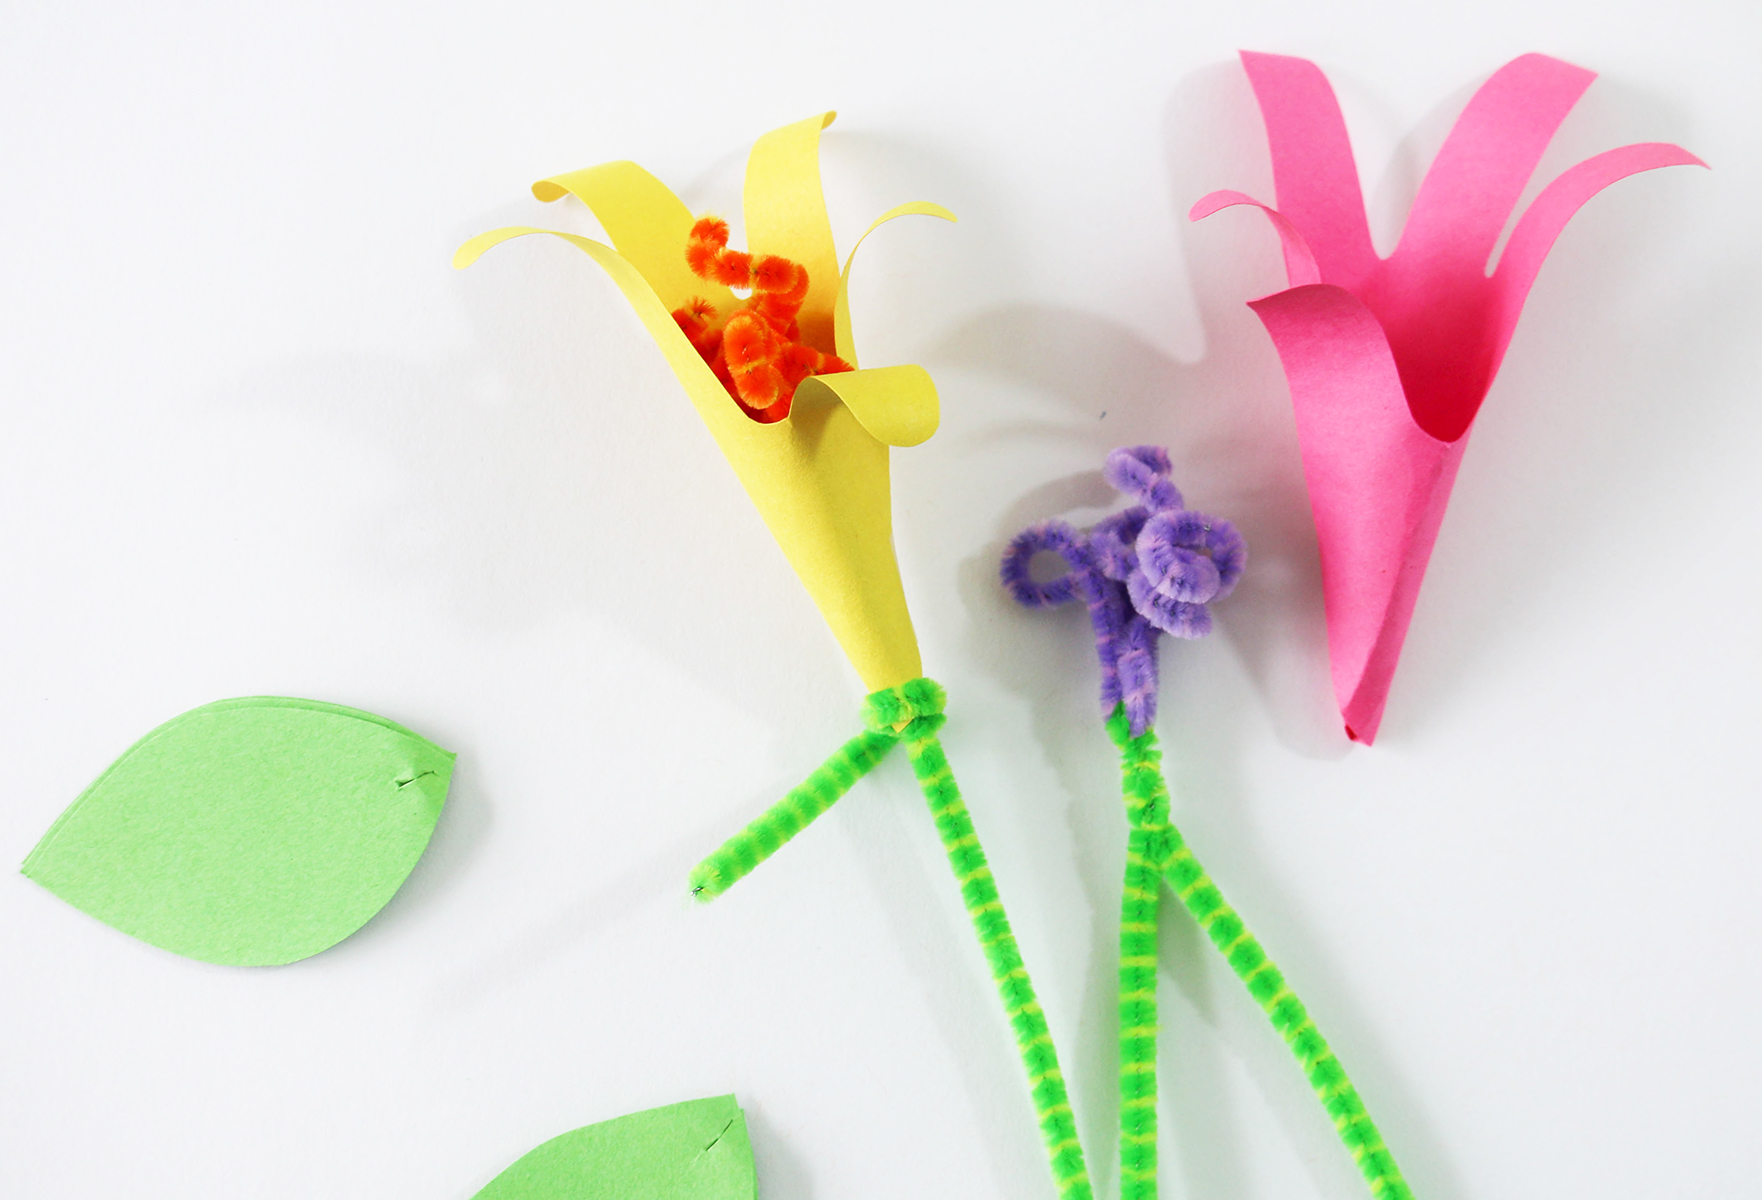
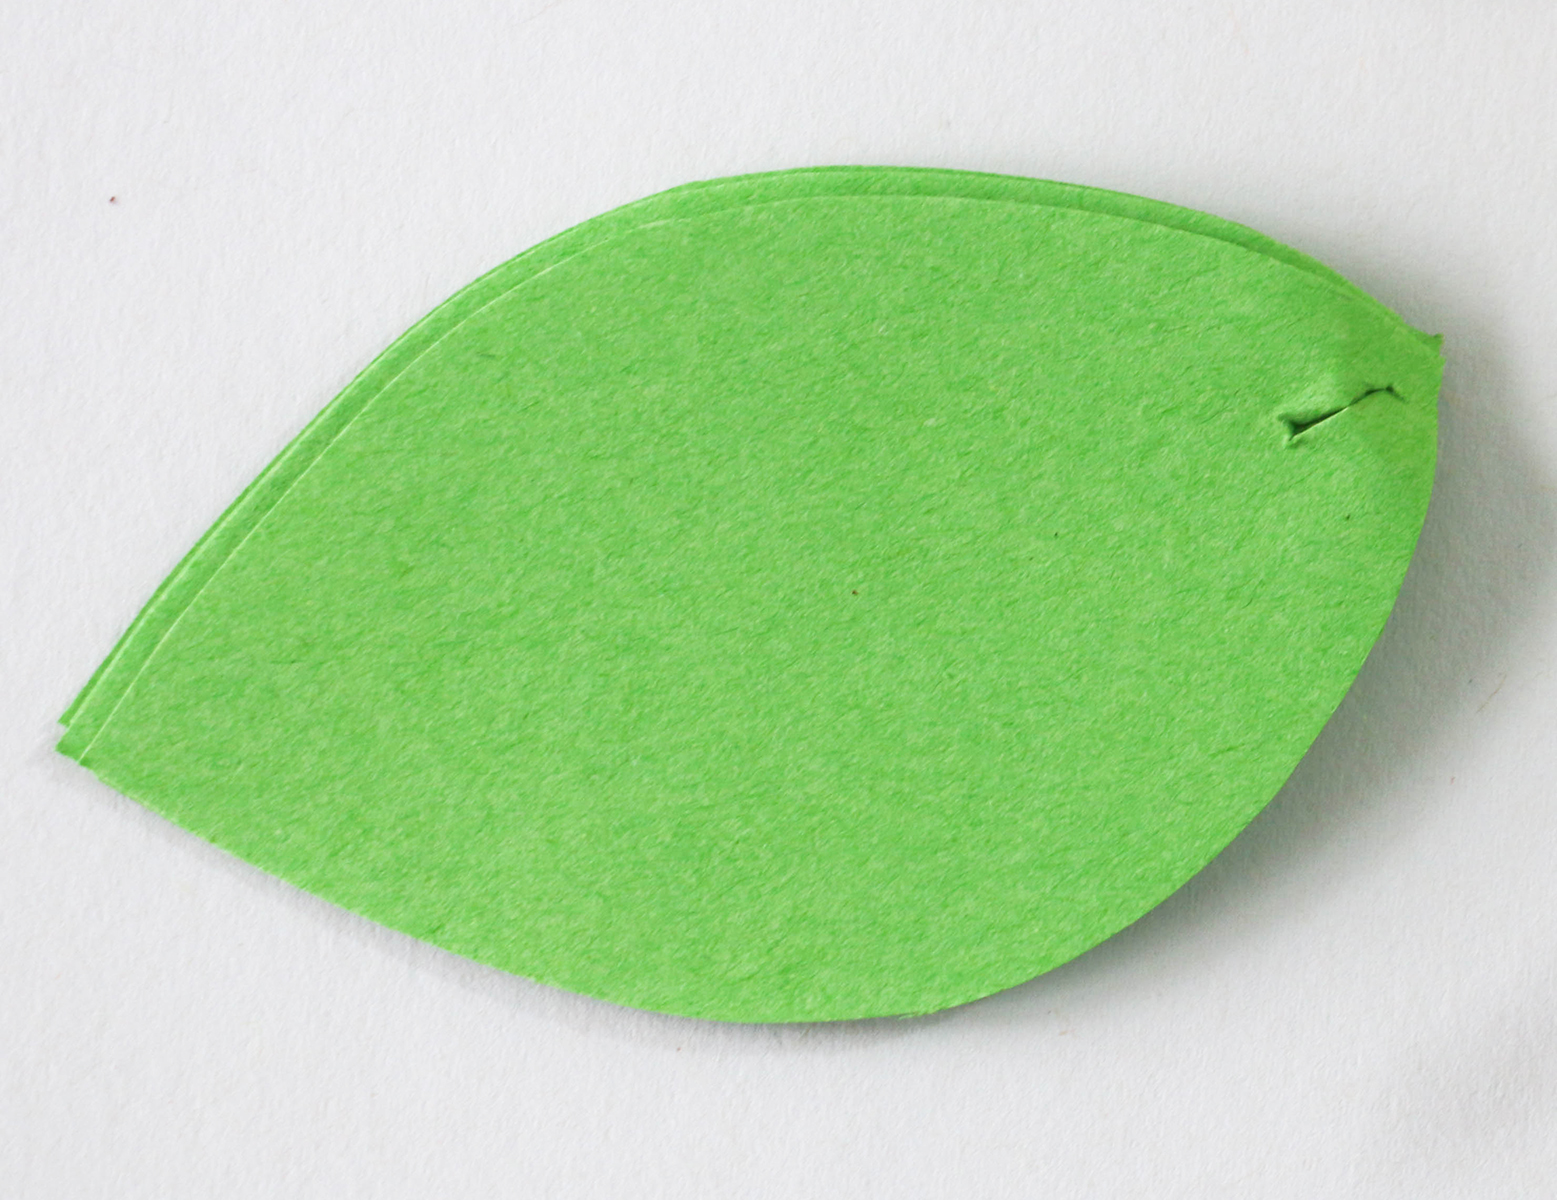
Finally cut green leaves of and shape and snip a small slit for threading. Take the short stem and add 2 leaves as you finish wrapping the stem around the base of the lily to finish this flower.
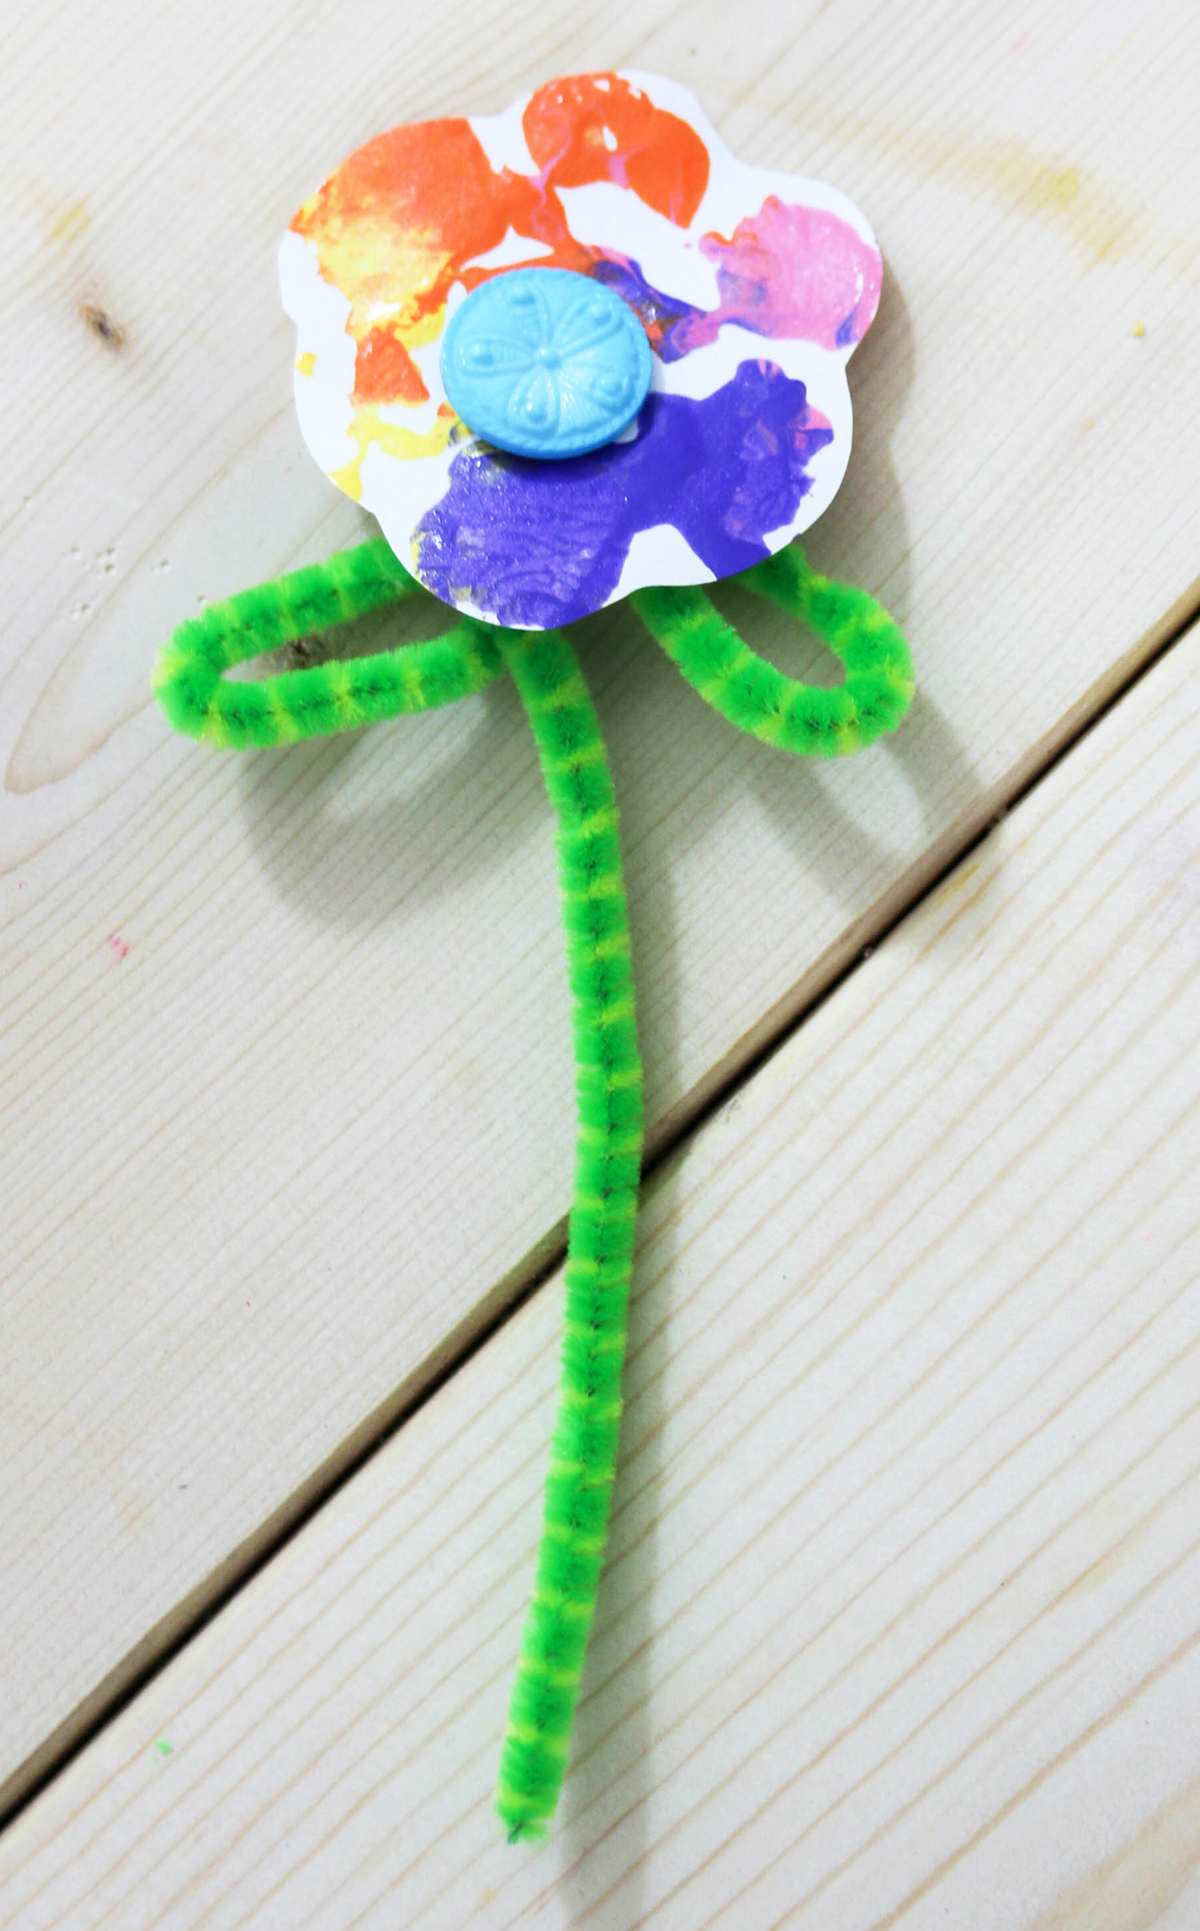
2. The Painted Cork/Button Flower
For the Painted Flower you will need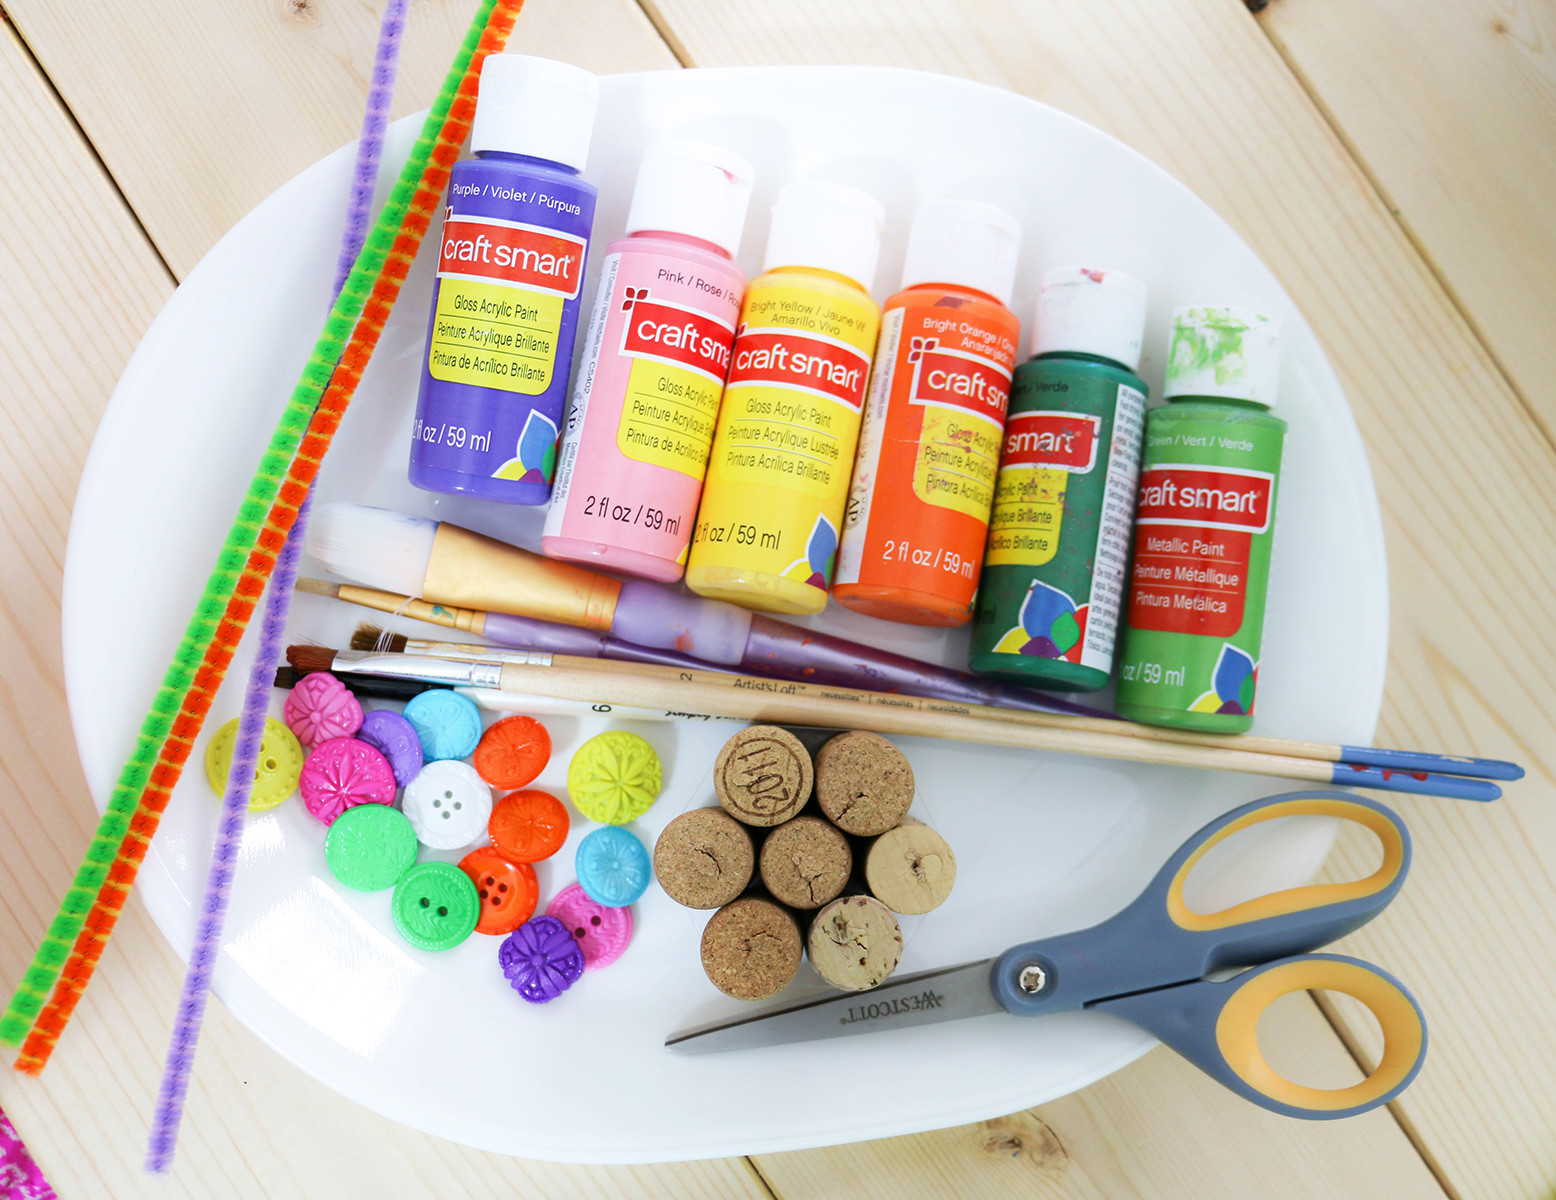
- construction paper
- chenille sticks
- paint
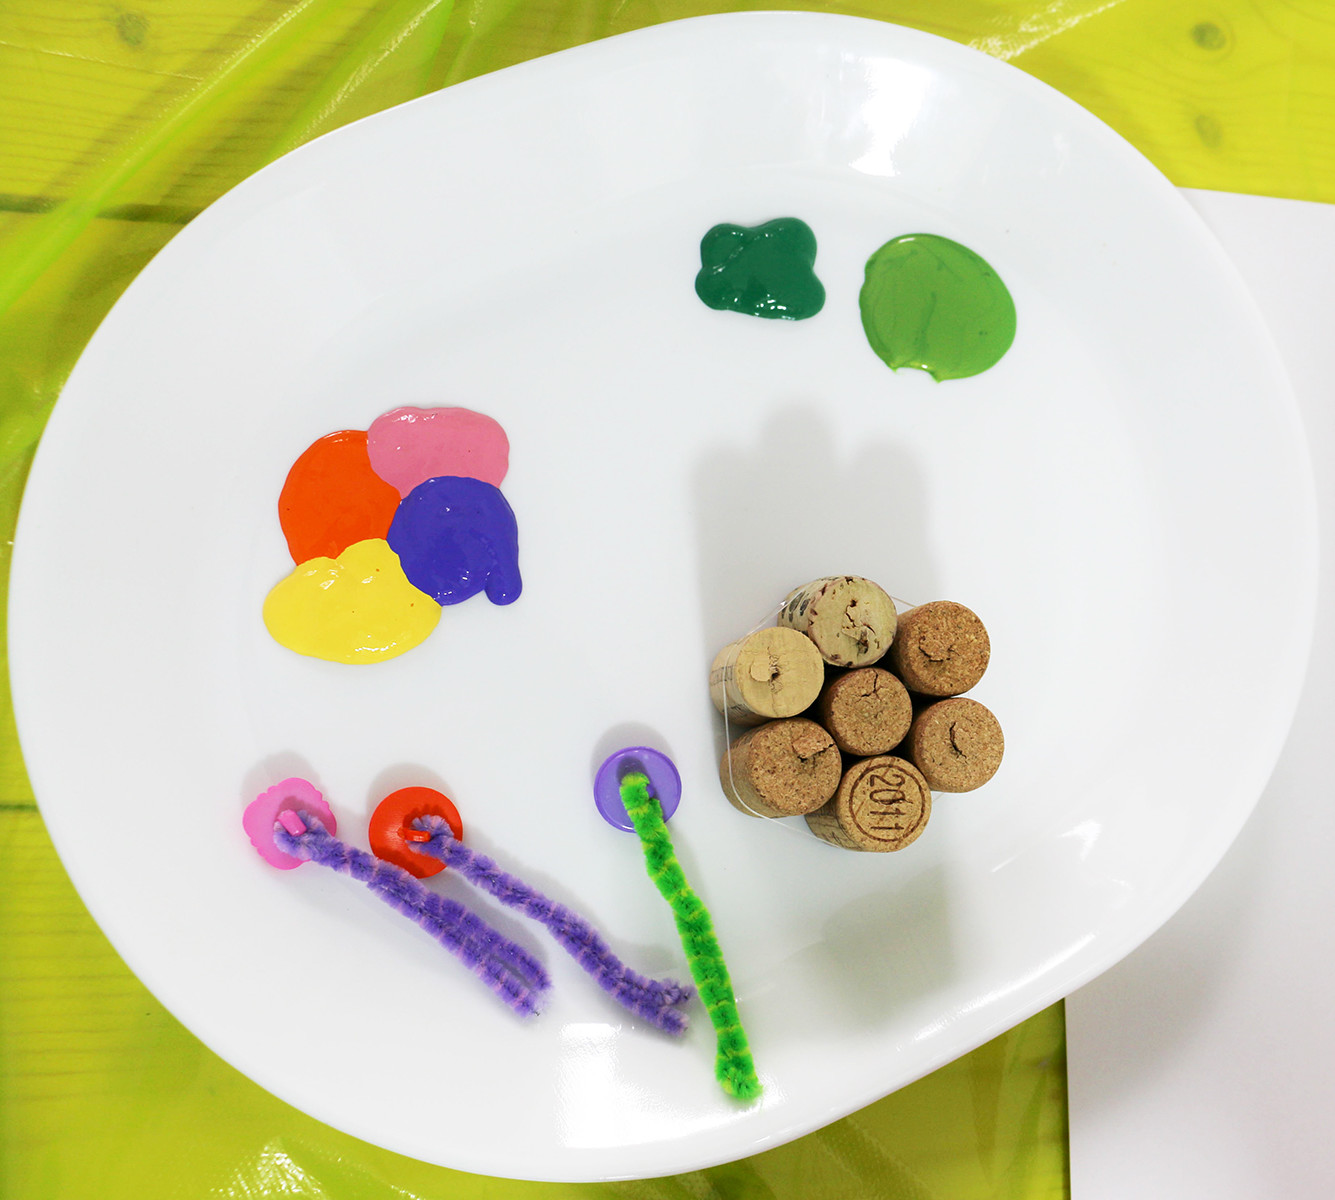
- 4-5 corks held together with a rubber band
- paint brushes
- buttons
- scissors
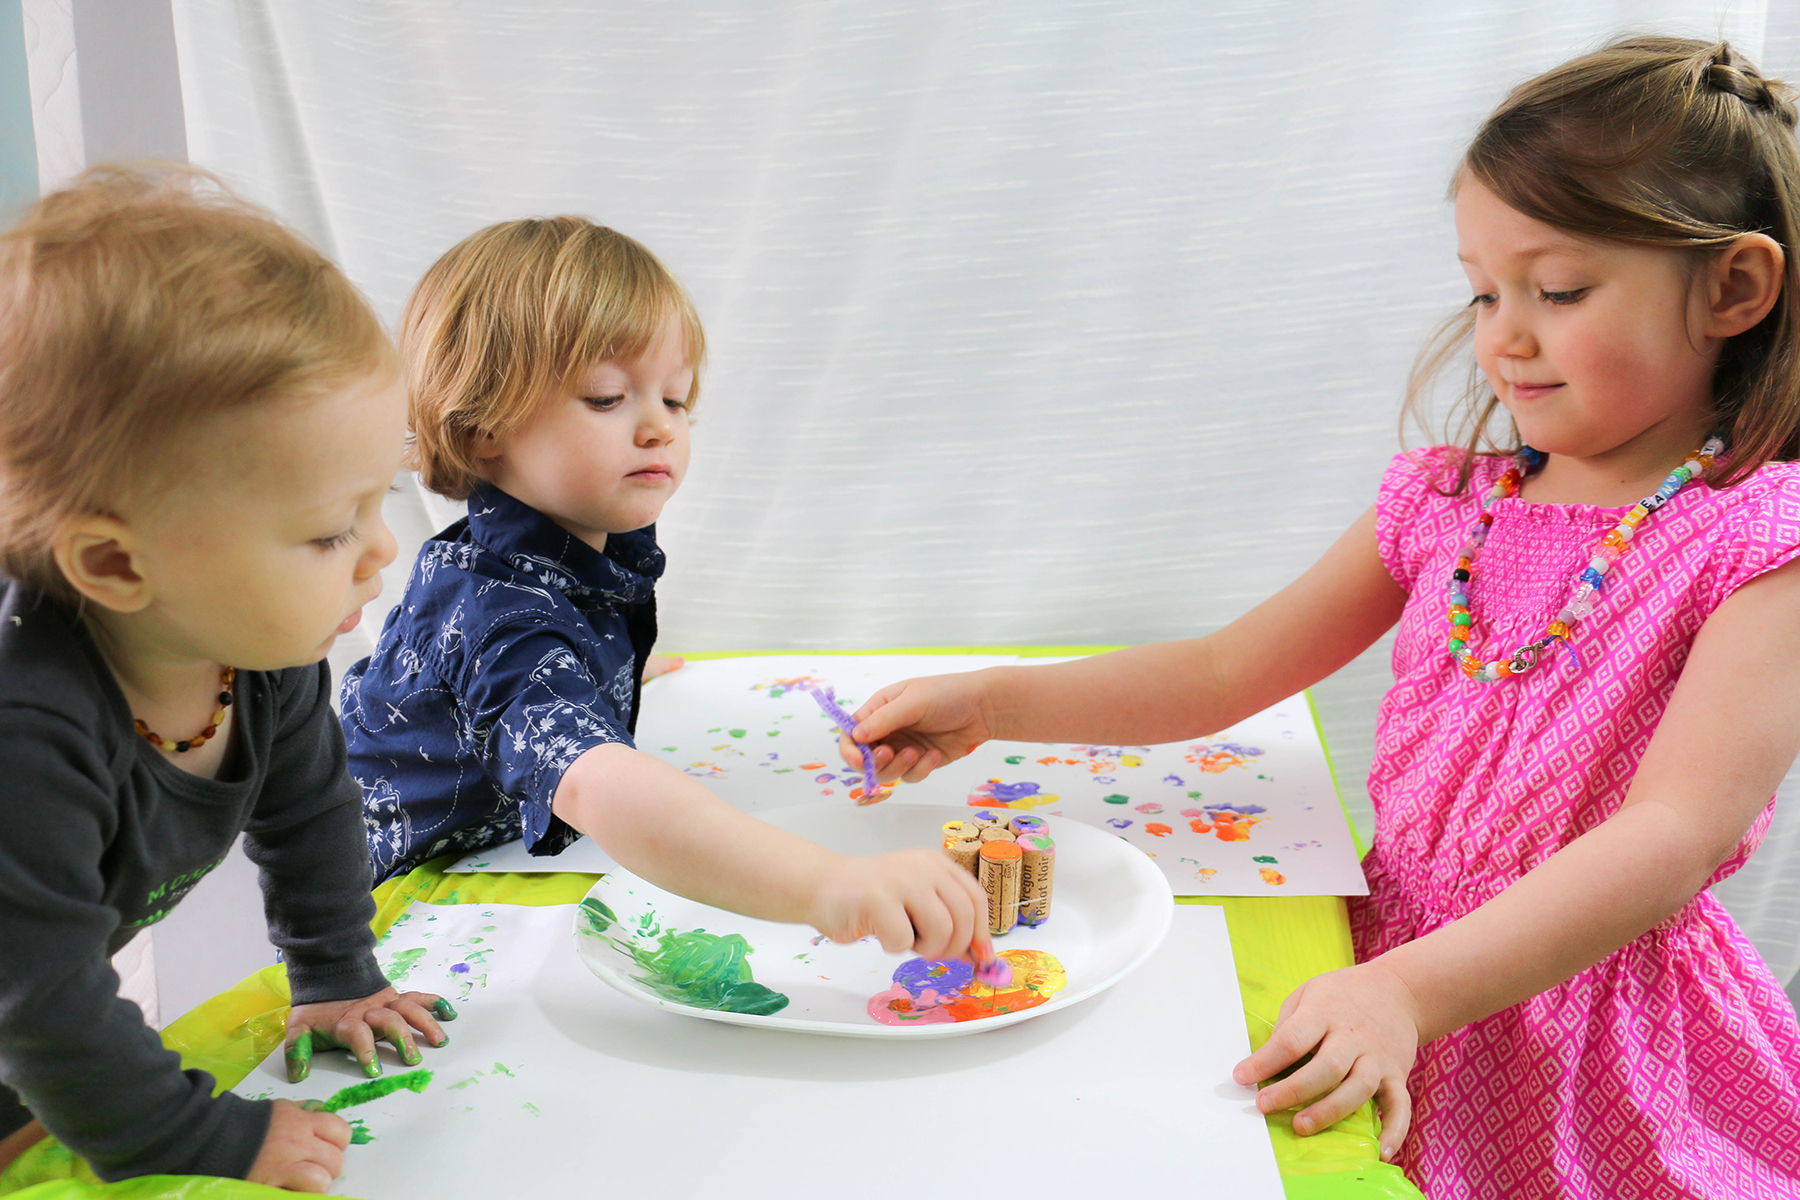
Arrange paint colors desired and get your paint and tools in position.
I included a few buttons connected to chenille sticks for fun.
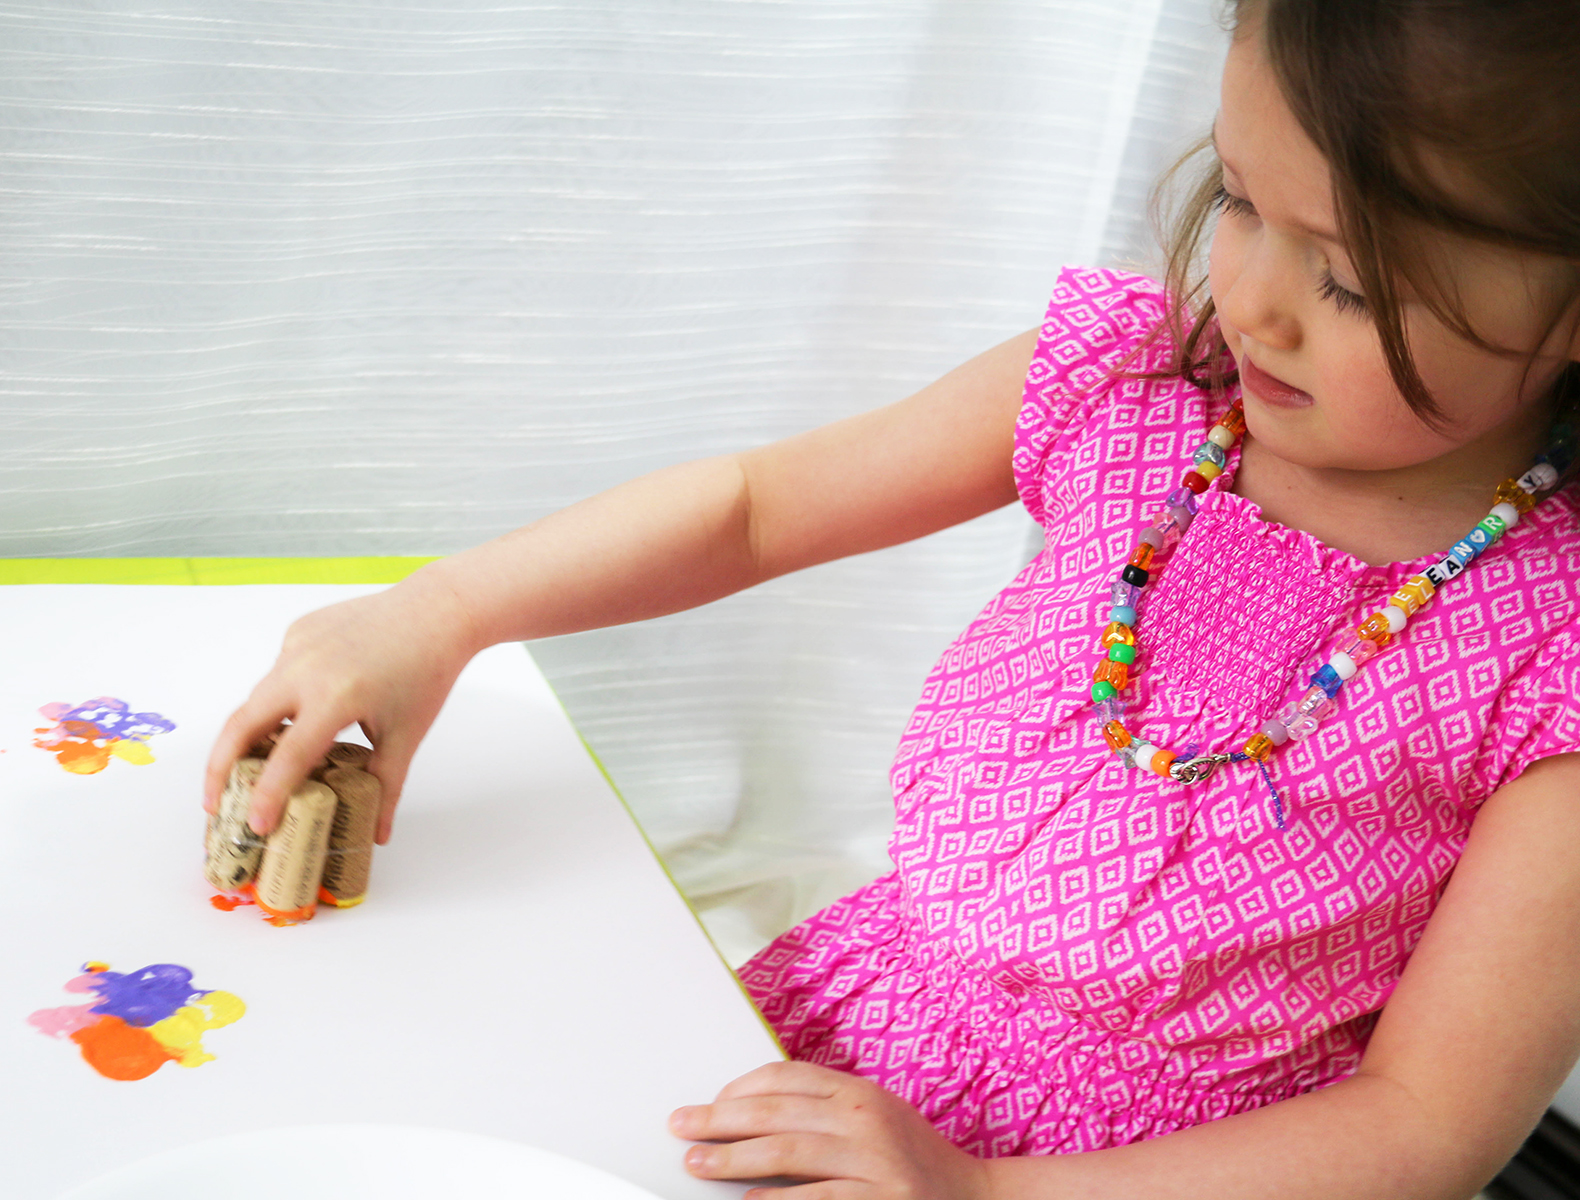
Paint! Fill the paper with flower shapes and colors
Allow paper to dry, then cut flower shapes or circles to desired sizes.
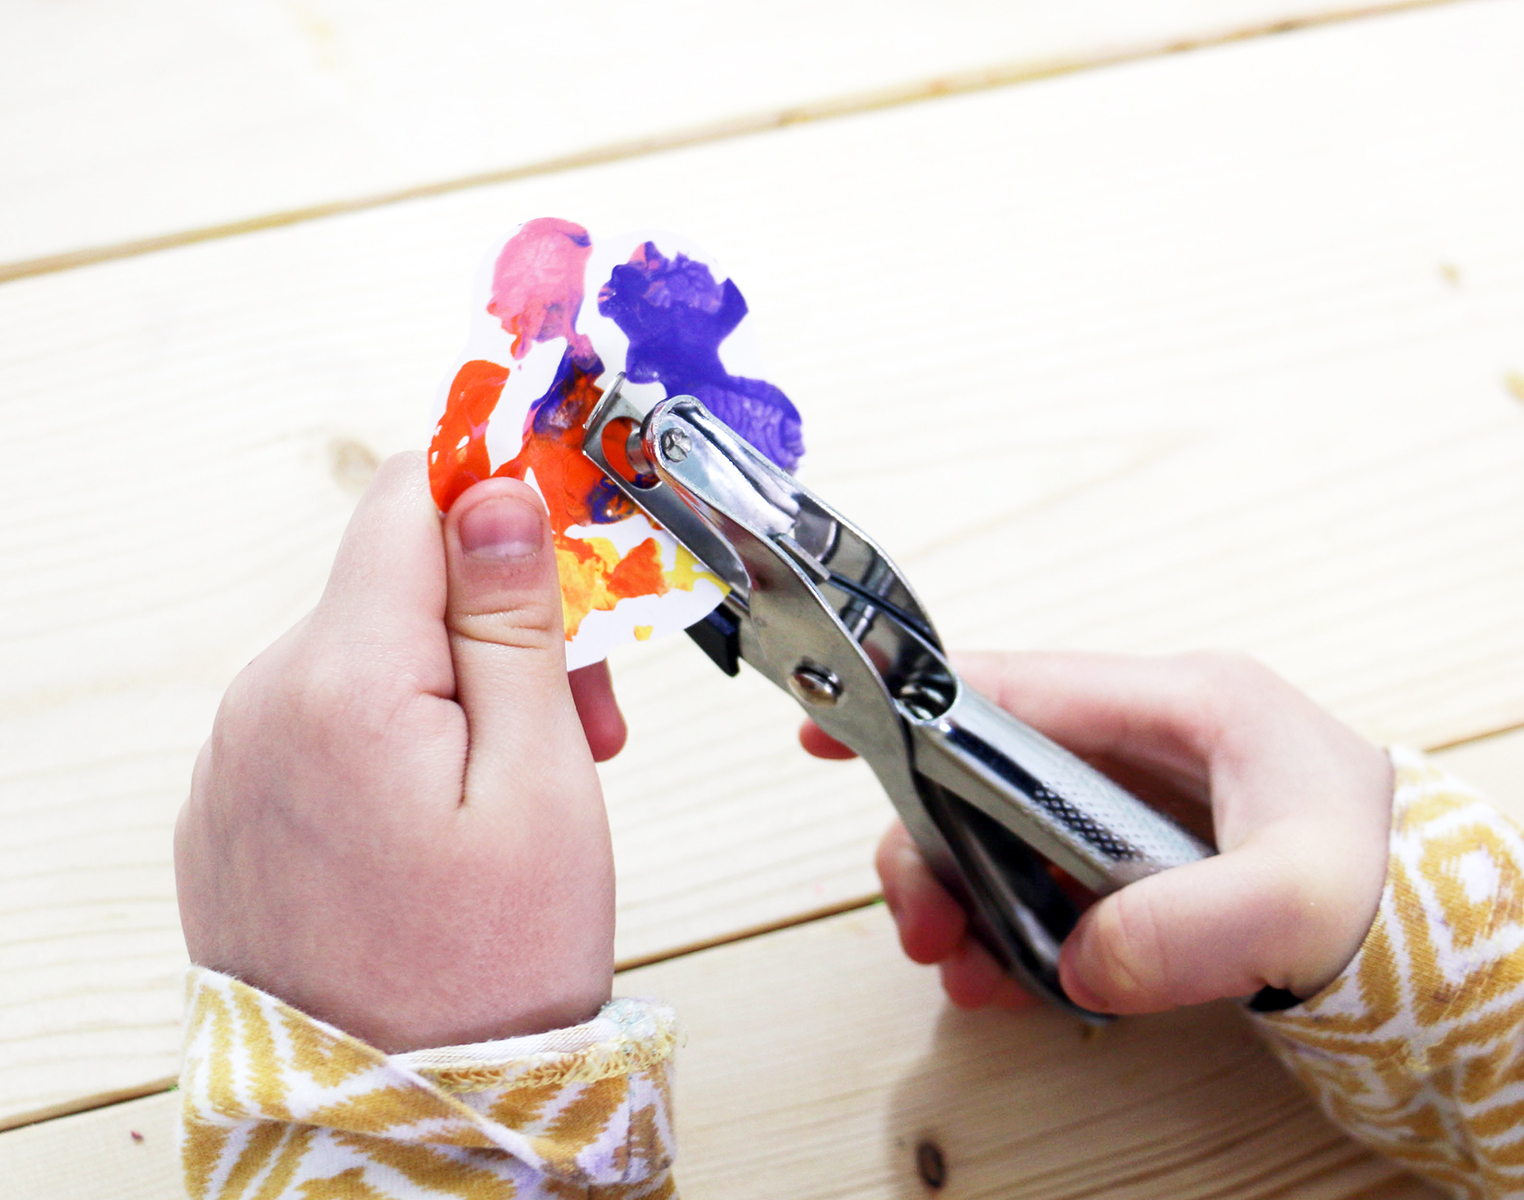
We made them just small enough to be able to get a hole punch to the center of the flower.
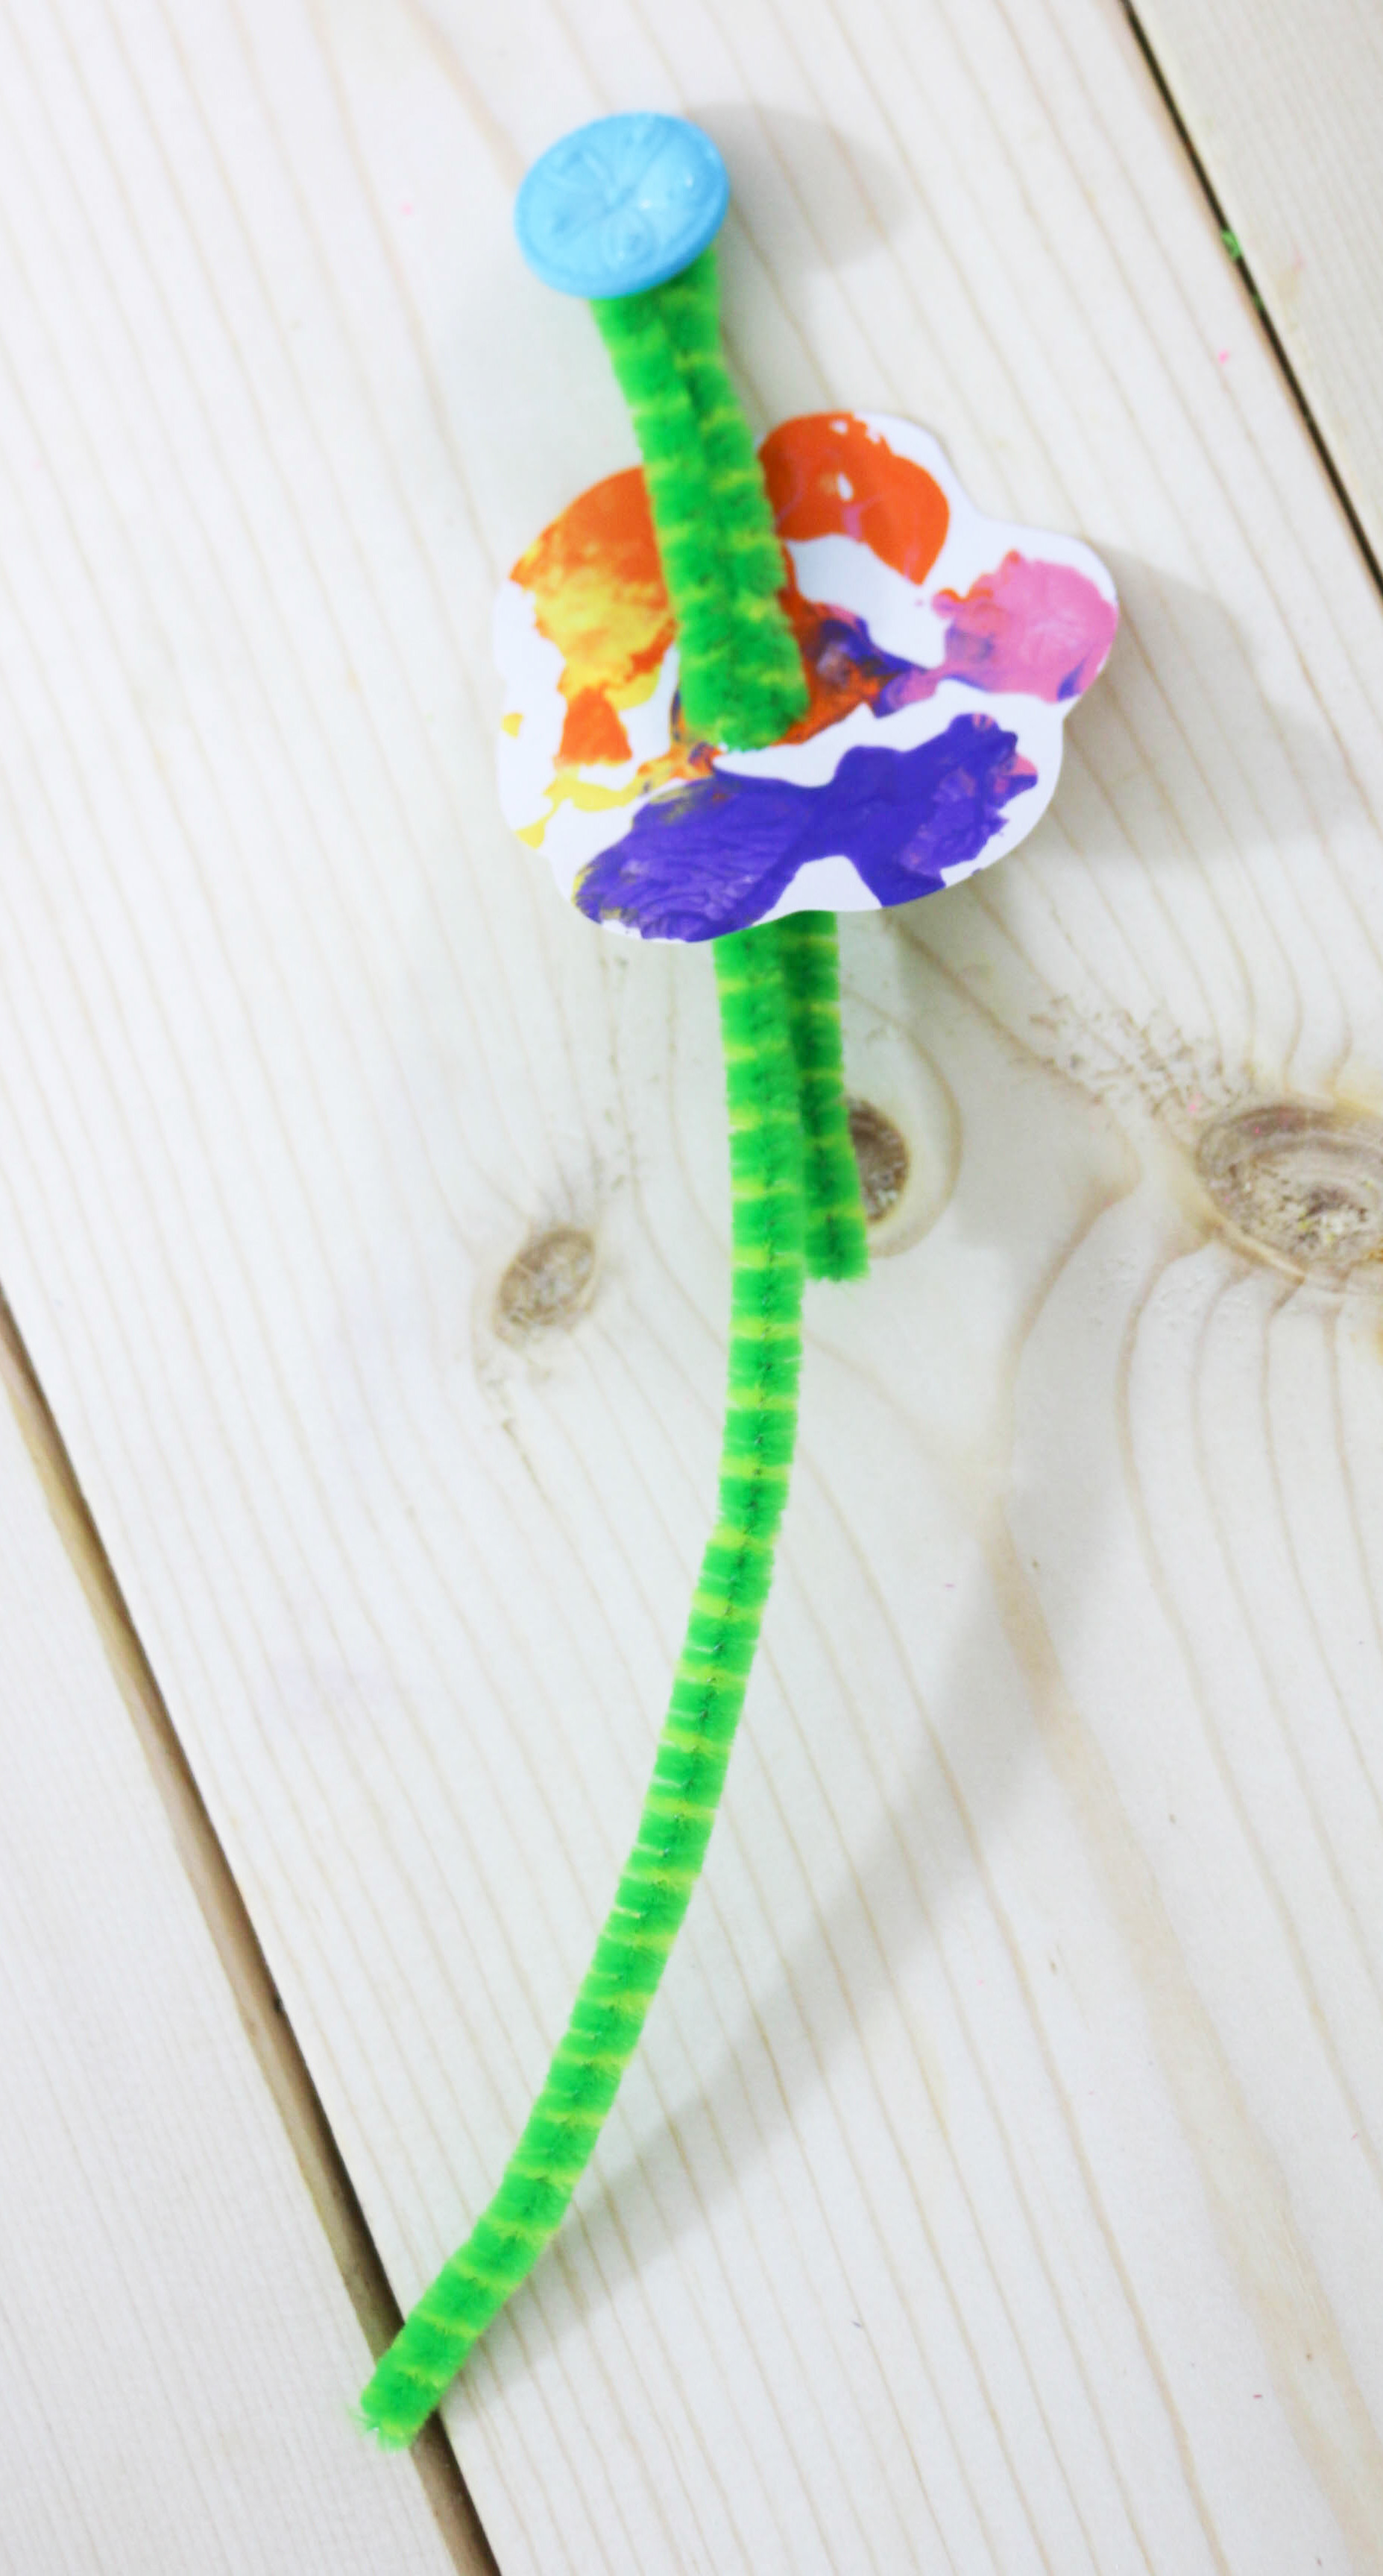
Punch a hole or cut a slit in the middle of your flower.
Fold a chenille stick leaving one side slightly longer than the other.
Thread it through the center and apply a button.
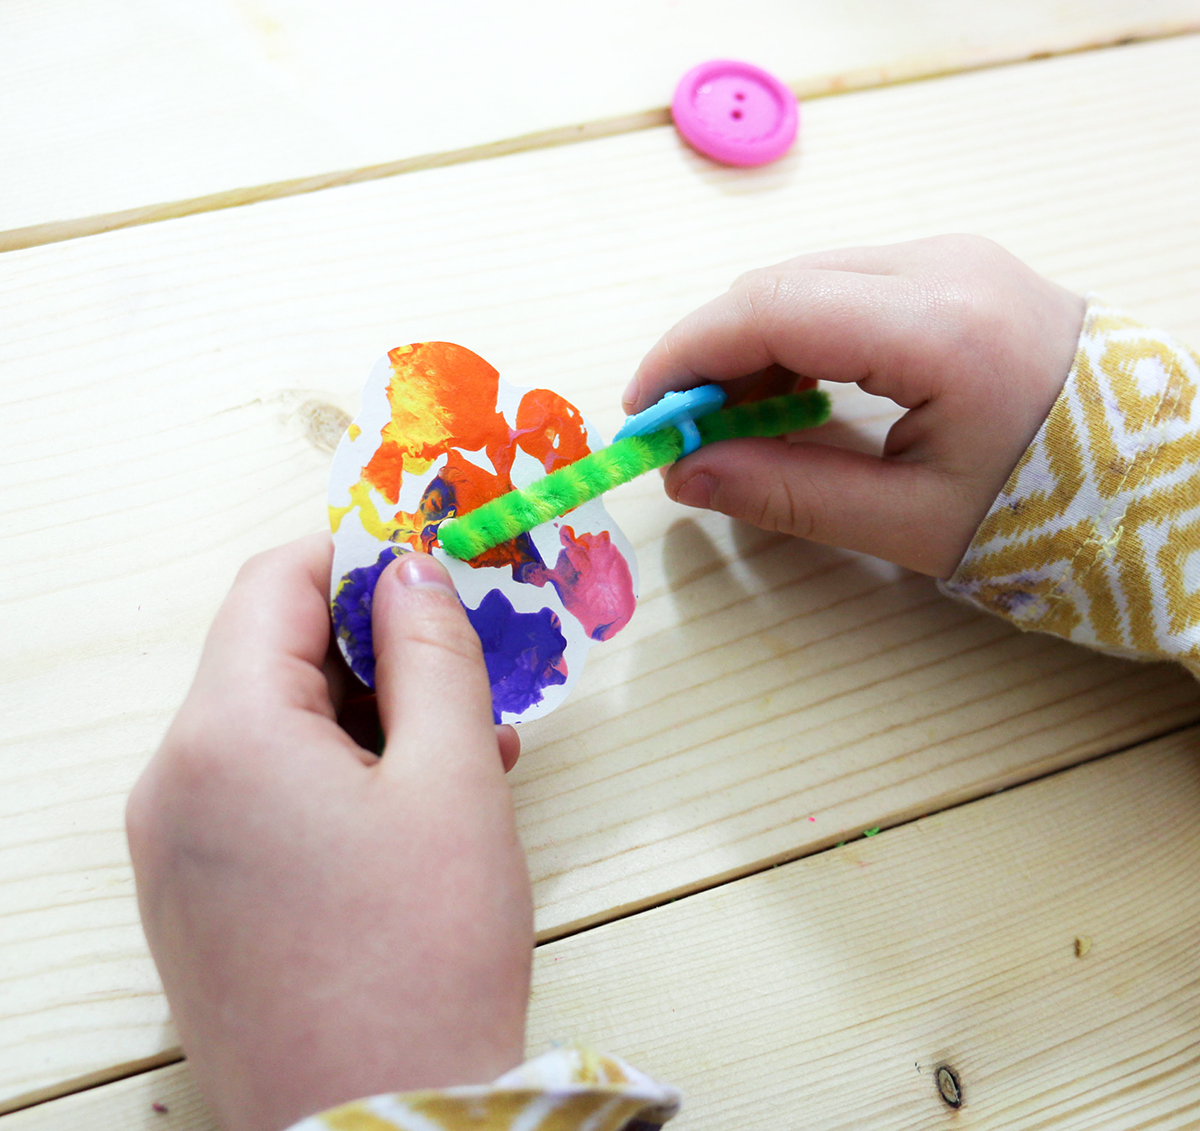
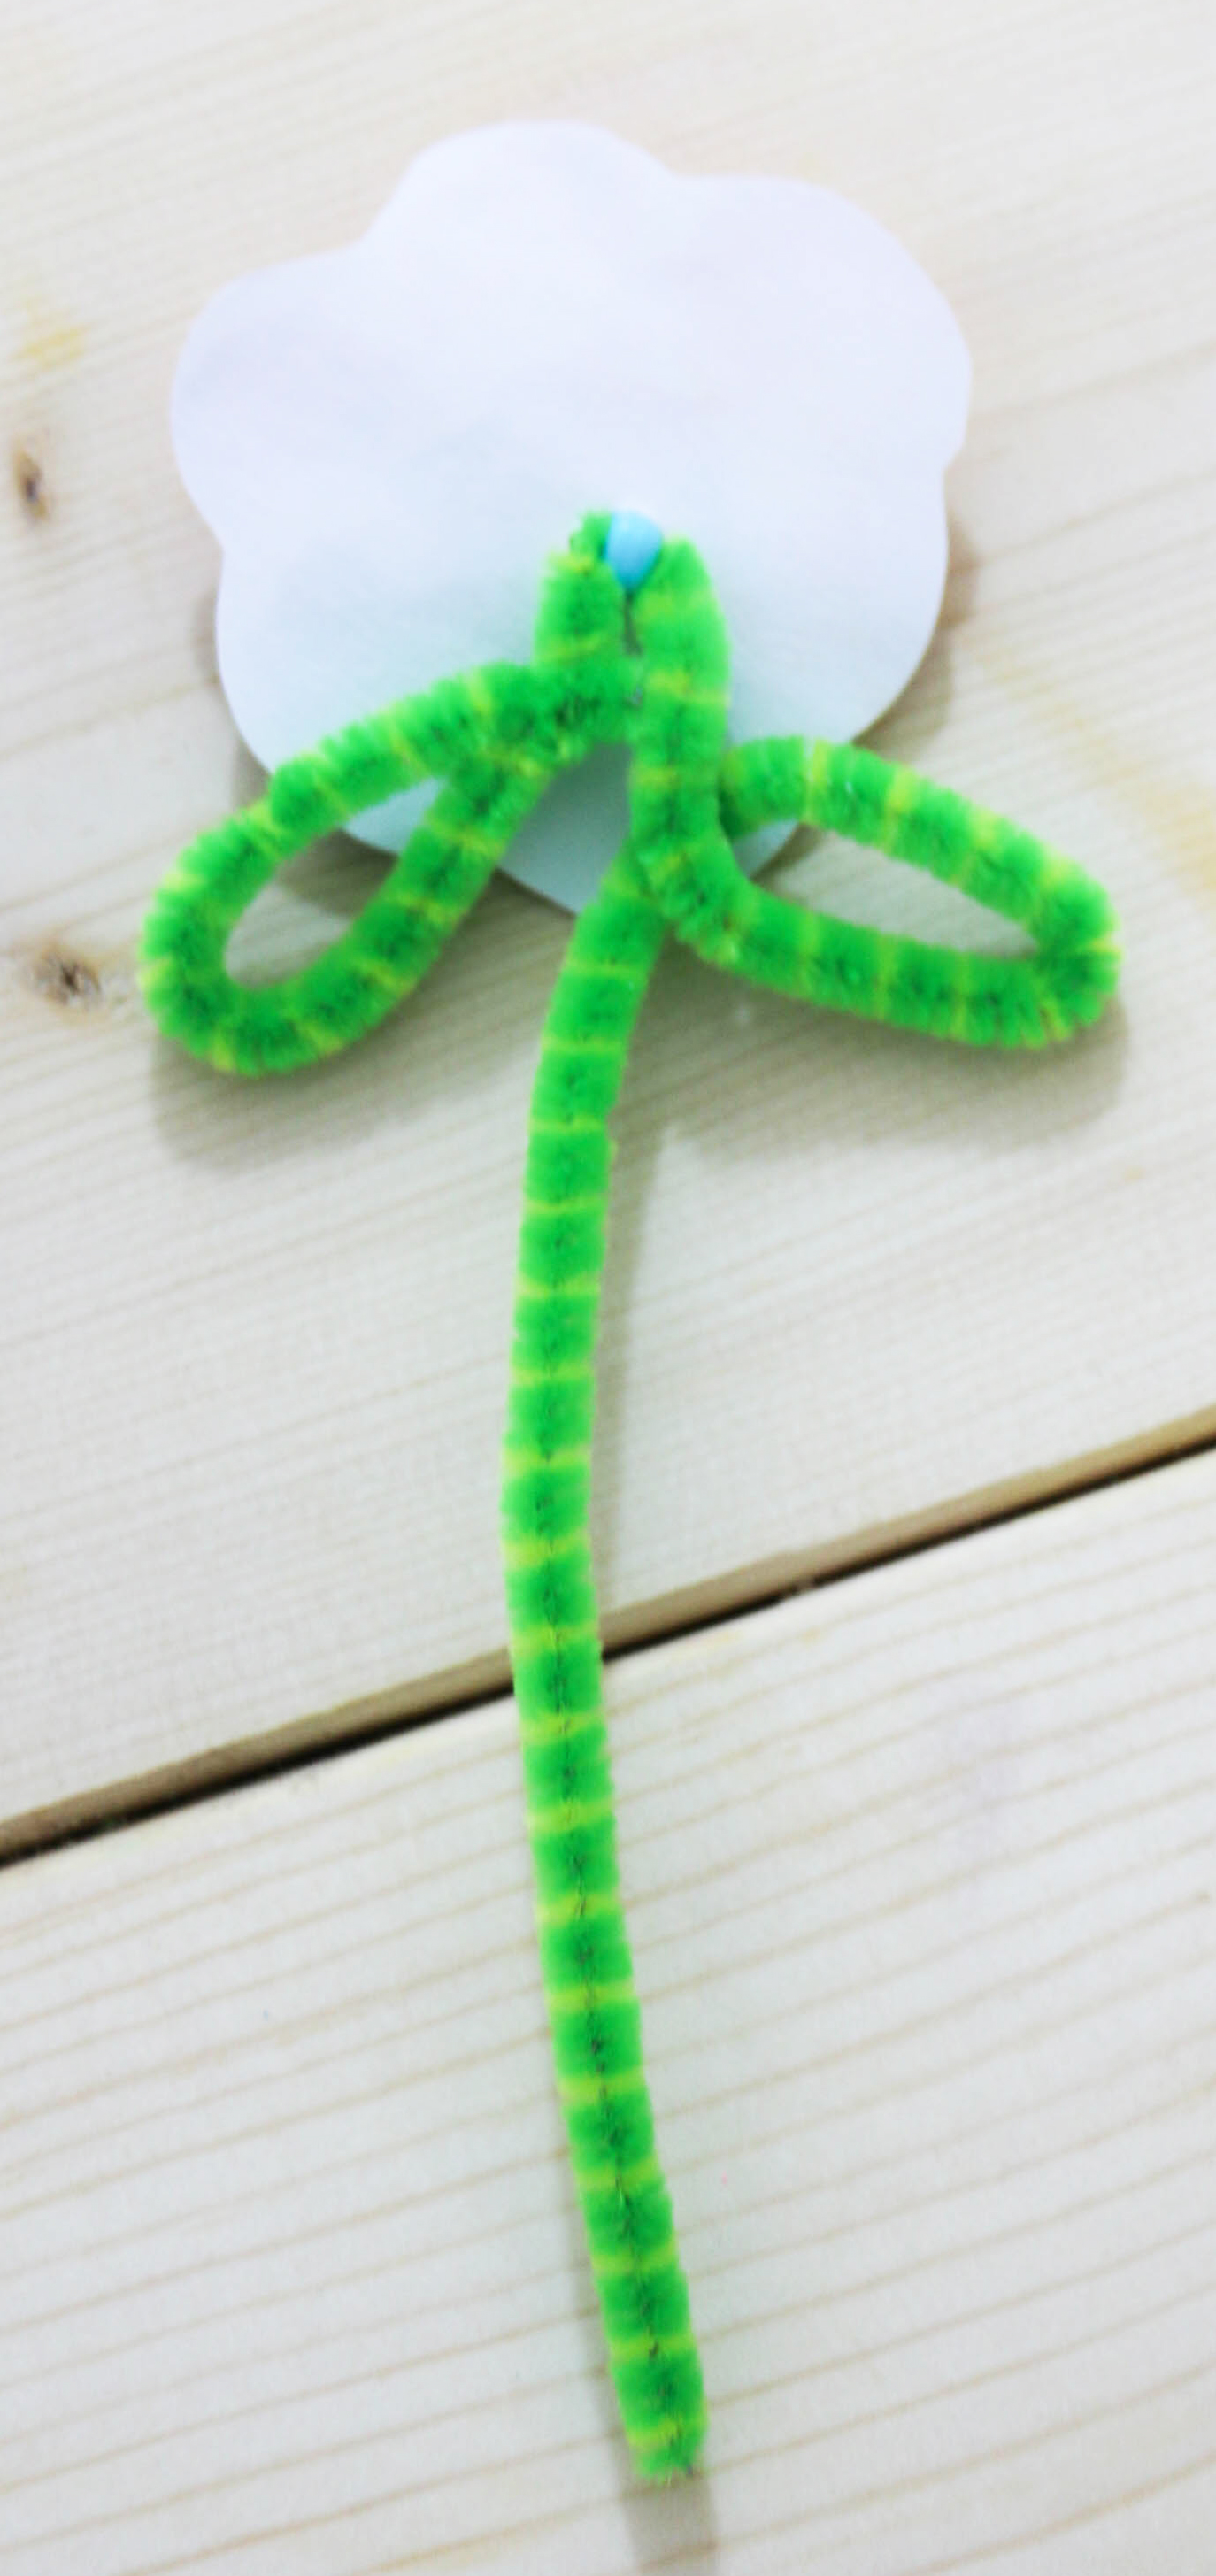
Pull the chenille back through the center.
Free form leaves close to the back of the flower to finish this flower.
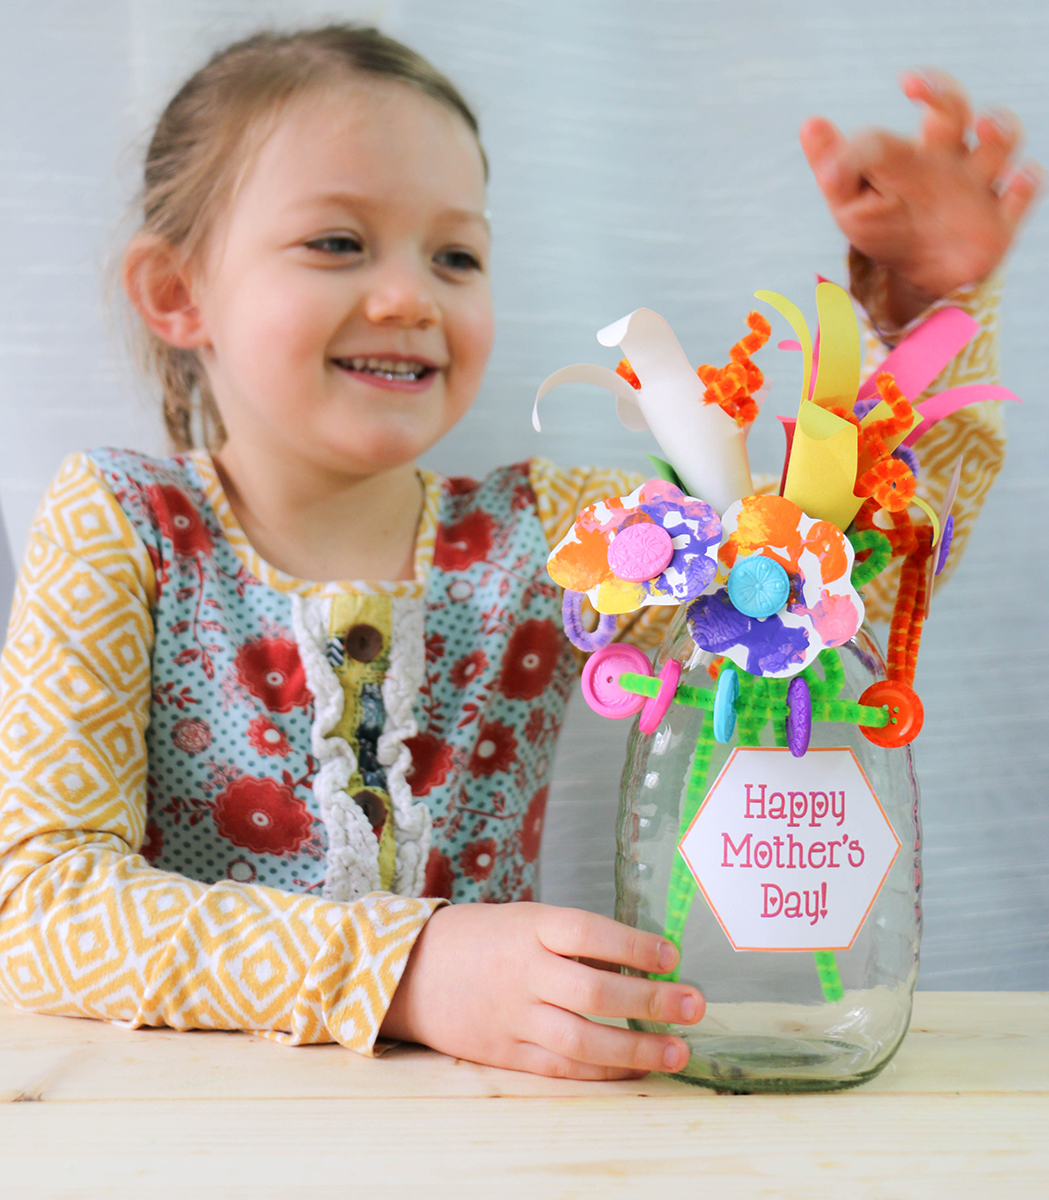
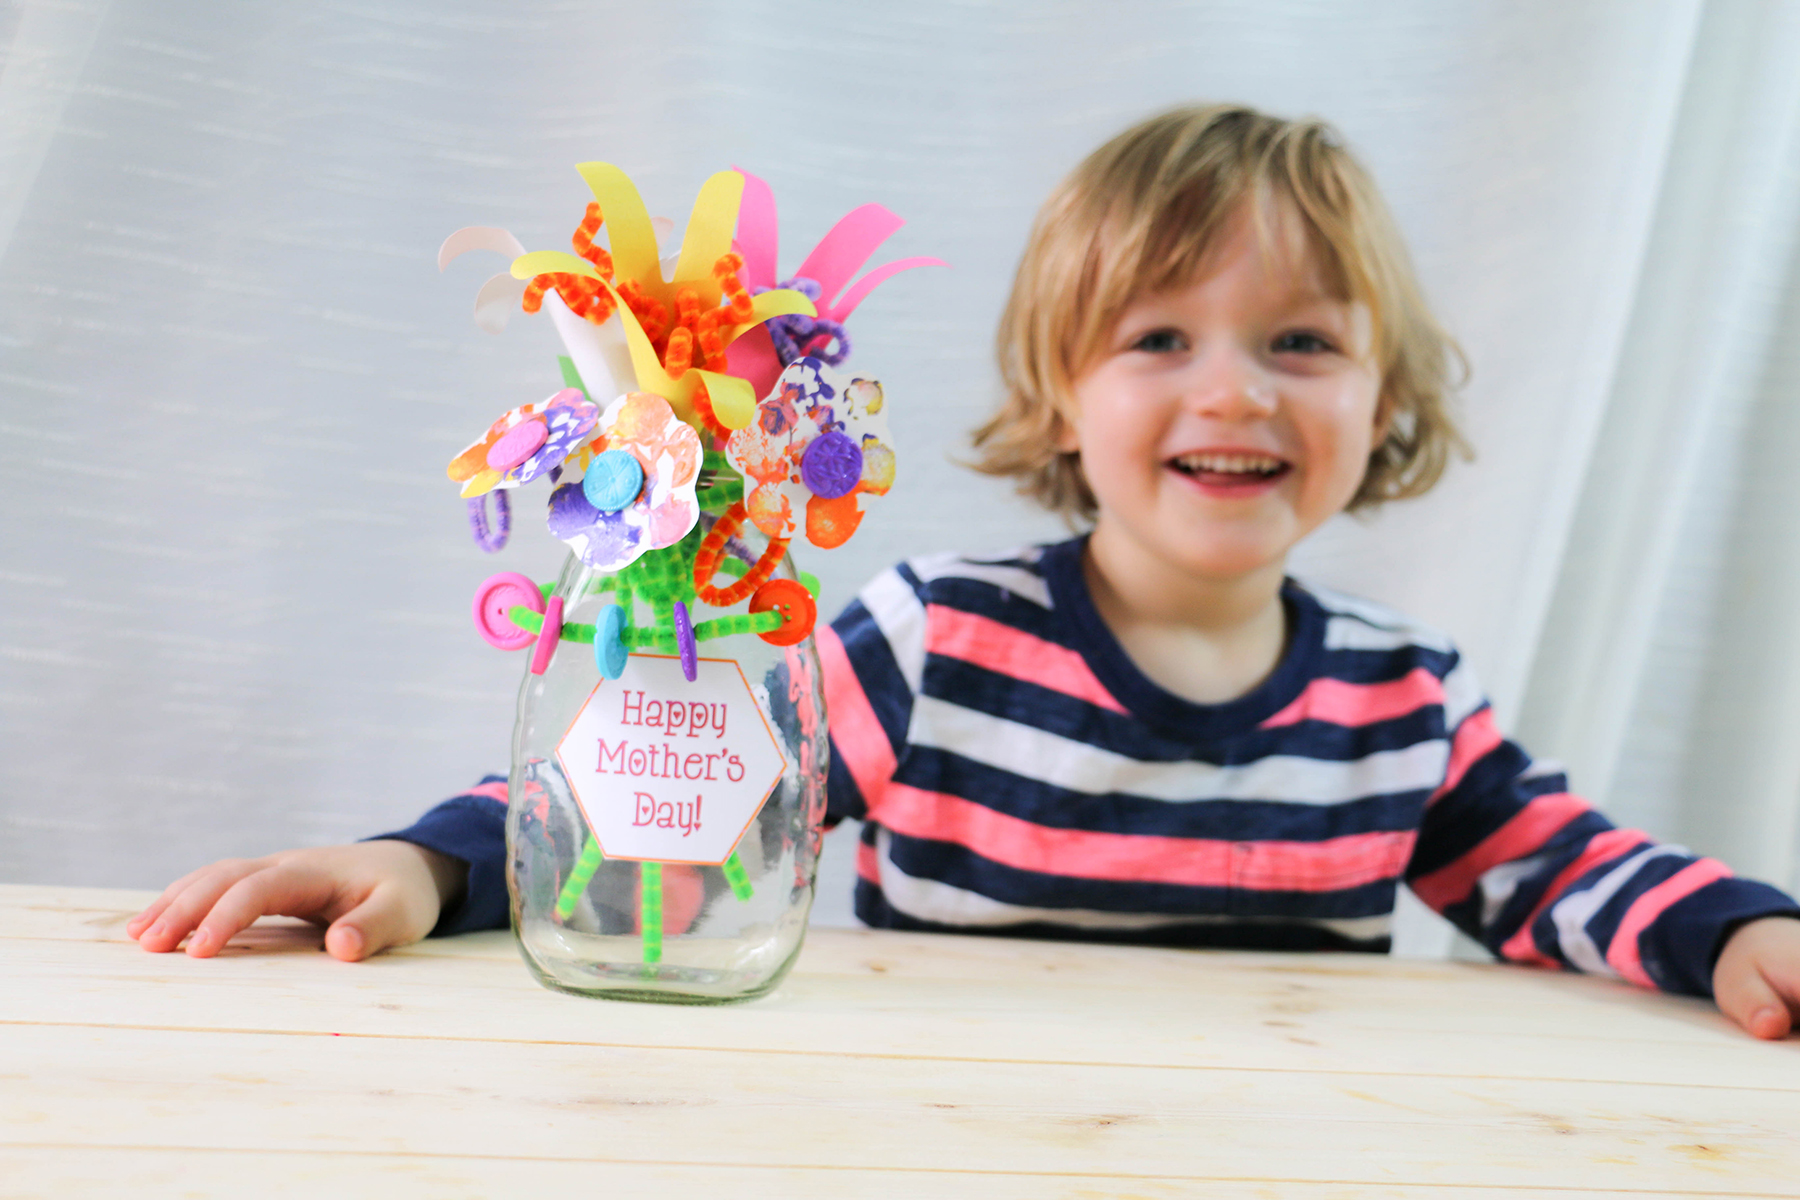
Arrange your flowers in a vase and enjoy!

Leave a Reply