I love my job. I really, really do! One of the favorite parts about my job is that I get to network with a whole bunch of very talented teachers. I love hearing about and seeing them implement creative strategies to improve student learning. During the past several years, many of our local school districts have focused on improving writing instruction. All of our schools, from elementary to high school, received training in the Collins Writing Program. In addition, teachers were able to participate in other inservices such as the 6 Traits of Writing to enhance their instruction in this area.
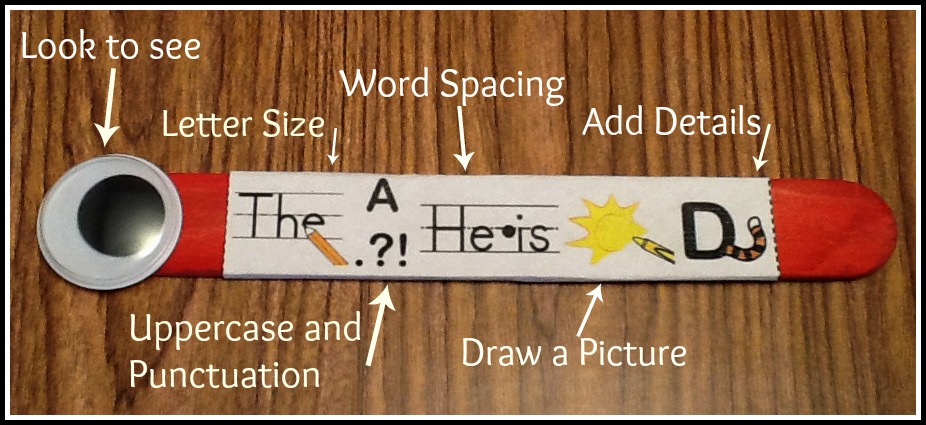
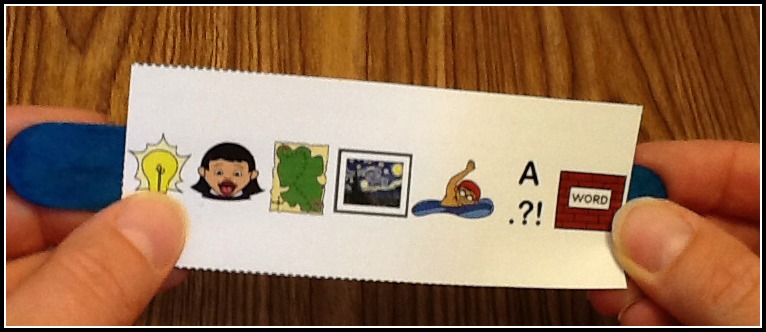
My good friend and colleague, Michelle (same job, just different schools) came back to our office one day so excited to share what she had seen in one of the first grade classrooms she visited. She was so impressed with the quality of writing and the independence displayed by this classroom of first graders during their writing time that she just had to bring back the tool the teacher used to show us all. Sue, a first grade teacher, uses “focus sticks” to help her students develop and assess their own writing. The focus sticks are placed in a cup in the center of the table. After completing their writing, the students use a focus stick to check to be sure their writing includes the pictured elements. The icons placed on the sticks serve as cues. Below is a stick that Sue uses during the beginning of the school year.
During whole group instruction, she has explained and modeled the expectation for each icon.
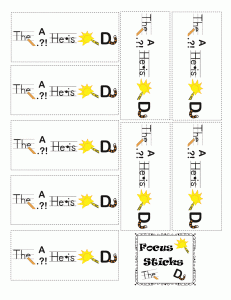
Click the following link to download these focus stick icons Focus Sticks Level 1
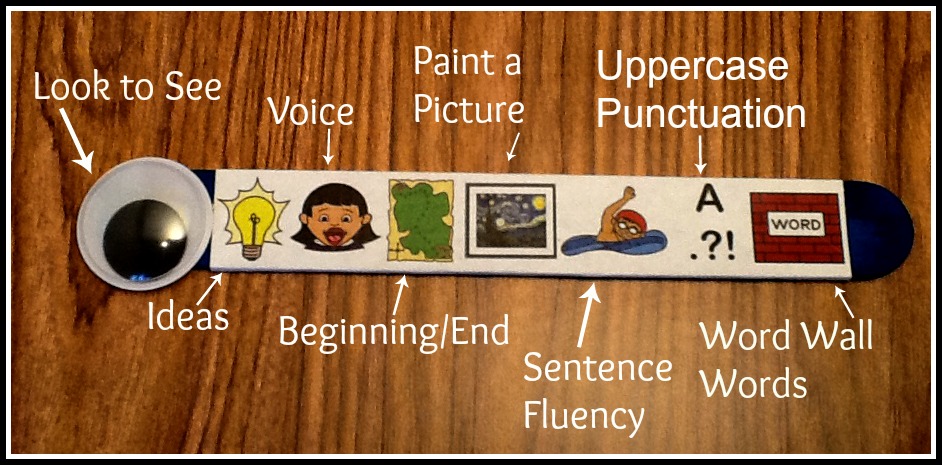
As the year goes on, and as each student progresses in the writing process, the icons on the sticks change depending upon the expectations. So, here is another stick that Sue uses as her students advance.
You can see in this focus stick, she has incorporated three of the six traits: ideas, voice and sentence fluency. Of course she has provided instruction in those areas before introducing the icons on the stick.
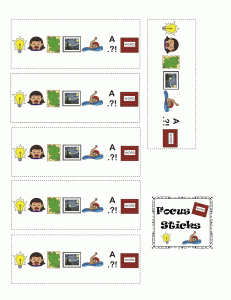
Click the following link to download these focus stick icons Focus Sticks Level 2
When appropriate, Sue transitions the students from the use of the focus stick to a written rubric.
Not all students use the same stick at the same time. Some students may be working on the skills contained within the initial focus stick for a long time while others quickly move to the second stick and then to the written rubric. For our struggling students, removing icons is always an option. For example, for one student, the goals of a writing assignment may be to use correct letter sizing and to draw a picture to match the text.
You can also cut the icons out individually if you’d like to focus on specific skills.
To make your own focus sticks you will need large craft sticks (I color coordinated my sticks, but it is not necessary), wiggly eyes
(I used 25mm, but any size will do), full size Avery labels
and cups. The amount of materials will depend upon how many sticks you wish to make.
1. Print the desired pdf of the focus stick icons on the full size Avery labels and cut along the dotted lines.
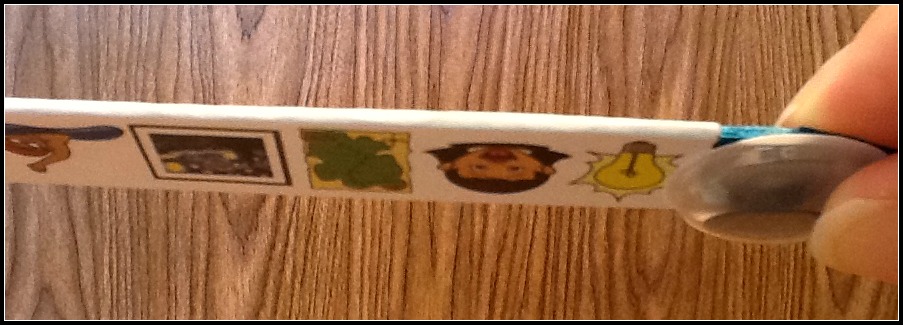
2. Center the icons on the stick and fold over the edges.
3. Using a hot glue gun, glue the wiggly eye at the end of the stick. Here’s a trick… put the glue on the stick, hold the stick upside down and push the wiggly eye up on the stick. This way the wiggly eye will wiggle. If you push the eye down on the stick, the black wiggly touches the glue and won’t wiggle (tragic, I know).
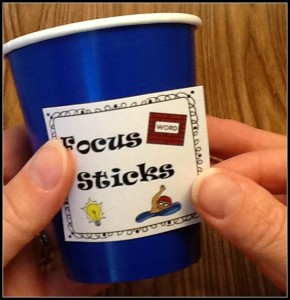
4. Adhere the sticker on the cup.
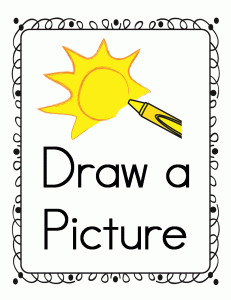
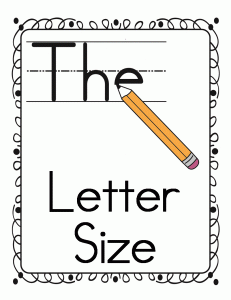
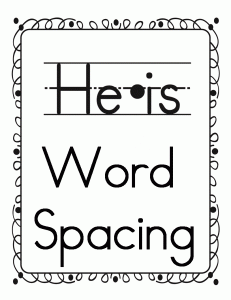
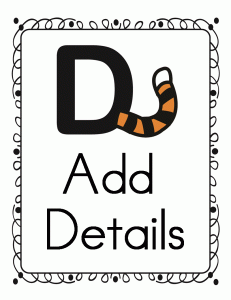
I’ve included a classroom set of posters which corresponds to the icons on the focus sticks for use during instruction as well as reminders for students as they are writing.
Click the following link to download all classroom sized posters Writing sticks Posters
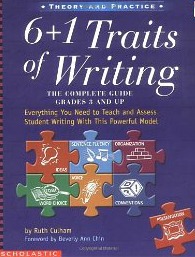
If you’d like more information on the 6+1 Traits of Writing, the book is awesome!



Great activity and great explanation, thanks for sharing. oo